

The first snows of winter have fallen on the mountain West, a sure signal that it’s the time to pull our skis out of storage and prep them for the season. Below is my step-by-step plan for doing your own waxing job at home, which I fine-tuned with help from K2’s director of corporate compliance Todd Bracher and World Cup ski tuner and owner of , Mike deSantis.
#1. Gather Your Tools
The first waxing setup I ever used included a Black and Decker iron I got at Goodwill. Cheap—but I learned the hard way it put out too much heat, which can delaminate or warp the ski bases. So I ponied up for a ($60). Its dial allows me to precisely tune the temperature so I can get it just hot enough, and its wide heating plate makes it easy to get a consistent, even application of wax.
I prefer ($21), since it glides well in most conditions and you don’t have to apply and reapply specialized warm or cold waxes. DeSantis suggests it for his customers. “All-temperature wax walks the center line,” he says. “If it gets a little warm, it works. And if it gets a little cold, it works.”
($8) will get the job of removing the wax done. It’s hard to go wrong with a scraper, so long as it’s rigid and has a straight edge. And I reach for ($23) for the finishing touches.
#2. Set Up the Workstation
Using a to hold the ski steady as you work is the easiest way to ensure your plank stays where you need it, though I’ve been known to post up in my garage with two flat-backed chairs in a pinch. (I lay some cardboard and newspaper across them to catch dripping wax.) Place the ski, with the base facing up, and then lock the brakes in the up position by pressing down on the brake pedal and wrapping a thick rubber band around the arms so they don’t get in the way while you’re working.
#3. Remove the Old Stuff
Chances are there’s some wax left over from last season or from when the skis were put in storage (see the pro tip below). Take a minute to scrape and brush down the base to get rid of the remnants.
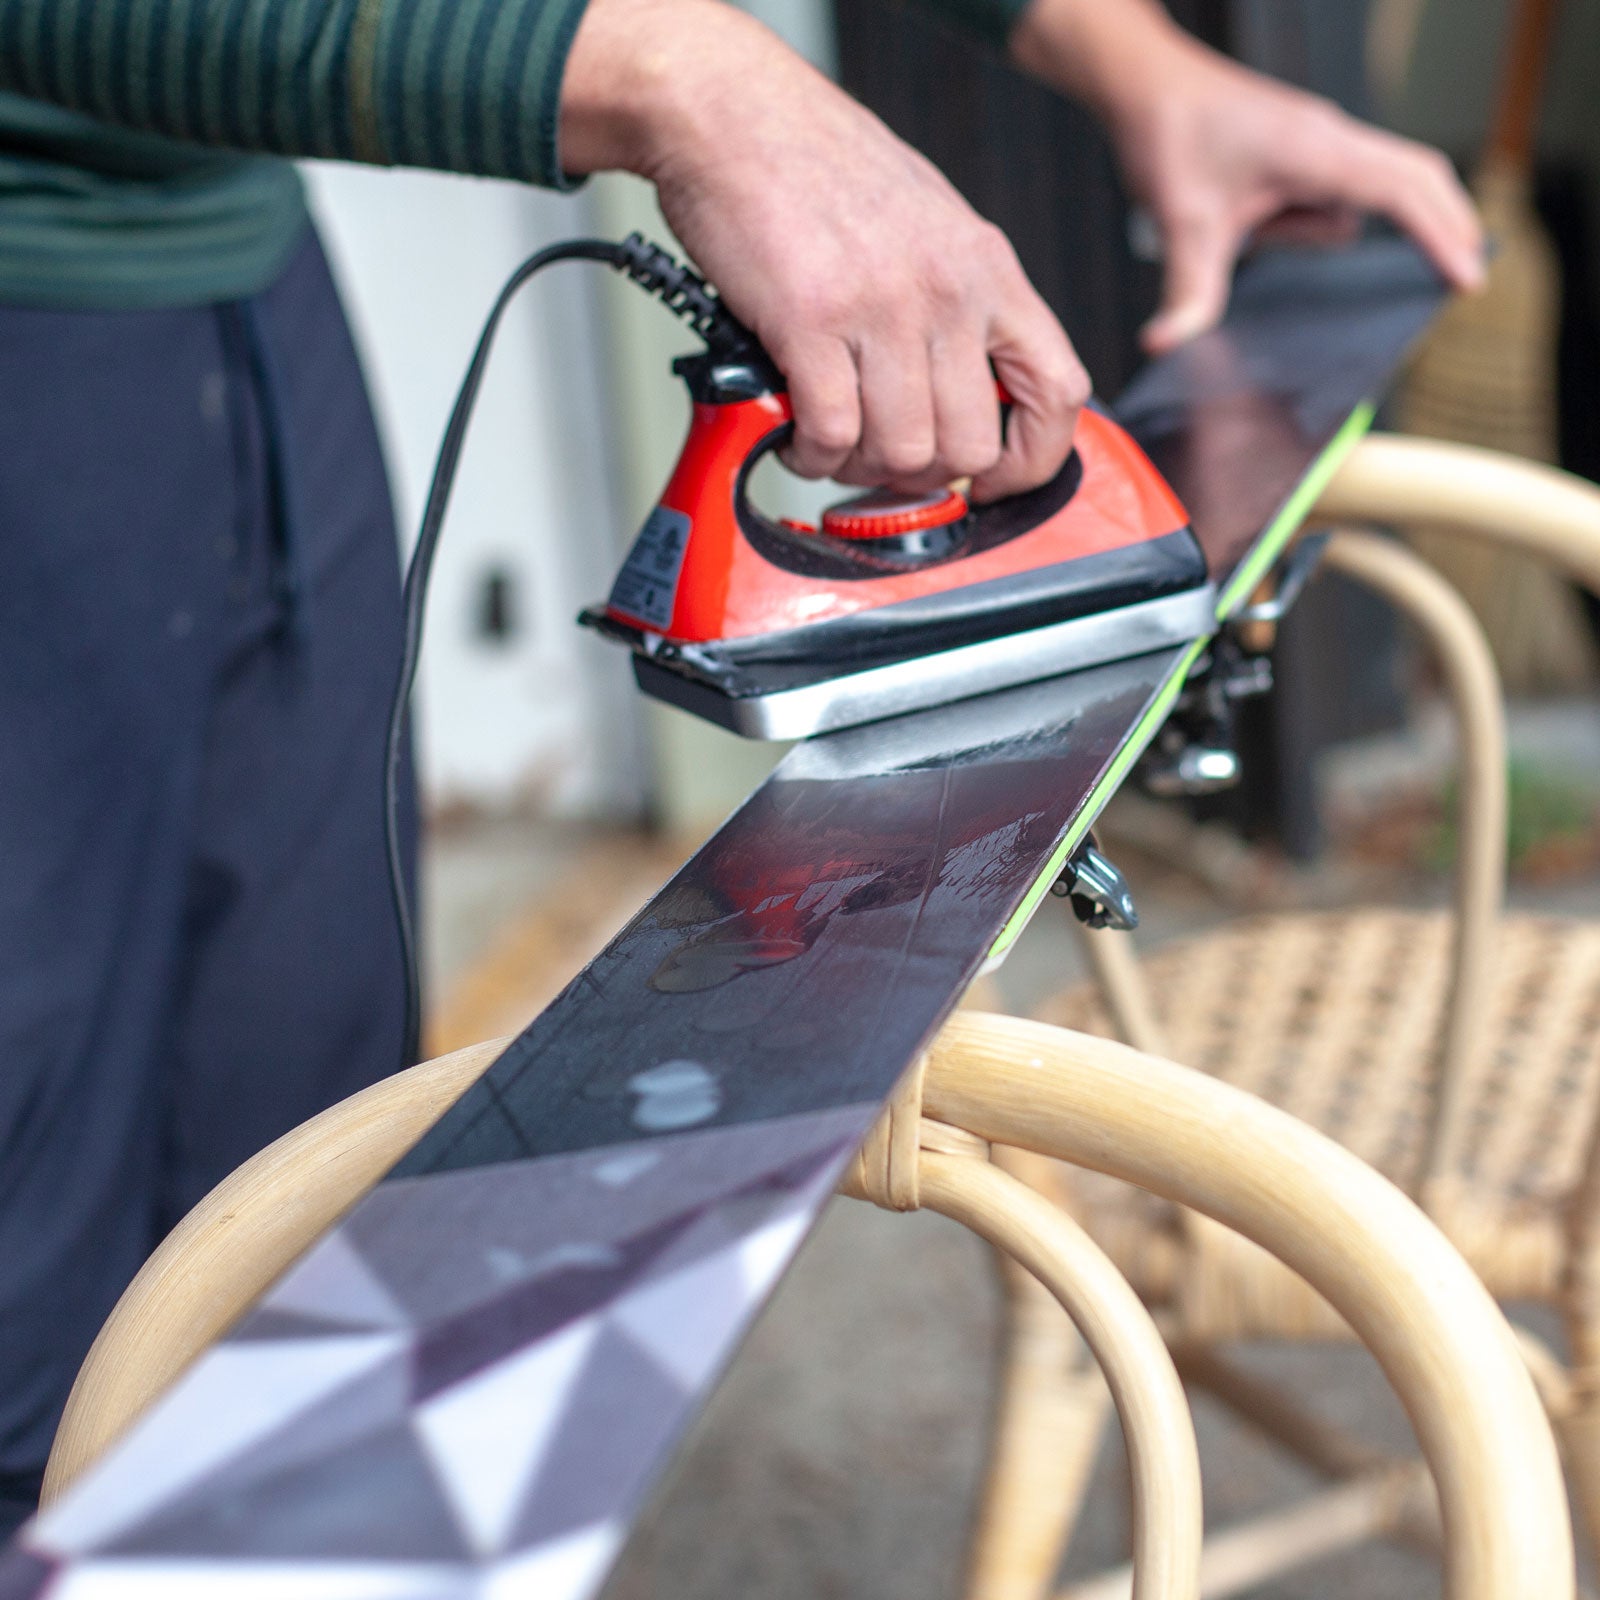
#4. Wax On
Melt the wax on the iron, letting it drip onto the ski base and running it from tip to tail down one side, then back to the tip on the other side. Next, use the iron and carefully smooth out the dripped wax, again working from tip to tail, focusing on getting an even coat. I lean toward applying less wax (maybe a drop every three inches) because using a lot means more time needed to melt it, and I don’t want to keep the hot iron on the base of my ski for too long.
#5. Wax Off
Let the wax dry and cool for half an hour. If you act too soon, you could pull wax out of the pores in the base of the ski and have to start over. Then use the scraper to remove the surface wax, working from tip to tail. I’ll run my fingernail over the base, and if I don’t pick up any wax, I know it’s good to go.
#6. Brush It Down
Give the ski’s base a tip-to-tail brushing at consistent speed 15 to 20 times. It helps remove any last little bits clinging to the base.
Pro Tip
When you store your skis at the end of your season—or even for just a few months in the middle of the season—glob a ton of wax on the bases and don’t scrape or brush them. It’ll keep them lubricated and safe from the elements.