

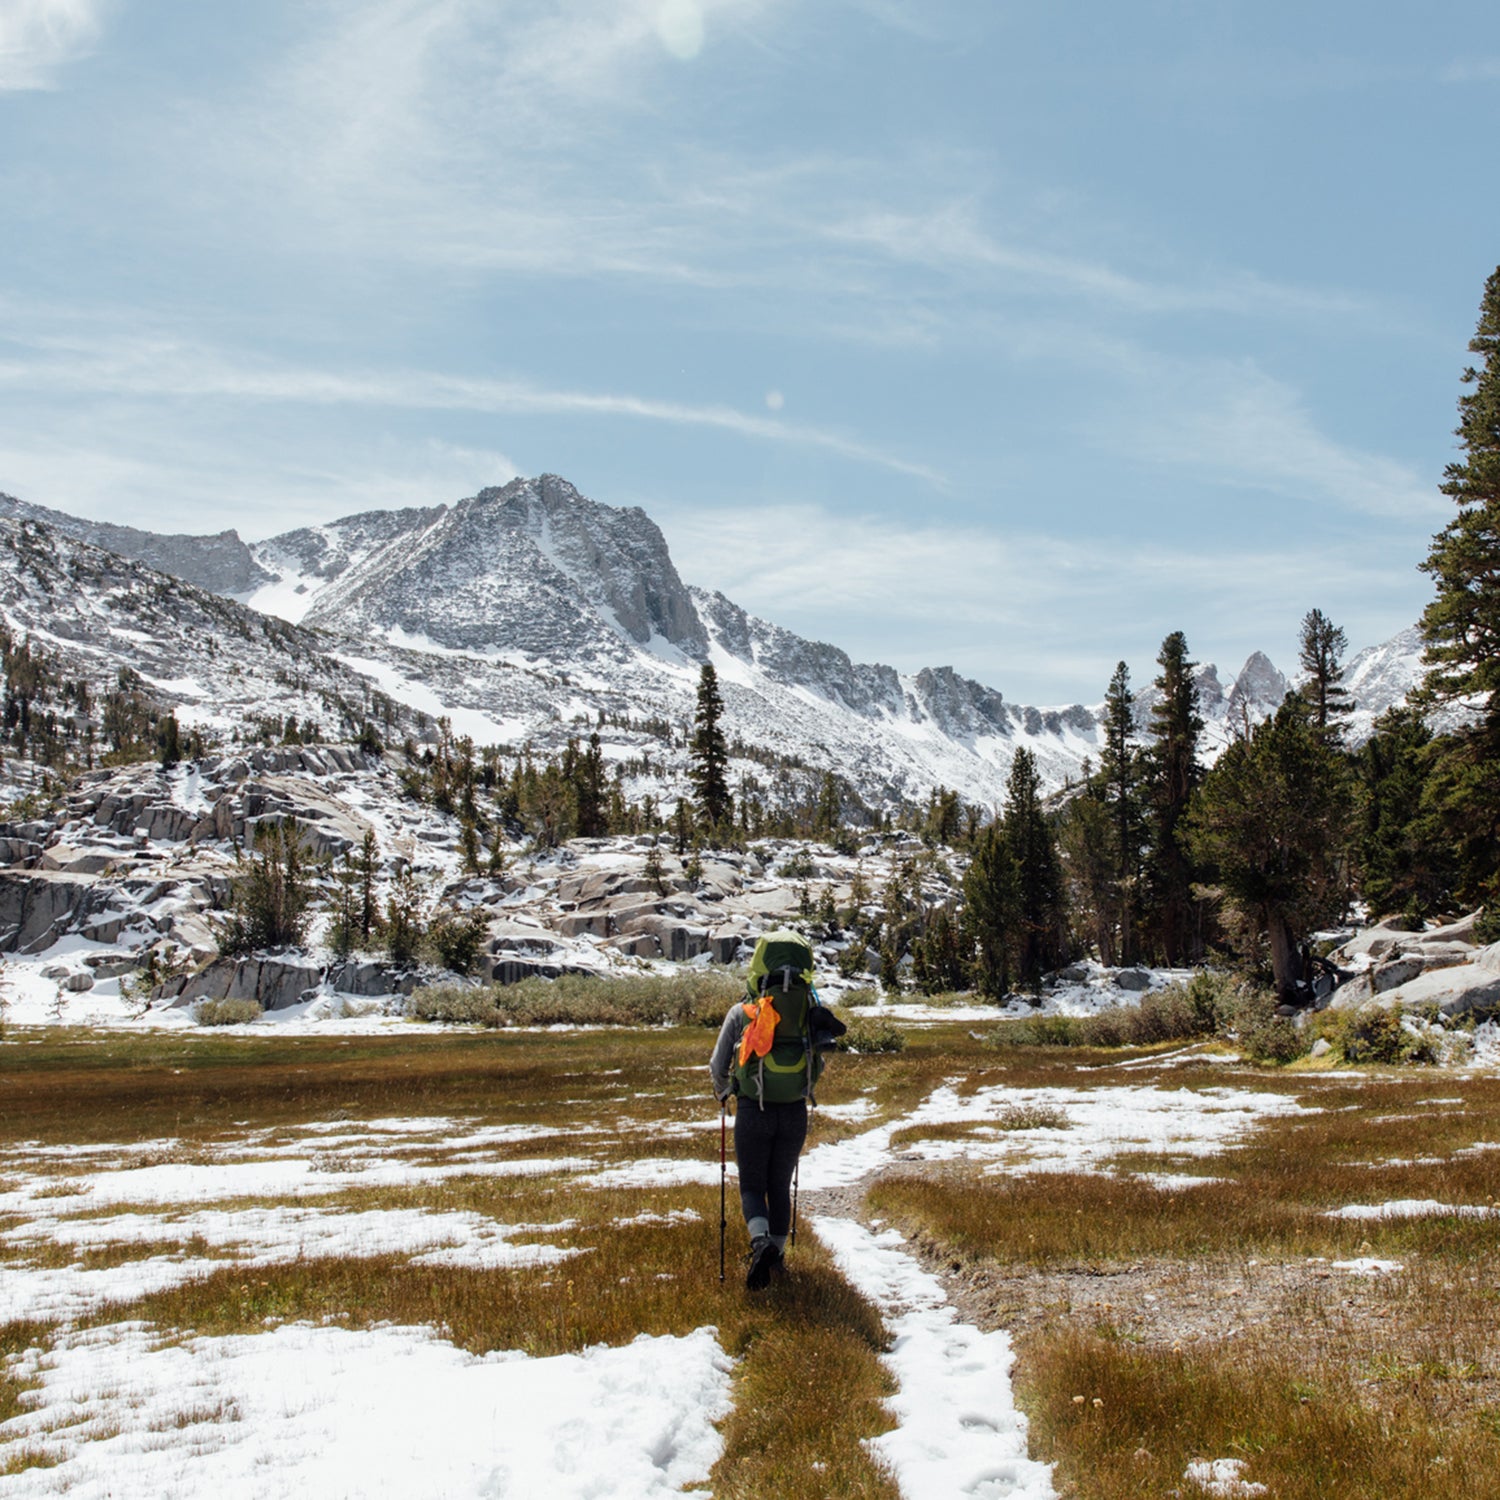
When I began venturing into the backcountry, the first big dump of snow meant my tent and sleeping bag went into hibernation for the season. Aside from the unpleasantly cold temperatures, the extra investment in specialized gear for an activity I’d only partake in a couple times a year kept me solidly in the three-season mindset. But eventually, my fondness for the solitude and silence of winter day hiking grew. So a few years ago, I decided to spend a night amid the snow. After making a few modifications to my regular backpacking kit, stealing pieces from other sports and taking some extra safety precautions, it wasn’t long before I was enjoying the desolation of the backcountry year-round. Here’s the gear you’ll need to do the same.
Clothing
Layering is key to any backpacking trip, but it’s especially important during colder months. A phrase to live by: it’s easier to stay warm than get warm. That means start hiking cold, and add layers as soon as you stop, as the temperature necessitates.
Level one is base layers. I usually pack two sets for an overnight trip—a lightweight one for when I’m on the move, and a heavier one for around camp and sleeping. Look for garments made from merino wool, which holds its heat even when wet; if you’re sensitive to wool, synthetic polyester generally dries quicker and insulates in much the same way. My go-to lightweight base-layer top, the ($119), offers the best of both worlds, with the wool next to your skin and a polyester outer that dries out fast. It also has a zippered quarter-neck collar that allows for venting without removing a layer when I start to heat up. In particularly cold conditions, I’ll pair this top with ($109) from the same line under my hiking pants. My heavyweight set is the from Kari Traa ($110 for the top, $100 for the bottoms), a women’s-specific brand that offers extra insulation in places like the neck and hips, where female bodies are more likely to lose heat.
From there, add a midlayer (or two) and a waterproof shell. Most of the time I opt for a lightweight fleece like the ($129), but my more recent cold-weather favorite is Smartwool’s ($135), which offers a ridiculous amount of warmth for its weight and is designed with deep zipper for excellent venting. (While listed as a base layer, I find this works equally great as a midlayer in a size bigger than what I normally wear.) I top that with an 800-fill-power down jacket, like ($400), or, if conditions are going to be mild, a Mountain Hardwear 700-fill ($275). Down has a superior warmth-to-weight ratio to synthetics, and it works well in cold, dry climates like my hometown of Santa Fe, but it does a crappy job of insulating when wet. For wet climates, consider a synthetic piece, like the ($259), which is lighter than most similar midlayers. Either way, make sure your jacket has a hood.
My final layer is a water- and windproof shell. A soft-shell ski jacket will work in a pinch, but ideally you want something that’s waterproof-breathable, with maximum venting—like the ($160). A helmet-compatible hood for climbing or backcountry skiing is a bonus, as it’ll usually accommodate bulky midlayer hoods.
For bottoms, I typically wear a lightweight, quick-drying pair of hiking pants over my base layer, but I also always pack my pair of ($119), just in case the weather turns. Another arguably unnecessary but amazing addition are down pants, like the Mountain Hardwear Stretchdown ($250), which have been a game changer for keeping me warm at camp and while sleeping.
Additionally, I bring a lightweight, moisture-wicking beanie like the ($35), a Buff to protect my face from icy wind, and waterproof gloves (I just use my ski gloves ($150) around camp and a liner to wear on the trail). Sunglasses are crucial: in bright conditions, reflection from snow can seriously damage eyes and make it extremely difficult to see and navigate. While proper glacier glasses with light blockers on the side are ideal, a pair of amber-tinted, glare-reducing lenses that enhance visibility in low-light conditions are advisable. For a midrange option, makes lightweight glasses with removable side sun shields that can function as regular sunglasses when off the snowy trail.
Footwear and Accessories
You’ll want waterproof boots—bonus points if they’re insulated like Merrell’s ($110). Socks are more important. Look for heavyweight, merino wool hikers. My favorites are the ($23) from Point6. It’s essential to pack a pair of dry, lightweight socks for every day you’re on the trail (and I always add one more pair than I think I’ll need). I also carry disposable foot warmers, like those from ($3.75), to stick in my socks at night.
Depending on the conditions, you’ll likely need some type of traction aid. For your first trip, stick to what you know: don’t head out on a weekend adventure in an area filled with fresh powder if you’re not used to walking multiple miles in snowshoes, and don’t seek out steep, potentially treacherous routes if you’ve never used an ice ax and crampons. At a minimum, I recommend spikes that’ll hold up over long distances and help you keep your footing on icy patches and packed snow. Mine are from ($75), but I recently invested in the brand’s more aggressive ($100), with three-quarter-inch spikes, a more solid attachment system, and stainless-steel bars on the sole to tackle harder terrain. When traveling in high elevations where the snow could be more than a few inches deep for extended stretches, carry snowshoes (������’s our list of the top picks of 2022), and consider getting some tall gaiters to keep any snow out of your boots, like this pair from ($49), ideal for trekking through deeper drifts.
Finally, while I almost never use trekking poles in the summer, I use ($110) with snow baskets and exposed carbide tips in the winter, thanks to their extra stability. But adjustable ski poles will also work.
Sleep Setup
A three-season tent will work in the winter, provided you pitch it below the tree line, where t������’s less exposure and wind, and it has strong aluminum or carbon-fiber poles and a solid rain fly. Both the ($559) and ($350) have worked well for me in snow. I try to find a dry spot to set up for the night, but if I can’t, I either dig one out or pack down the snow to create a flat area with a compact avalanche shovel like the ($70) While I usually skip a tent footprint when backpacking in summer conditions, once things get cold I bring it for an added layer of water protection.
Look for a sleeping pad with an R-value of five or higher. However, if all you own is a light summer pad and you don’t want to invest in a heavier one, you can always add a couple R-value points by sleeping with a closed-cell foam pad underneath. I bring my ($55) with me, along with my winter pad—a Therm-a-Rest ($230)—because it’s great to have another warm, dry place to sit at camp.
Similarly, instead of investing in a winter sleeping bag, you can bring along a liner, like the ($63), which will add 10 to 15 degrees of warmth to your current setup. Also make sure to check the comfort rating on your bag, not just the limit—the former details what temperature you can comfortably sleep at inside the sleeping bag, while the latter indicates what temperature you can survive at inside the bag. So if your bag has a 30-degree (Fahrenheit) comfort rating, with a 15 degree limit, if you insert a liner, you should be comfortable if the temperature gets down to about 20 degrees.
My favorite tip for warming up a sleeping bag quickly: boil some water, pour it in a sturdy plastic bottle like a Nalgene, and stick it inside the foot of your bag for about 15 minutes before climbing in.
Water Filters and Cooking Utensils
Almost all water-filtration methods malfunction at below-freezing temperatures. Standard hollow-tube filters, like a Sawyer Squeeze, won’t work if they freeze. Pump filters, like my ($85), utilize glass-fiber elements that are able to withstand freezing temperatures better but are still at risk of cracking. Ultraviolet purifiers have issues with batteries malfunctioning in the cold. Chemical-purification tabs will work—but a lot slower than other methods. Regardless of your choice, your best bet is to stash your filter in a waterproof or plastic bag and keep it close to your body—in a down jacket pocket, or wrapped in your sleeping bag—and sleep with it at night. You should also bring some sort of insulated vessel to prevent your water from freezing. If you have a CamelBak or similar bladder system, you can buy an insulated and pouch for it.
You’ll also need to keep your propane-isobutane gas canisters warm, as they can depressurize and produce a weak flame when the mercury dips below freezing. On the other hand, , while requiring more maintenance, are designed to work in even the most extreme temperatures. So if it’s going to be below freezing for multiple days at a time, you could invest in a pricier liquid-gas setup like from MSR ($170), which takes both liquid and normal gas canisters. But if the temperature is expected to stay above freezing, gas canisters should work, as long as you stow your canisters in your sleeping bag or a down jacket.
Emergency Supplies
Winter adds extra layers of backcountry safety concerns: snow can hide trail markers, lower temperatures lead to an increased risk of hypothermia, and unexpected storms can both trap you and impede rescue efforts. In cold-climate situations, the survival for how long someone can live in a wilderness setting—three days without water, three hours without shelter, three weeks without food—are shortened to ones: one hour without shelter, a day without water, and a week without food.
For that reason, a few pieces of emergency equipment are critical to pack. If you’re going on a solo adventure, a personal locator beacon or satellite communicator, like ($350) or ($280), is particularly important. I also always carry an SOL ($17)—a good idea even on long winter day hikes—and a lightweight shovel, which can be used to build a windbreak, clear a spot for a tent or a fire, or dig out of snow.
You also need a weatherproof way to start a fire. SOL sells ($15) and ($28) that include a manual striker (note that lighters also don’t perform well below 32 degrees Fahrenheit) and tinder, but you can create your own with a separate , , and .
Finally, carry more food than you think you’ll require. Your body burns additional calories in the cold from . As a rule, I’ll pack a full extra day’s worth of food that I can ration if needed, as well as high-calorie snacks like peanut butter or nuts. I also double the servings that I’ll eat at mealtimes.