

You’ll hear me say this like ten times in the below video, but backpacking is the fundamental outdoor skill if you want to access true wilderness and enjoy the outdoors away from other people. That’s why we made it the first topic for our new series: “Masterclass Outdoors.”
As you’ll see, going on your first backpacking trip is mostly a case of confidence and packing the right stuff. Of course, it requires, or at least benefits from, complementary skills like being able to use a map and compass, knowing how to layer appropriately, and knowing how to start a fire.
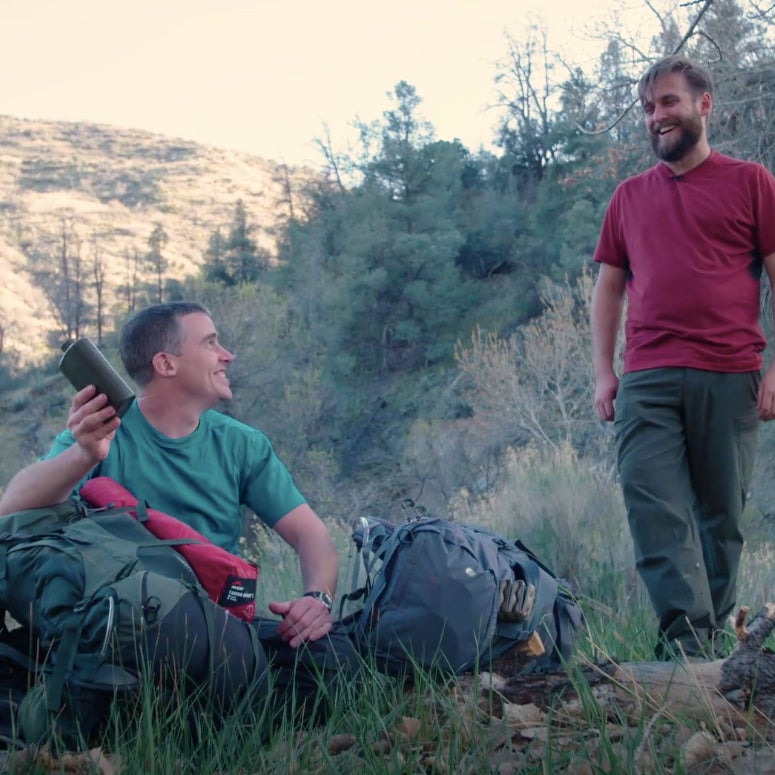
I chose David to do this with so I’d look taller on camera, but also because he’s a good friend who’s been asking me for help in learning to enjoy the outdoors a little more significantly. Whether we had shot video or not, this was pretty much the trip we were going to end up doing regardless and exactly how I’d have put it together.
The first step was getting David geared up. He had some camping basics that he’s used at a music festival and on a car camping trip, but that stuff prioritizes affordability over weight, packability, or even outright comfort. To fix that, I put him in the absolute best gear available, with no compromises.
David’s Gear
Tent: MSR Carbon Reflex 1 ($400)
At 1.4 pounds, this is the lightest double-wall, you can buy. That means this thing doesn’t require trekking poles to set up, actually stands up to extreme weather, and keeps mosquitoes at bay as well as it does rain, wind, and snow. I know that because this is my personal one-person tent, and I’ve used it regularly for two years. In that time, a drunk friend has fallen on it, putting a small tear in the fly (repaired with duct tape), and another friend managed to put a stick through the mesh, necessitating a patch. But even with those issues, it’s held up to all kinds of weather and abuse. It’s amazing to throw a shelter into your pack that you know will keep you comfortable for so little weight penalty.
Sleeping Bag: Therm-a-Rest Parsec 20 ($400)
Therm-a-Rest has gotten serious about technical sleeping bags in recent years, and is a great example of what the Seattle-based company is capable of. The Parsec 20 is filled with high-quality 800-fill down that’s warm, light, and incredibly compressible. The shell material reflects radiant heat back toward your body, helping maximize warmth without adding bulk or weight. David’s regular-length bag weighs just 1.9 pounds.
Sleeping Pad: Therm-a-Rest NeoAir XLite ($170)
I think I goofed in the video and called it four inches thick—it’s actually 2.5 inches. But the XLite remains as comfortable as other pads in the NeoAir line, which I consider to be the best in the business. It’s also , at just 12 ounces for David’s regular length. The horizontal baffles create a stable, supportive sleeping surface, and foil panels stitched inside help hold warm air near your body, adding necessary nighttime warmth underneath you. This sleeping pad may be light as a feather, but Therm-a-Rest guarantees all its pads for life and will repair or replace them even decades down the line.
Backpack: Osprey Atmos AG 50 ($240)
At 4.2 pounds, this is far from the lightest pack on the market, but it may be . Osprey still does mesh suspension better than anyone else, and that tightly stretched material really does eliminate pressure points and provide excellent ventilation. With a comfortable load range from 25 to 40 pounds, the Atmos AG 50 is also a versatile option that works equally well for overnighters and longer, multiday trips. You’ll note in the video that David is able to naturally stand and walk upright while wearing a fully loaded pack—a sign that it’s appropriately adjusted and not too heavy. Even after ten miles, he was totally comfortable in it.
T-Shirt: Smartwool PhD ($70)
Made from a blend of merino and polyester, combines the temperature-managing comfort of the former with the quick drying of the latter for an ideal hot-weather top.
Shell Jacket: Smartwool PhD ($125)
Here in Southern California, we can rely on rain-free forecasts, so going for a that’s only wind- and water-resistant helps save weight (this jacket is five ounces), while still providing an excellent barrier against nighttime temps.
Puffy: Patagonia Micro Puff ($250)
Patagonia finally figured out how to create synthetic insulation as light and packable as down, making this an ideal companion for backpacking. We didn’t need it on this trip, but the PlumaFill insulation retains its loft when wet, making it the better option for variable weather in the backcountry, where you need to rely on your gear to work and can’t carry anything extra in case it doesn’t.
Pants: REI Co-Op Screeline ($80)
Just a pair of that are lightweight, have a little stretch, and shed rather than soak up water. All anyone really needs.
Socks: Smartwool PhD Outdoor Ultra Light Crew ($20)
These socks work in temperatures from the 20s to over 100—about what we experienced on this trip. Merino retains warmth when wet and dries much quicker than cotton. David took : one to hike in during the day, and one to keep dry for nighttime.
Shoes: Vasque Constant Velocity II ($120)
A pound of weight on your feet saps the same energy as wearing five pounds on your back, so the ideal footwear for backpacking is as light as possible. That’s why I prefer trail runners to hiking boots. I also opt for heavily ventilated, nonwaterproof options paired with a light merino sock; the action and heat generated by hiking will pump out any water that enters in short measure. Trail runners also have excellent off-road traction compared to regular sneakers. I gave David a few days ahead of time so he could break them in on a day hike before we left, and he didn’t worry about blisters once over the 20 miles we put in.
Water Filter: MSR TrailShot ($50)
You don’t need anything heavier than this for trips within the United States. It works quickly, you can’t break it, and it pairs well with MSR’s new for in-camp filtration duties and on-trail water storage.
And that’s it. David’s all-up weight was just 9.4 pounds before his share of the food and water. Even with a fully loaded bladder, a rib-eye, a sweet potato, and some Brussels sprouts, he was only carrying about 20 pounds all in. This was his very first time on a wilderness trail, and it was extremely hot during the day and below freezing at night, but he was comfortable throughout and handled the 20 miles over two days like a champ, with zero complaints.
At $1,925, buying all this stuff at once is a pretty big investment, but it’s one that will enable you to have fun on the trail for many years to come. Buying quality gear once doesn’t just net you better function than cheap crap—it will also last much longer. With backpacking, the gear is the skill. It’s what enables you to enjoy your time outdoors.
We shot this video a month ago, but David just texted me last night asking which two-person tent he should buy. (The , duh.) After just this first trip, he’s confident enough to plan an outing with his girlfriend. Want to do something similar? Follow the advice in the video: Plan a trip around water, keep your first one short (one or two nights, ten miles a day max), and don’t forget to enjoy it.
Looking for a lower initial cost? will rent you gear similar to what you see here for just $68 per day.