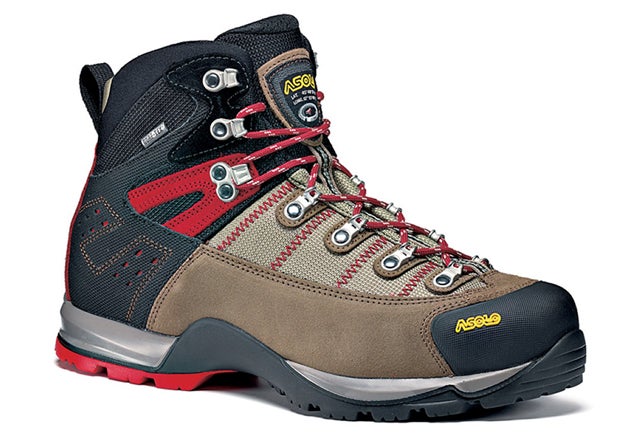
Getting a good fit on boots is easier than it used to be. Boots once demanded extensive break-in periods before you even knew whether they would fit well or not. Today, most boots are made with flexible materials and arrive out of the box ready to hike 10 miles. But that doesn’t mean every option on the shelf will fit your feet, and it’s still worth carefully selecting the right pair.
For starters, go shopping at the right time of day. For most people, that will be in the afternoon, after you’ve been moving around and your feet have swelled. If possible, go when your local outdoor store isn’t super busy—Friday evenings and Saturday mornings, when people get geared up for weekend adventures, aren’t the best. Be sure to bring socks that you plan to use for hiking.
Next, politely ask to see the store’s best boot-fitter. Let the salespeople know you’re hard to fit and were hoping to work with someone who has been fitting boots for years.
Regardless of whether you know what size you wear, have both feet measured in a Brannock device (that shoe-fitting thing you find in shoe stores). Discuss any problems you’ve had with past boots, including heel blisters, bruised toenails, and whether you’ve noticed differences between your feet. Most people have some sort of foot weirdness—toes are longer than normal, unusual width. a high arch. The more you know about your foot shape, the better a boot fitter will be able to help you.
Try on several boot brands and at least two different sizes. Each boot maker uses a unique last, or the model on which the boot is made. That means each brand will fit differently, and it also means that you may find that certain brands work for your feet better than others. But try to keep an open mind for brands you haven’t tried before.
When trying on a boot, first leave it unlaced and slide your foot as far forward as you can. Run your hand down the heel and check to make sure you have about a finger’s width of space. Then lace the boot back up. Sit there for a minute and feel the boot. Do the same thing standing. Does any part feel tight?
Then take a walk around the store. Some stores have a little set of ramps you can walk up and down. Take advantage of them. When walking downhill, you don’t want your toes to hit the front of the boot. If there’s no ramp in the store, gently kicking a post is a good way to test whether your toes bang into the front. When walking on flat ground or uphill, you want your heel to move—a locked-in sensation portends blisters—but not so much that it slides around sloppily.
Once you make a purchase, it’s best to live in your boots for a while. Wear them around the house, or someplace where they won’t get dirty. Most stores know that people change their minds, but if you need to exchange the boots, be respectful and don’t try to refund your boots after a 10-mile slog in the mud.
The break-in period depends on both your hiking plans and the type of boot you’ve acquired. A lightweight day hiker shouldn’t require much of a break in at all. But heavy backpacking or leather mountaineering boots may require some time. Start with a hike of a few miles, then work up to longer distances. Three to four hikes should get you going.
Last, keep in mind that you can often alter fit with after-market insoles such as Superfeet, heel inserts, or even by changing the lacing pattern. Ideally, of course, you won’t need to.


