

Elbows are often the first place you’ll see wear and tear on a long-sleeved shirt, especially on soft woven flannel. While small rips can be fixed with a few stitches or an adhesive patch, sometimes a garment is so threadbare it needs a little extra TLC. This low-cost repair can add years to your favorite passed-down shirt, no matter how shredded the fabric—all you need is a needle, thread, and a few household items.
Assess the Damage
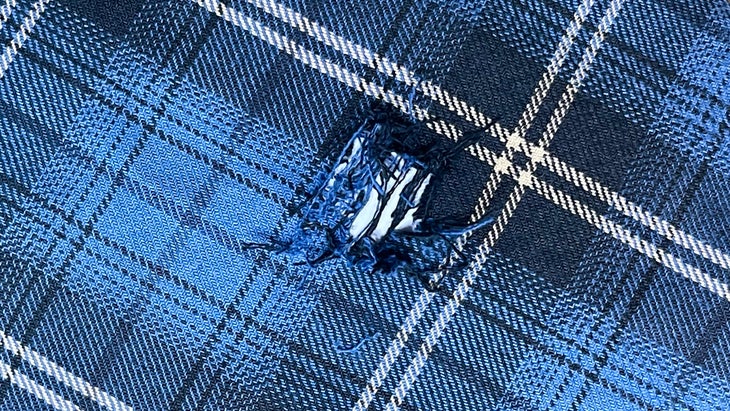
Small tears with clean lines can be sewn quickly. (If you’ve never used a needle and thread before, watch former gear editor Maren Larsen demonstrate a few essential sewing stitches and the best way to fix small rips.) Shredded or worn-through fabric will need extra reinforcing, requiring that you patch and mend. The goal is to contain the damage and stop it from getting worse, while also strengthening the material.
This repair uses a visible mending technique with a simple running stitch. I appreciate visible mending whenever I see it, because gear repairs tell a story; every patch is a reminder of time spent outdoors. The beauty of this technique is it allows you to wear your story on your sleeve, quite literally, and the tiny repetitive stitches add strength to worn-out fabric. This technique draws inspiration from the traditional Japanese art of sashiko, which uses decorative hand stitching to restore and elevate clothing.
Gather Materials
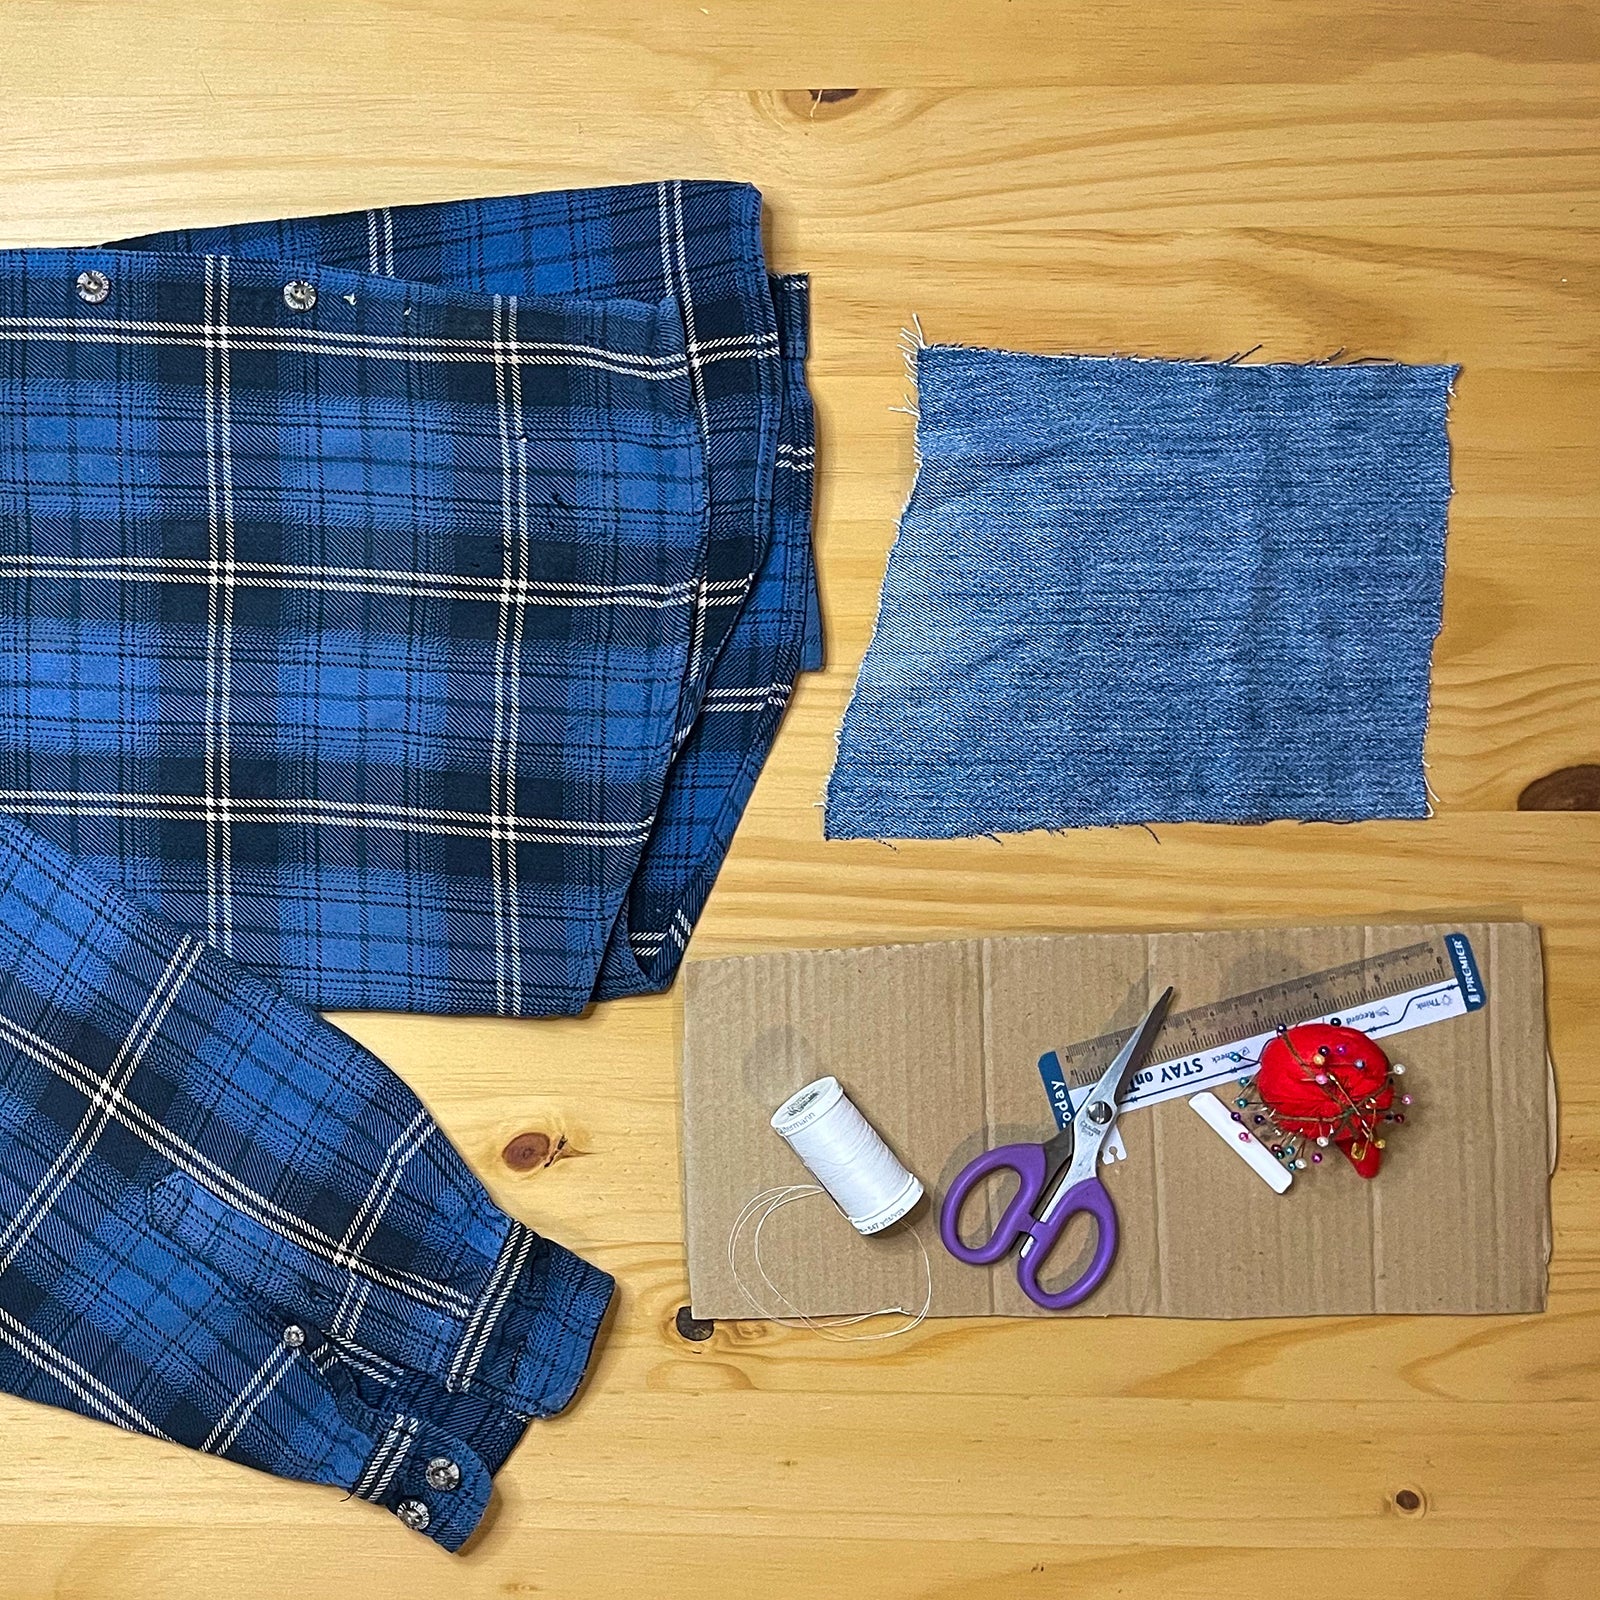
For this repair, you’ll need a needle, thread, scissors, and scrap fabric. It’s also helpful to have sewing or safety pins, a straightedge, and a piece of chalk, but you can get by without those items. When choosing patch material, try to match its weight and type to the garment. If you want to show off your patch, choose a contrasting fabric. Since the patch goes on the inside of the shirt, pick something that’s comfortable against your skin. Match the thread color to your shirt for a less visible mend, or choose a bright thread if you want the stitching to stand out. (For a medium-weight flannel, I patch with denim as it’s readily available to me and makes for a solid repair.)
Prep for Repair
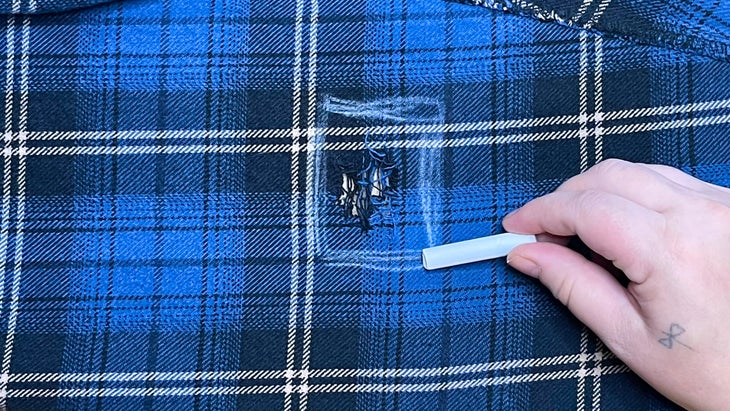
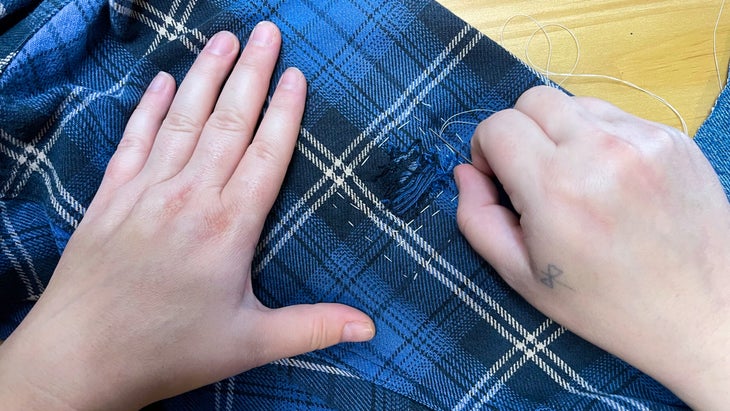
Lay your shirtsleeve flat. (If you have an iron, you can press it for a cleaner-looking repair.) Don’t cut away the unsightly threads just yet, because a hole is easier to patch if a few thin bits are helping hold that section’s shape. Mark off the damage using a piece of chalk. You can then measure that area with a ruler and cut your patch accordingly. If you don’t have a ruler or chalk, just eyeball the size of your patch.
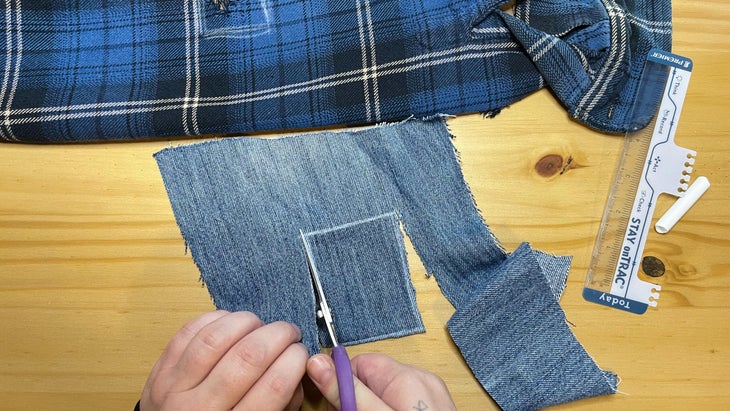
Cut a piece of fabric that exceeds the area you need to repair by at least a quarter inch. (It’s OK if the edges are slightly uneven, since the patch is on the inside of the shirt.) For your repair to hold, ensure you’re sewing through the surrounding “good” shirt fabric and not the threadbare part you’re trying to fix.
Mend the Shirt
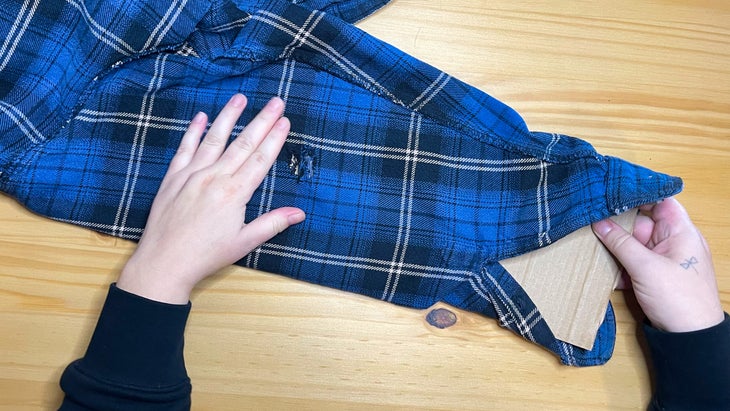
Turn the shirt inside out, and lay it flat with the area you need to patch facing up. It’s helpful to slide a piece of cardboard into the sleeve to add rigidity and prevent you from accidentally catching the other side of the sleeve and sewing your shirt shut.
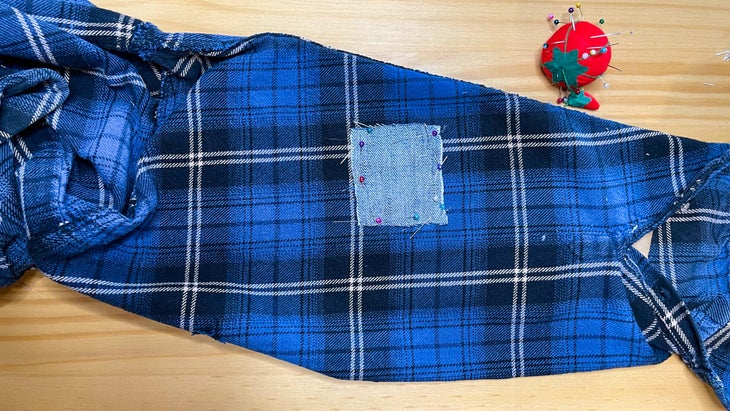
Thread your needle, and tie a knot at the end. Next, pin the patch to the shirt. If you don’t have pins, tack the fabric down with one stitch in each of the four corners to hold it in place while you sew.
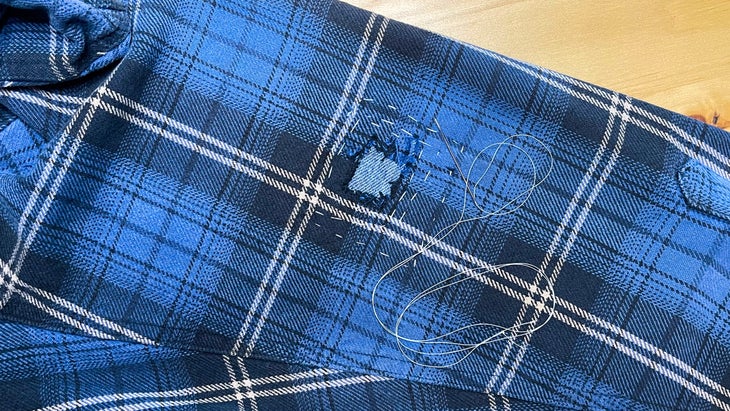
The easiest way to sew on the patch is with a simple running stitch, weaving in and out of the material in a straight line. The closer the stitches are together, the tighter the hold. Sew around the perimeter of the patch, and tie off your thread. Turn your shirt right side out.

With the outside stitched, you’ve created a thread barrier, which the shredded fabric won’t cross. Whatever is inside the stitch line may continue to fray, but you now have a wearable garment with a patched elbow. The more the shirt wears out, the more your patch will show through.
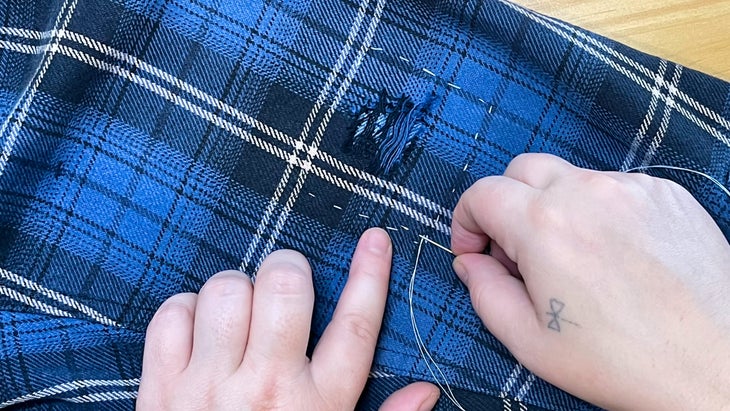
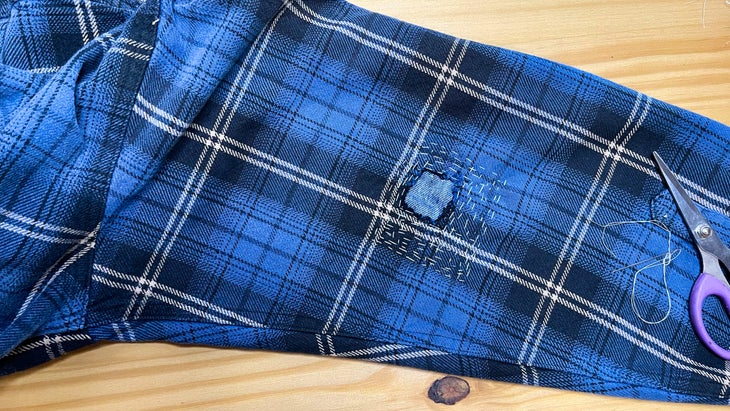
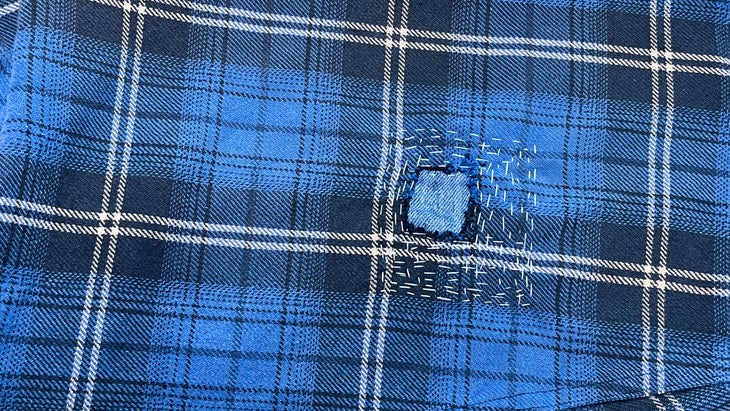
For added reinforcement, you can build back up the worn-out area by using the same running stitch to sew back and forth over the top of the patch. Either follow the shape of the tear or sew in a geometric pattern. (I made small stitches horizontally and vertically, not giving too much attention to spacing and stitch length but trying to follow the lines of the plaid pattern.) This will keep the tear further contained and offer additional reinforcement.
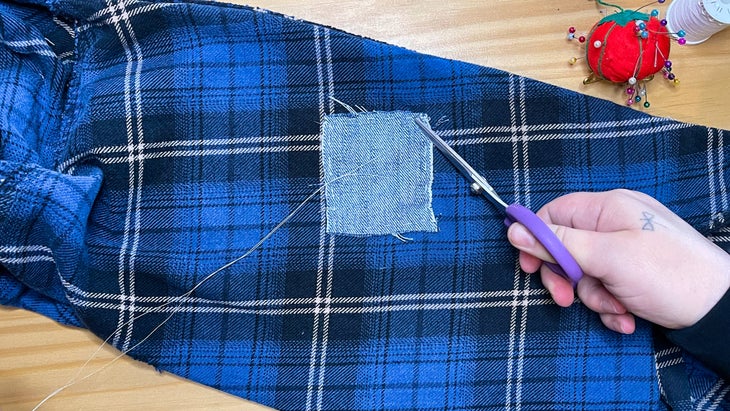
After you’ve done a few rounds of stitching, you can cut away the frayed fabric, revealing your patch underneath, or leave it looking distressed. (On this shirt, I cut away the damage.) Every so often, stop sewing, smooth out the material, and pull the thread tight to make sure there’s nothing loose or puckering.
If you run out of line, tie it off and start fresh with a new piece. Stop when you feel your garment is sufficiently reinforced and your pattern looks complete.
If you’re not a skilled sewer, lean into the imperfection. You can spend as much or as little time you have adding stitches. If you make a mistake, cut the thread out and start again. You’ll end up with a unique finished patch—and a shirt you can wring a little more life out of.