

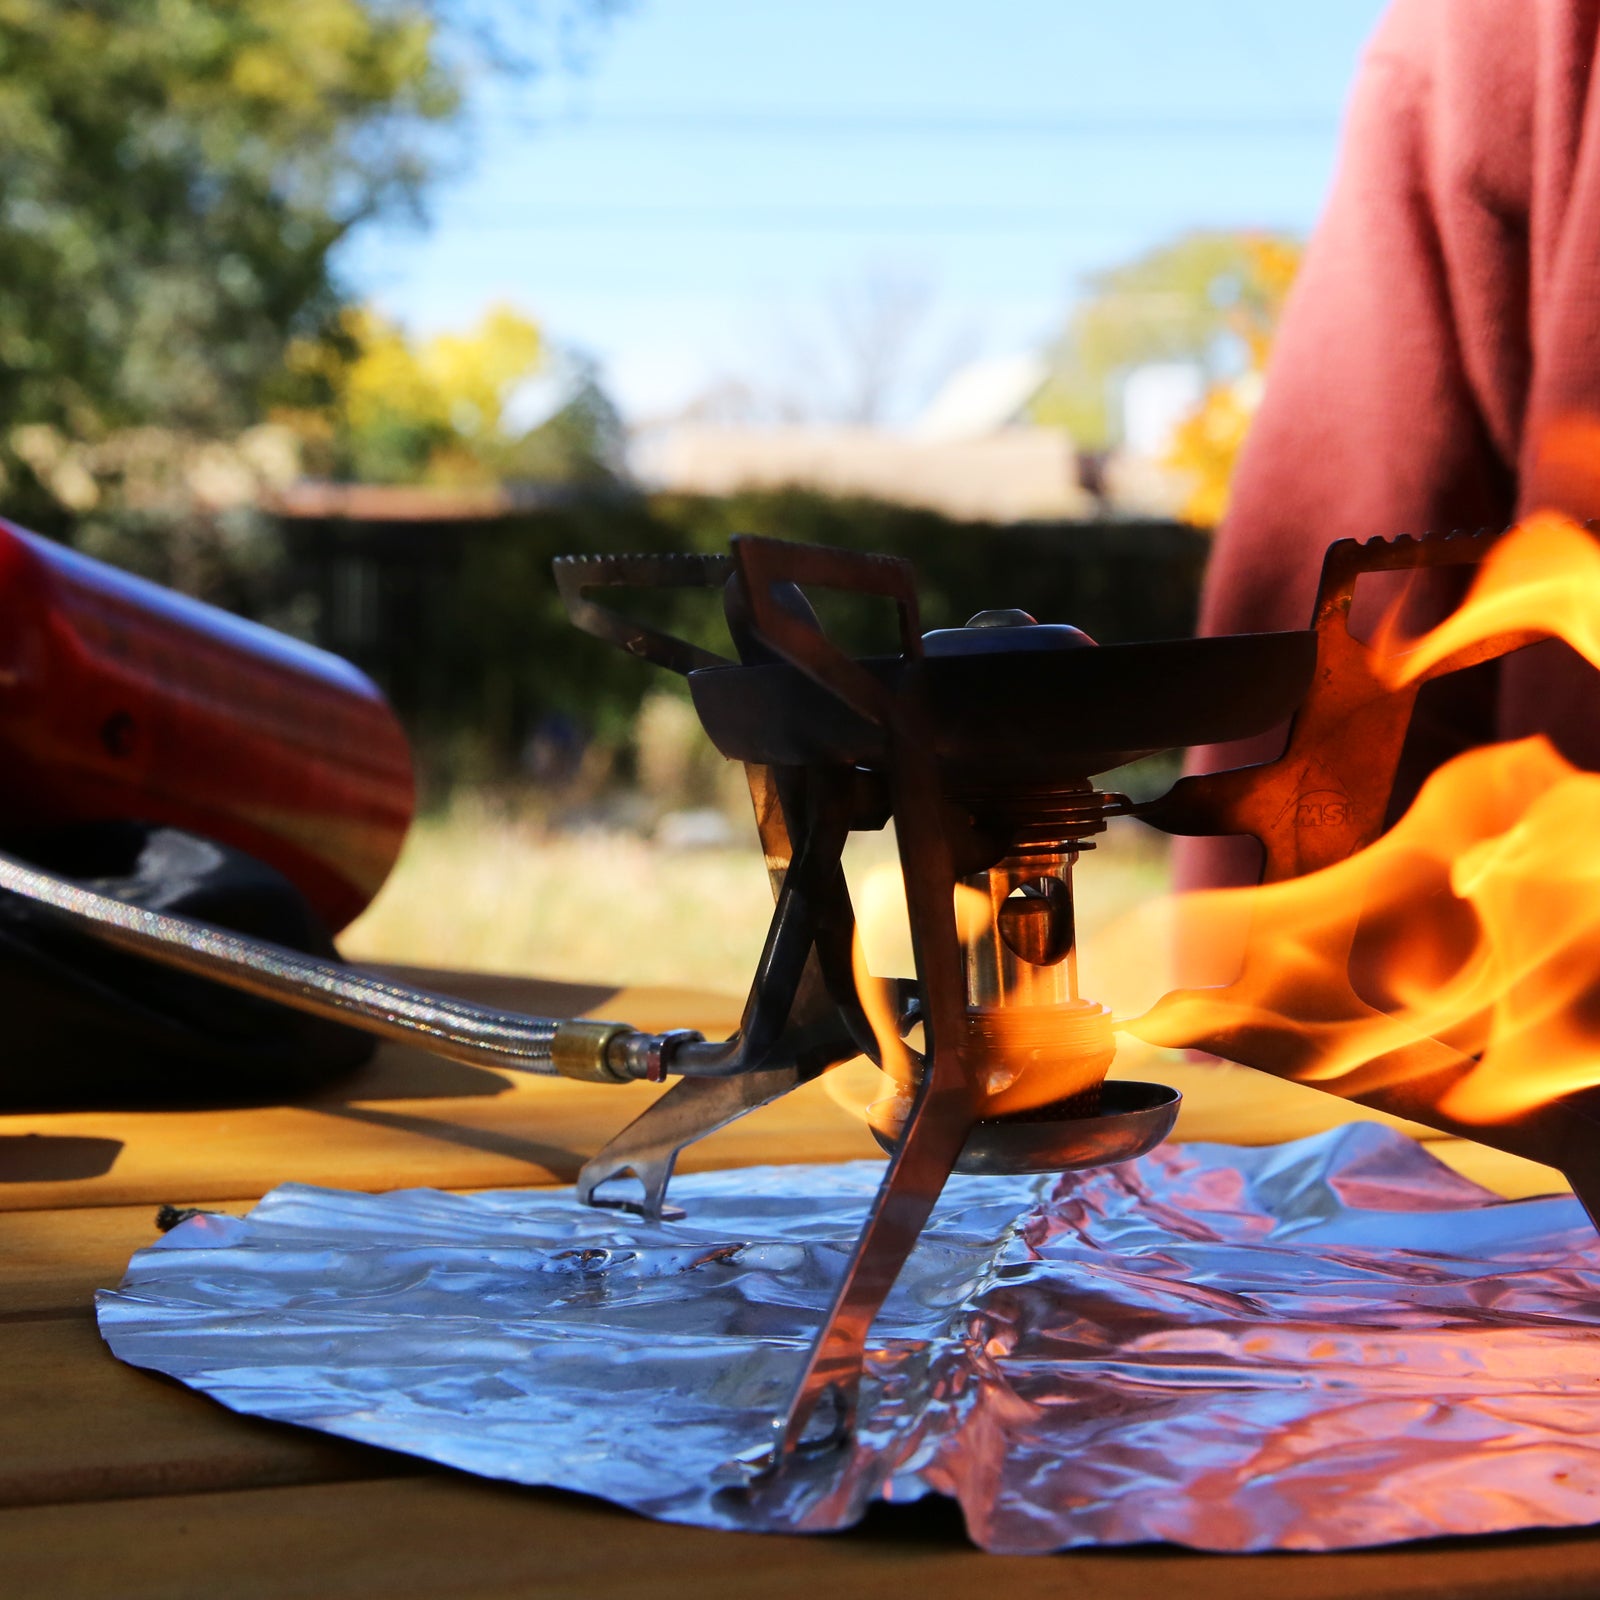
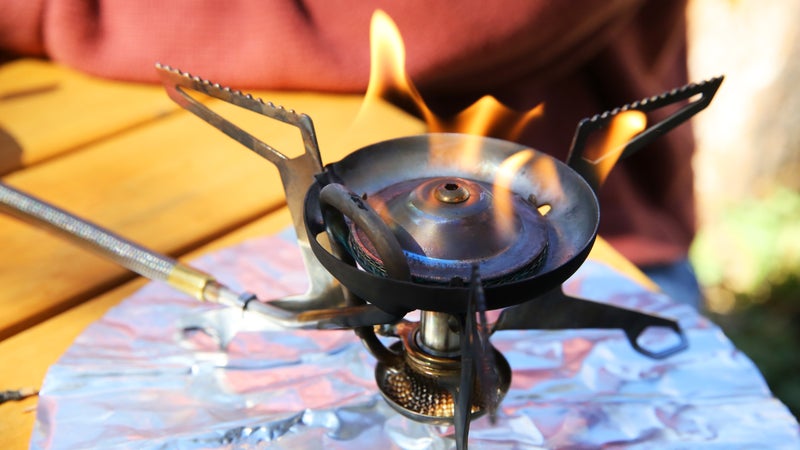
An MSR stove can help you make delicious meals almost anywhere. I’ve had my ($140) for more than six years now, and I once used it to cook three meals a day for more than six straight months. I love that it works with almost any fuel source (hence the “universal” in its name), but leaning this heavily on a piece of gear means keeping it in tip-top shape is key.
When It Needs Maintenance
You may be thinking, “I’ve had my stove for a few years, but I don’t know when to service it.” And you’re not alone. If your stove seems to be performing well, the only reason to give it some TLC would be to keep all the parts in good working order and extend its life. To be safe, I try to do some maintenance on my WhisperLite Universal at least once a year. But things like reduced fuel flow or inconsistent flames are sure signs that your stove could use a tune-up. You’ll need the ($15), which comes with O-rings, a jet and cable tool, and lubricant.
Troubleshooting
I always begin with the shaker needle, which is built into the stove and clears the fuel jet of obstructions. It’s common for deposits to build up in the fuel line and clog the jet after a few months of solid use. Run your stove for a few minutes, turn it off, and let it cool for at least five minutes. Then disconnect it from the fuel bottle, turn it upside down, and shake it a couple of times. You should hear the shaker needle doing its job and, hopefully, clearing out the jet. Reattach the fuel bottle, then prime and run your stove again. If the stove still doesn’t seem to be working normally, or if you just want to give it the full treatment, move on to cleaning the jet and fuel line.
Cleaning the Jet and Fuel Line
1. Turn your stove off again and let it cool down for five minutes. Then disconnect the fuel line from the pump and fold in the stove’s potholders.
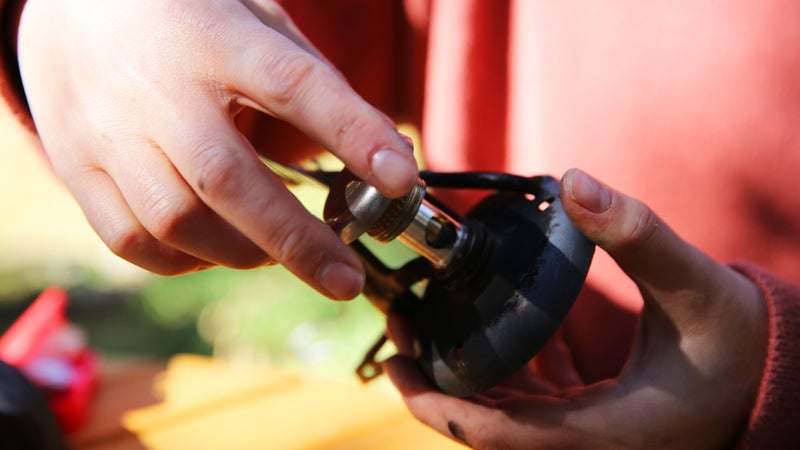
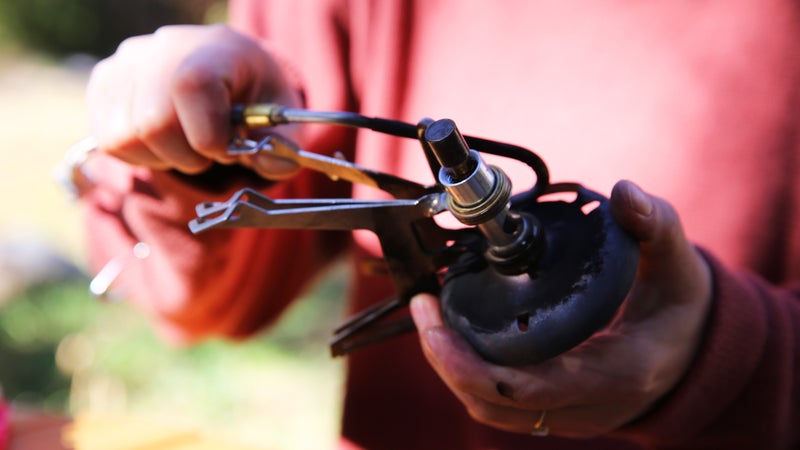
2. Turn the unit upside down and unscrew the priming cup. Depending on which WhisperLite model you have, there might be a wick inside the priming cup. Remove this as well.
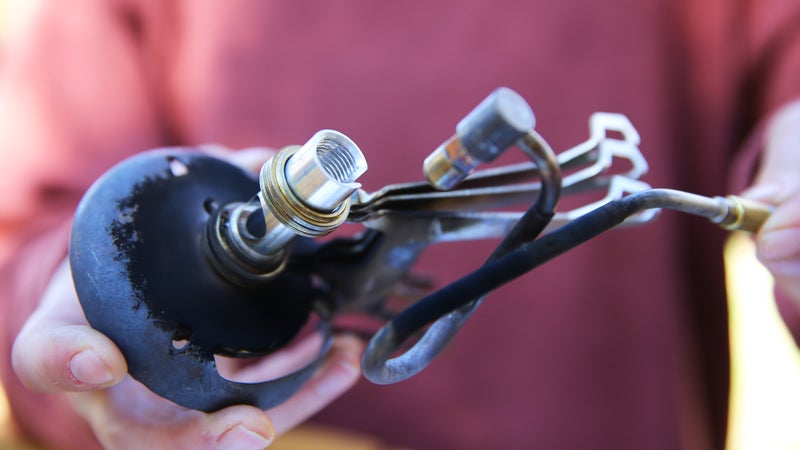
3. Take out the fuel line generator loop by gently pressing the loop. Using the jet and cable tool, unscrew the jet and shaker needle. Be careful not to bend the fuel generator loop while doing this, as damaging it will compromise the stove’s performance.
4. Screw the priming cup back on to ensure that no parts are lost while you’re servicing the stove.

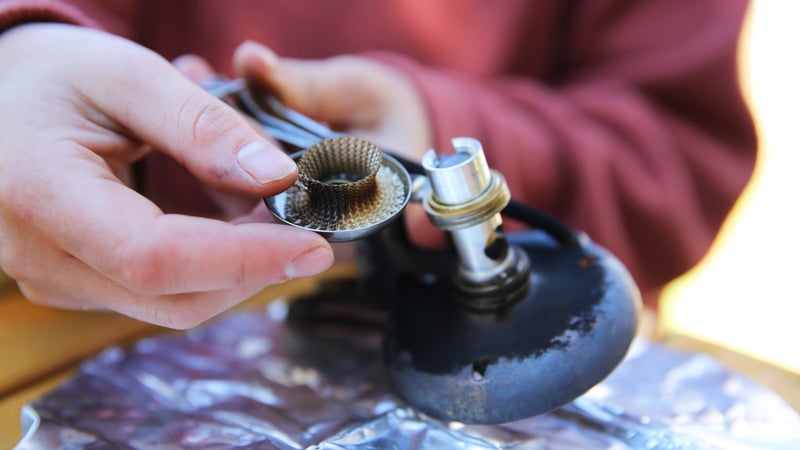
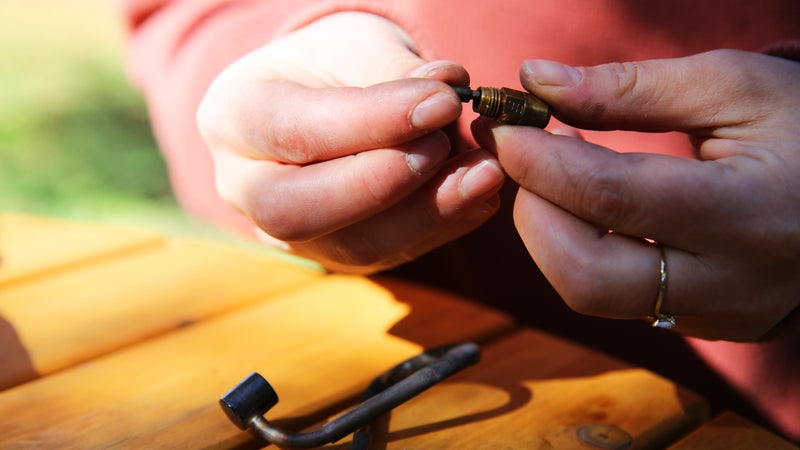
5. Manually clean the jet using the needle on the shaker that you removed during step three. The hole is very small, but you should be able to see through it if you hold it up to the light. Manually unclog the jet by poking the needle through the hole. If you can’t manually unclog the jet, you may need to ($30).
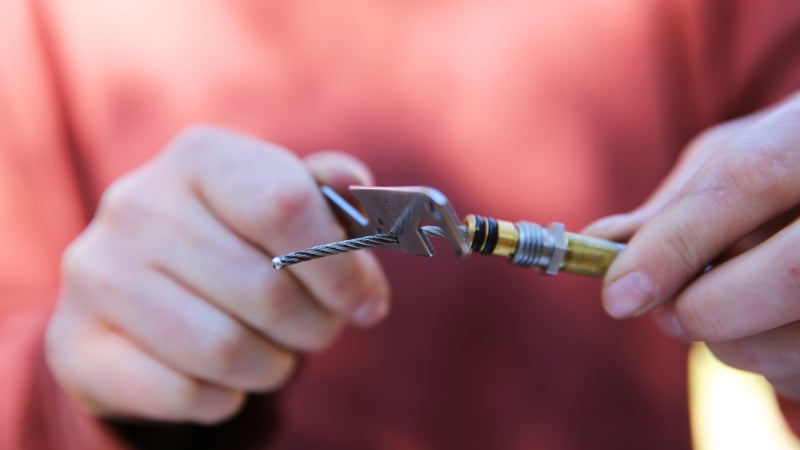
6. Next, remove the fuel cable from the fuel line using the tool in the maintenance kit. If you have issues getting the cable out, you may need to lube it with the included pump cup oil. Wipe the cable clean with a paper towel to remove any buildup and reinsert it using your hands.
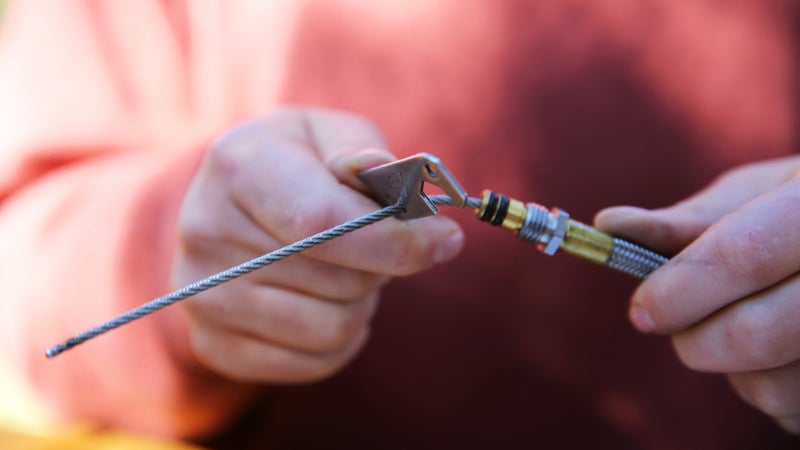
7. Using the cable tool, slide the fuel cable back and forth within the fuel line about 20 times to clear any remaining deposits. Remove the cable, and wipe it clean again with a paper towel. �ٴDz�’t put the fuel cable back in yet.
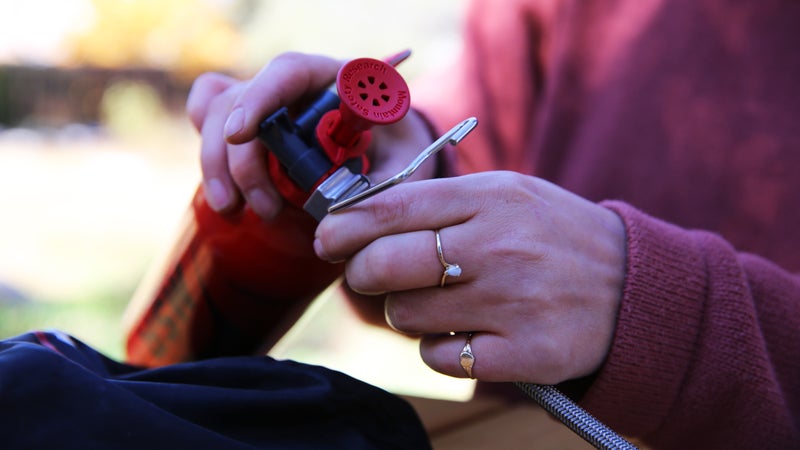
8. Attach the fuel pump to the line and pressurize it with 15 pumps.
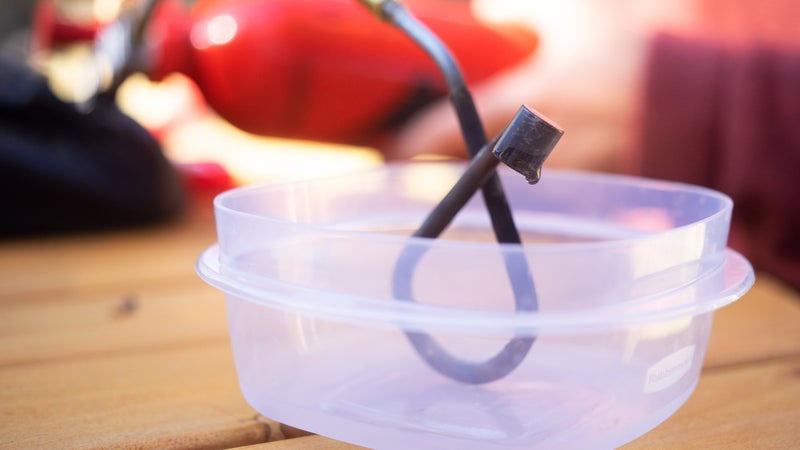
9. Making sure there’s nothing around you that could cause the fuel to ignite, carefully open the fuel valve and allow three to four tablespoons of fuel to empty out into a container to fully clear the line of any additional deposits. Turn off the fuel valve and detach the fuel line from the pump. Reinsert the fuel cable in the fuel line.
10. Replace the shaker needle inside the jet and reinsert the jet into the fuel loop, using the cable tool to tighten it properly.
11. Unscrew the priming cup, slide the fuel loop back on, then screw the priming cup back on. If you’re using the WhisperLite International, make sure to replace the wick as well.
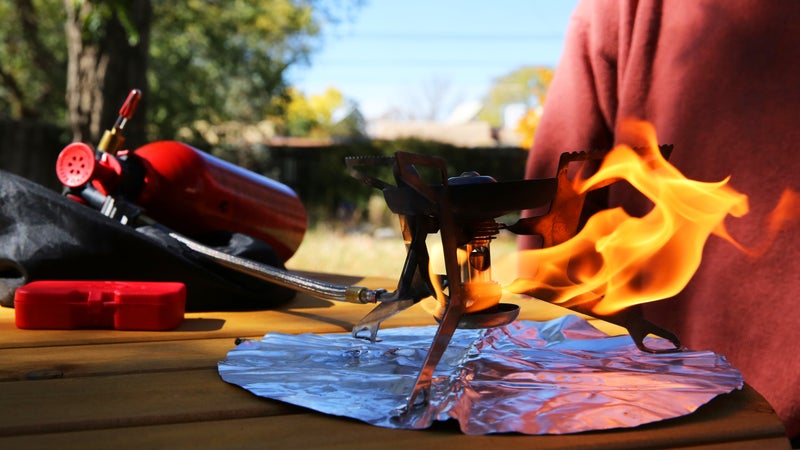
12. Prime and run the stove as normal. If it still isn’t functioning properly, go back to step one and repeat the process.