

Have you ever hopped on a mountain bike only to find you didn’t love the ride? The issue may not have been the bike, but that the shocks weren’t set correctly for your weight or the terrain. Properly adjusted shocks smooth out a teeth-chattering trail. With too much or too little pressure in your shocks, the ride can be clunky or unstable.
There are two types of shocks: coil shocks that use springs for compression and rebound, and the more common on mid-range to high-end bikes, air shocks, which use a combination of air and oil. To adjust coil shocks, you need to swap out springs. Here, Abby Hippley, builder and former demo driver, who has adjusted shocks for more than 100,000 riders, shares her technique for adjusting air-oil shocks.
There are three steps in achieving the perfect ride: (1) setting sag, (2) setting compression, and (3) setting rebound.
To set sag: Recruit a friend to hold your handlebars and balance your bike as you climb on, hands on the bars and feet on the pedals. Without touching the brakes, and with your friend still holding the bars, bounce up and down on the bike engaging both front and rear shocks. Stop bouncing, and have your friend slide the rubber o-ring on your front left shock stanchion all the way down to the body of the shock, and the o-ring on your rear shock up to the body of the shock. With your friend still holding the bars, gently tilt to one side and step off your bike.
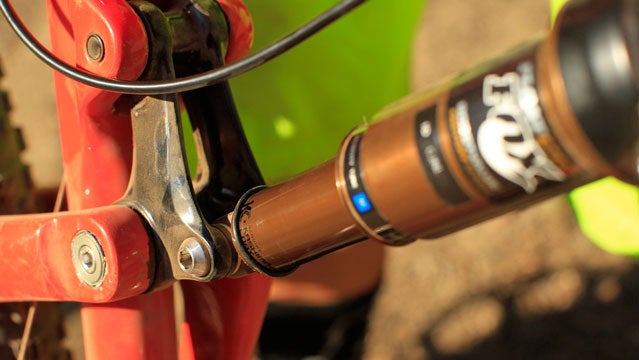
If your shocks are set properly for your weight, you should see 25-30 percent of the shock stanchion—the part of the shock that disappears into the shock body when the shock is loaded—between the o-ring and the shock body. Eyeball it or use a ruler to measure. If less than 30 percent of the stanchion is showing below the o-ring, unscrew the valve cap on your shock and, using a shock pump, add air—about 10 PSI at a time. If more is showing release air by tapping on the shock pump release valve one tap at a time.
“Properly set shocks are determined by your weight, but also by the terrain,” Hoppely says. “On a rocky, rooty, teeth-chattering trail, you may want your suspension softer. And front and back shocks work together to give you proper handling. If your rear shock is too soft, your weight will be back; if your front is too soft, you’ll feel pitched forward.” Hippley’s rule of thumb: Watch your o-rings as you’re riding. If they never fall off, your shocks are set too hard.
To set compression: If your compression in your fork is too low, your front end will feel like it is diving on a descent, or bobbing on a climb. In swooping bermed turns, you’ll want slower speed compression, and on a high-speed rocky descent, you’ll want faster compression. Compression is set with a knob on your fork and a knob or lever on your rear shock, both usually blue—play with them while you are riding.
To set rebound: Rebound is how quickly your shock uncompresses. Find the rebound knob on your front and rear shocks—it’s usually red, and on the front, it’s sometimes under the front right fork leg. Turn it all the way in one direction. Then count clicks as you turn it back to the other extreme. Push down on the shock at each extreme and feel how moving the rebound dial affects how fast the shock pops back up.
Usually, the right rebound setting is somewhere near the middle of the range, so work the dials back once you’ve visited each extreme. Then, turn the dial two clicks in each direction and compress the shocks. Pick what feels good to you—not too fast to be jarring, not so slow that the shock hasn’t returned to fully extended before the next bump in the trail. Hippley says that most people leave their rebound setting once they’ve found their sweet spot.