

You’ve got yourself a sweet new bike and have been loving it, but it won’t run trouble-free forever. Below, we go over a handful of preventative tips, how to diagnose basic issues, and some advice for when it’s time to grab the wrenches.
Clean and Lube Your Drivetrain
Your bike’s drivetrain consists of countless tiny parts designed to do very different things. But they all need to work in unison, from the narrow-wide teeth on the chainring to the steel cable the shifter tugs and releases, and especially the machined cogs and moving parallelogram that is the derailleur. While all that sounds complicated, there’s one really simple thing you can do so it works smoothly: .
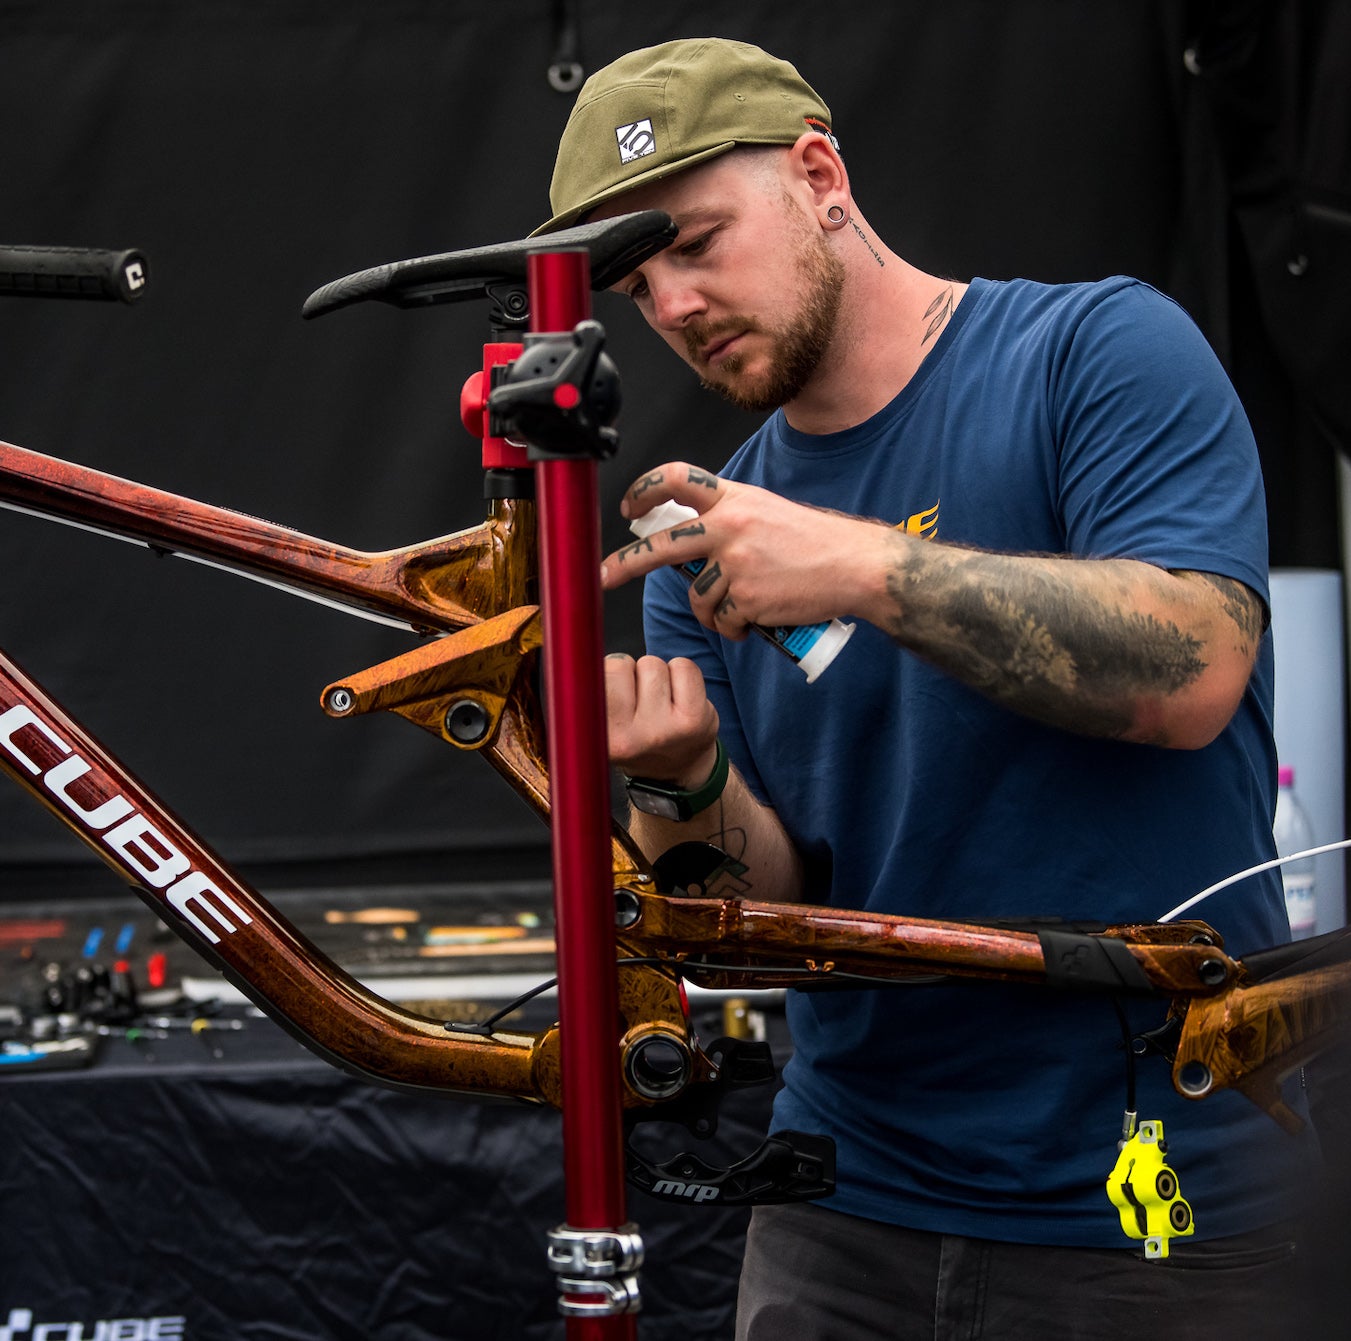
Any grit and grim stuck onto your drivetrain, and especially your chain, acts like sandpaper to slowly wear things out. This can happen surprisingly quickly depending on where and how you’re riding, but a rag sprayed with an alcohol-based cleaner (I prefer Brake Clean), an old toothbrush, and a few minutes of your time are all you need. Do this after every second or third ride, along with a re-lube of your chain afterward, and your drivetrain will thank you.
If you want to be less messy about it, consider a chain-cleaning device that uses a citrus-based liquid and a system of brushes to do the work for you. Your local shop sells these for under $50 USD, or you can find them online for even less money.
There’s a right way and a wrong way to lube your chain, and you definitely don’t want to use too much. Ideally, a drop of lube into each roller from the top and bottom is perfect.
Use the Right Tire Pressure
Your bike likely uses tubeless tires, a much more reliable system than inner tubes. But because air can still leak out from many places, including right through the sidewall, it’s always best practice to check tire pressure before every single ride.
Tire pressure has a massive impact on how your bike performs. Too low and your tires will bend and fold over when you corner, making the handling feel vague and unpredictable. Because the tire acts like a cushion of air protecting your rim, you’re also more likely to smash the rim into rocks if your tire pressure is too low. You might get away with it, or you might cut your tire, or you might even completely destroy your rim.
Too much tire pressure and the rubber can’t conform to the ground as well as it should, resulting in less traction and less control. Thing is, the difference between too little and too much can be as small as a couple of PSI, which is why a pressure gauge is a must-have tool. For a deeper dive into the basics of tire pressure, is a great place to start.
Set Up Your Suspension
Mountain bike suspension can be overwhelming these days, but it doesn’t matter how many dials your fork or shock has if the spring rate isn’t set correctly. Think of the spring rate as what holds you up; heavier riders require a firmer spring rate (be it more air pressure or a stiffer coil) than a lighter-weight rider. Your bike won’t perform anything like it was intended if it the suspension is too soft or too stiff, so this is step number one regardless of if your bike costs $1,000 or $10,000 USD.
Thankfully, most forks have an air chart sticker on the backside of a fork leg that will give you a good place to start. For the shock, check the bike manufacturer’s website for recommended settings. Most suspension is air-sprung these days and requires a high-pressure shock pump to adjust.
Listen to Your Bike
Sometimes things break unexpectedly, but other times your bike might give you a heads up that something isn’t right. If you know what to listen for, you can identify and fix the issue before it gets worse.
Everyone’s bike gets creaky at some point, and it usually comes from the same two or three spots. If the creaking goes away when you stand up to pedal, it’s most likely related to your seat post or seat; if it’s still there, it’s probably coming from the bottom bracket area and will need a closer look. Bottom brackets get creaky, but so do chainring interfaces, pedal threads, and crankarms, so it’s a process of elimination. Your level of mechanical know-how will determine how far you’re comfortable going to chase the creak, but a basic bolt check is a good place to start, followed by removing one part at a time near what seems to be the source of the sound to make sure it’s clean and properly greased.
Creaking from the front of your bike often comes from the handlebar, stem, and steerer-tube interfaces. Stand over the front of your bike with the wheel held firmly between your legs and apply twisting and turning torque to the handlebar to see if it makes noise. If it does, make sure that the bolts are tightened to the correct torque spec – a light coating on the bolt threads can also help ensure everything gets snugged down smoothly.
Slow shifting, either to a harder or easier gear, is your bike’s way of saying that it needs an adjustment. This could be as simple as a ten-second cable tension tweak, or as intricate as patiently straightening an expensive and hard-to-come-by derailleur hanger.
Use the Internet to Fix It
If you’re a DIYer, you already know there’s a video online showing you how to repair a 1973 Electrolux vacuum, build your own bird cage, or lay out a wiring loom for a plane.
When you do need to learn how to fix something, start by checking the manufacturer’s website to see what they show. Many brands have YouTube pages loaded with how-to videos that are worth watching before venturing deeper into the internet for other advice.
Don’t Be Scared of Your Local Shop
Local bike shops can be intimidating, but they’re often a wealth of knowledge and have access to more information and company reps that might be able to help with whatever issue you’re having. And no, it doesn’t matter if you didn’t buy your bike from them. Are they going to give you endless free advice? Probably not, but they’ll happily sell you whatever tools you need and maybe give you some pointers—or you can just pay a pro to fix it.
Every spring there is an influx of riders keen to get into mountain biking, and at Pinkbike and ���ϳԹ���, we know that these newcomers are often overwhelmed with information and opinions. So, we’re launching a seven-part series called MTB Explained, where we help new riders navigate some of the basics of our sport. If you’re new, welcome to the best damn sport in the world, and if you’re a long-time rider let’s welcome these folks to the club.