
Each year��about 4,000 backpackers attempt thru-hikes on the nation’s big three footpaths: the Appalachian, Pacific Crest, and Continental Divide Trails. Each is a massive commitment, with gear bills in the thousands of dollars and up to six months away from work.
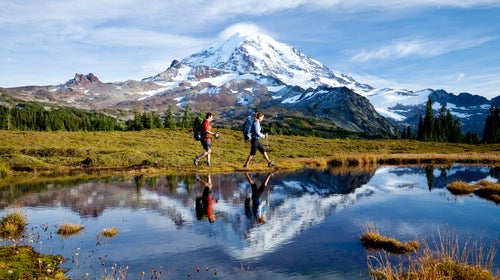
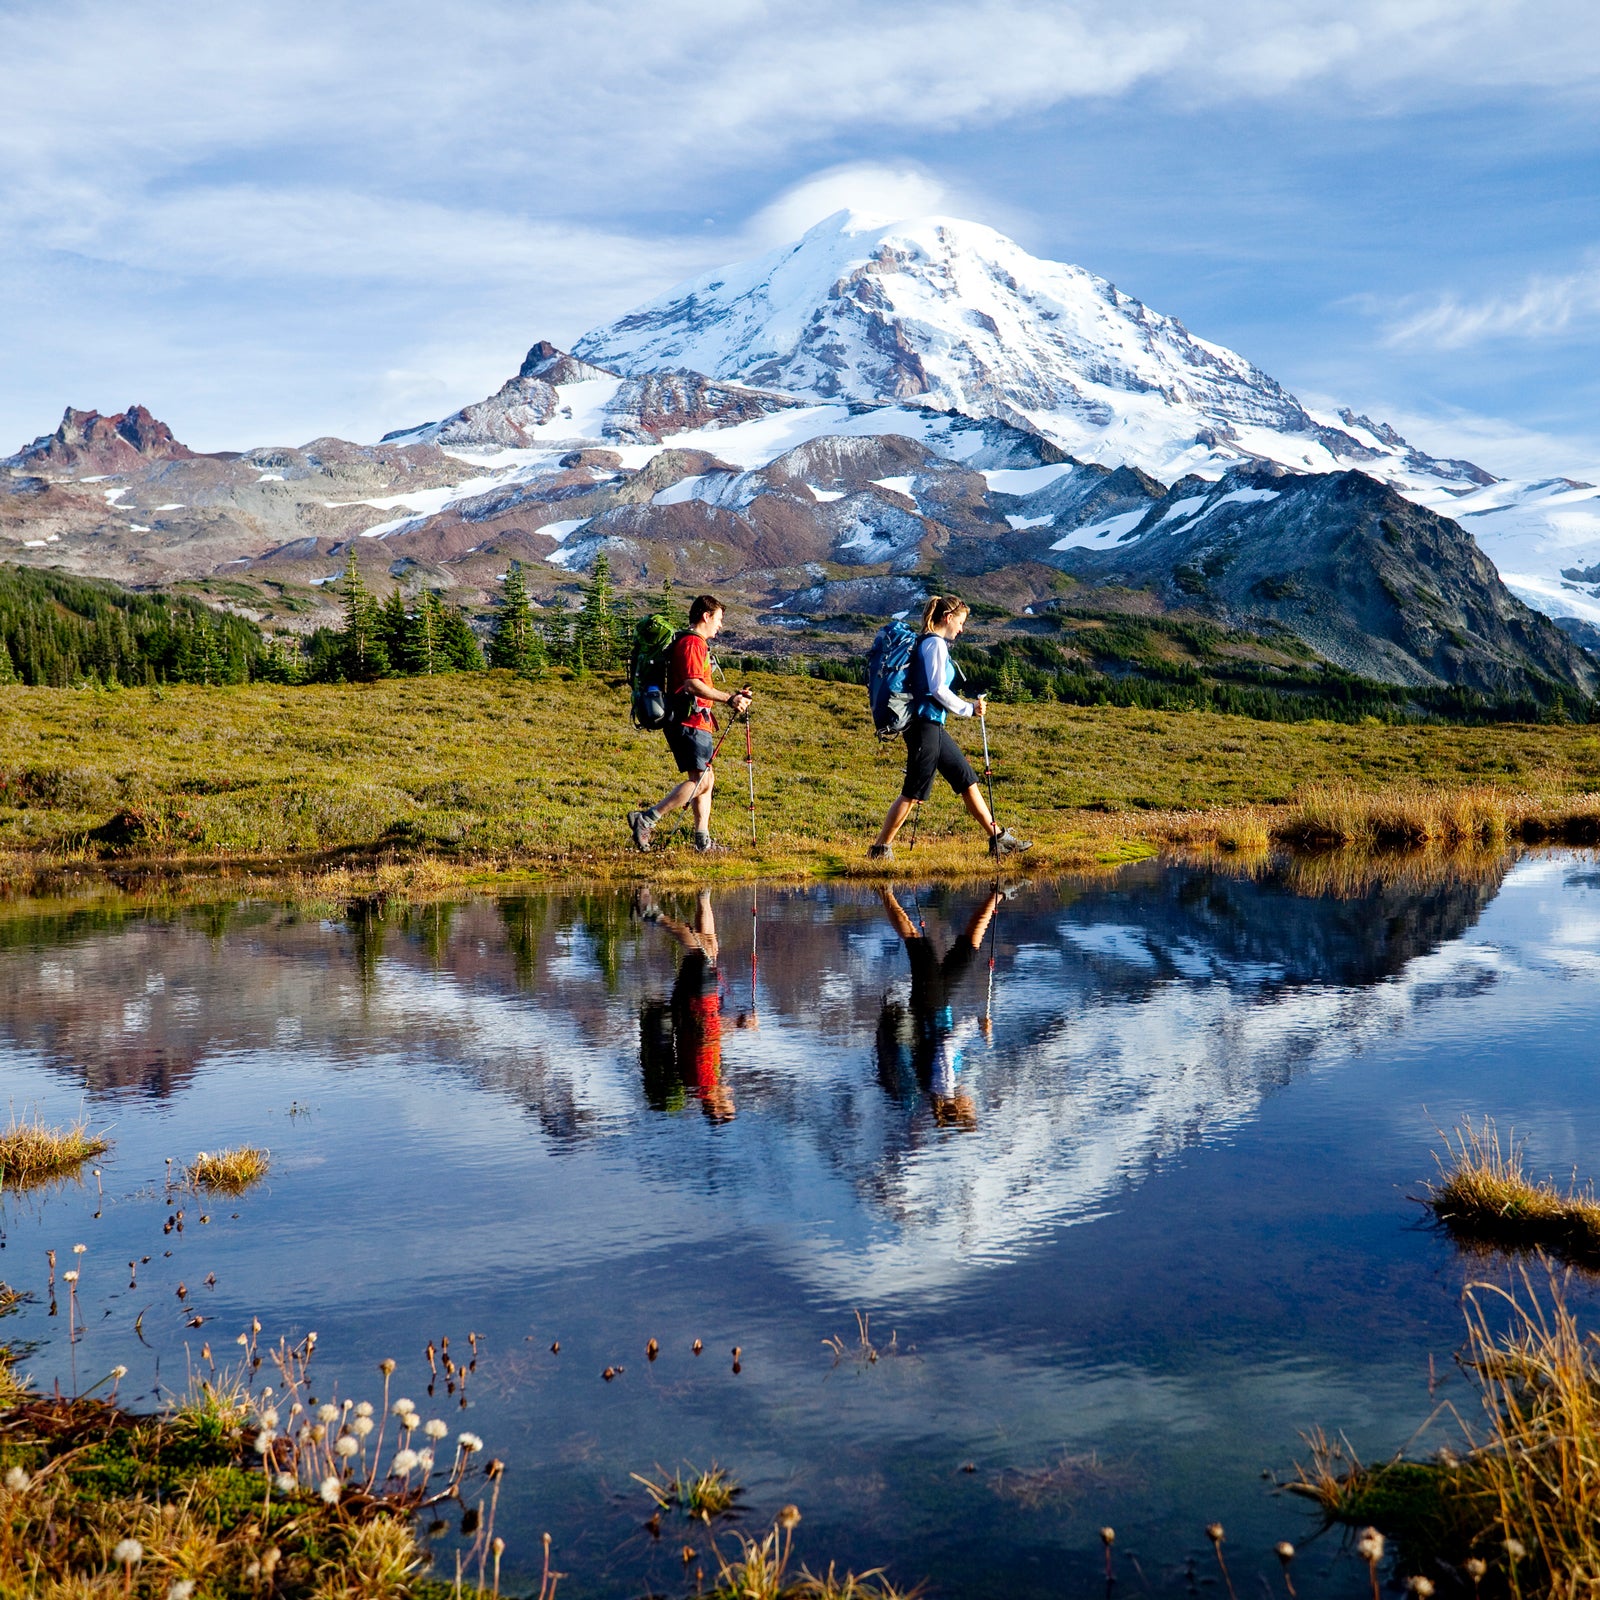
But backpacking doesn’t have to be a months-long, bank-account-draining undertaking. For many people, the real appeal of backpacking��is the quiet remoteness it affords, a��chance to step away from the rat race and experience some real solitude. With a little bit of planning and creative preparation, you can easily have the time of your life out there, even if this is your first overnight sojourn.
Safety First
As great as backpacking is, it also comes with certain risks. It’s your job to minimize them with some basic precautions:
- Assume that you’re not going to have cell-phone reception for at least part of your hike. That means��if you get lost (and even the best hikers do), it’s going to be up to you to get yourself found. Always make sure an emergency contact is aware of your intended itinerary, when you plan to return, what vehicle��you’ll be driving, and who is going with you.
- Invest in a decent compass and of your hiking destination, and know how to use both. Many major gear outfitters and regional chapters of offer map and compass courses for new users that usually cost less than $100. If you can’t get to one of these locations, check out the Appalachian Mountain Club’s or this video from REI.
- If you have the cash to spare, consider investing in��a personal locator beacon��(usually a few��hundred dollars), which will allow you to send your exact location and/or an emergency distress call when there’s no cell reception.
- And be sure to study�� from the U.S. Forest��Service on what to do if you do get lost or find yourself in distress: it’s chock-full of great tips on how to keep it together when all else fails.
Keep It Simple
On the��Trail
State and national parks can be great places for beginners: their trails are usually well marked, and their websites offer user-friendly guidelines for new and experienced hikers alike. For first trips, , director of the Appalachian Trail Institute,��who has been educating hikers for over 45 years, recommends staying close to home and restricting initial outings to easily accessible and well-indicated��trails. Look for routes with low mileage��and little in the way of difficult terrain, like steep elevation gains and losses or��tricky footing that you might find��with boulders, loose rock, or even a rat’s nest of roots.��“Be modest in your expectations,” Doyle advises. “This isn’t about completing mileage. It’s about simplicity and the willingness to step away from society’s cradle. You can do that as easily in five miles as you can 500.” Websites like and offer databases that can be searched by zip code or geography, and regional trail conservancies are also great resources.
Searching for a Campsite
“Don’t be afraid to set up camp after just a few miles on your first day, especially if you’re already tired,” Doyle says. Also consider��using this camp as the��base for your weekend adventures. For��weekend hikes, this might mean��hiking��in and establishing��a base camp on Friday night, which then allows��you to day-hike on Saturday with a much smaller pack��and��return to your��tent and sleeping bag that evening. There’s also no harm in using the hostel-hut systems at places like ��in California��or ��in New Hampshire. But��if you want the full backpacking experience, look for loops with designated camping areas or even established shelters (which often also come with water sources nearby).
Before You Buy
, author of ,��hiking record holder, and owner of the Blue Ridge Hiking Company, in Ashville, North Carolina, recommends using loaner hiking gear before investing in your own goods. “It’s hard to know what you need without a frame of reference,” she says. “By borrowing or renting gear, you can decide what you love, like, dislike, or can’t stand about certain products.”��REI��rents out gear, including��backpacks and��camp stoves, but you should�� for a complete list��of available gear.��Or, for $92 per day, startup��CampCrate will mail you a , including a sleeping bag, tent, water filter, and headlamp.
The Essentials
Once you’re ready to invest in your own��gear, you need to determine where and how you’re going to regularly hike—different climates and trip lengths��will call for different gear. Backpacks come in a variety of sizes, and most are measured in liters; you can probably get away with a backpack in the 50-to-60-liter range for a trip less than four days. Many sleeping bags are labeled by the minimum temperature an average sleeper will be comfortable; a compressible 20-degree bag will work for��many people for three seasons. And while some prefer crawling into a tent at night, others prefer to sleep in a bivy sack or hammock.
Other essential items include a basic first-aid kit, activity-specific items like sunscreen, bug spray, moleskin or duct table for blisters, and a Mylar emergency heat blanket (which can also serve as a great signal for search and rescue planes��in the event you get really lost). A reliable headlamp with fresh batteries is also a must, as is a whistle, a waterproof lighter or matches, and a collapsible knife or multitool.
For a comprehensive list of recommended equipment, check out the National Outdoor Leadership School’s basic or ���ϳԹ���’s list��of backpacking essentials.
Pack Right
When it comes to packing these essentials, play to the engineering of the pack itself. Modern-day backpacks are designed with waist belts that distribute the weight of a pack to your hips and lower body, where our real core strength lies. Keep heavy items, like reserve water, heating fuel, and food, low in the main pouch of the pack, and place light items, like a down coat or sleeping bag, higher in the back. The most essential items, like maps, snacks, a cell phone,��and at least one water bottle, should be kept in an external pocket where they can easily be reached.
Practice Makes Perfect
At Davis’s store,��mornings are by appointment only so that backpackers can receive one-on-one attention from employees trained to help customers find the right size backpack and make sure it’s properly fitted. Even if that kind of individualized treatment isn’t available where you live, find an outfitter that will take the time to show you how to use items like a��water purifier,��camp stove, tent, and rain fly. Practice using them��long before you’ve hit the road. There’s nothing like getting stuck outside in a deluge to make you consider another hobby.
Hit the��Gym Before the Trail
Even the most thoughtfully packed backpack is going to add extra weight and strain to your body. Couple that with the repetitive motion of hiking��and you’re going to tax your body in new (and sometimes exhausting) ways.
To make sure that body is trail ready, personal trainer and competitive ultramarathoner recommends considering a workout strategy that leads with basic cardiovascular conditioning. “Before you even add weight to the mix, start spending some real time on your feet,” Seaver says.
After that, you’ll��need to train your body for the unique demands of hiking with specific exercises. Building core strength will help keep you stabilized on variable terrain; back and upper-body strength will help you shoulder that pack. To achieve both, Seaver recommends these five exercises.��Try for ten��reps of each, making sure to focus on controlled movement and good form.
Step-Ups


Lunges


Single-Leg Deadlifts


Downward-Dog Holds


Push-ups—Regular or Modified


Consider Your Fuel��
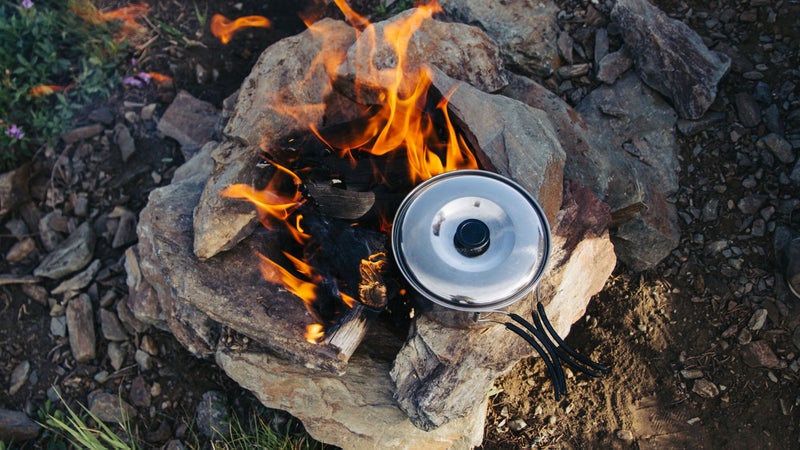
When planning meals, think first about what and how you actually like to eat, and then add a little bit to that. Backcountry cooking can be a blast and even gourmet—but only if you have the time and patience to pull it off. And although dehydrated meals are super easy, they are also expensive.
, a registered dietician and Appalachian Trail thru-hiker, recommends starting with easy enhancements to supermarket meals. For breakfast, she’ll add peanut butter or Nutella to instant oatmeal and wash it down with an instant coffee. Lunches are almost always variations on wraps—there are endless combinations to be had with��hummus, a good hard cheese, and some salami. Carberry’s preferred dinners start with boxed rice or��pasta (think Annie’s mac and cheese or Near East’s rice pilaf), to which she’ll add pouches of tuna or precooked chicken. Umami goes a long way to making food taste great, so consider bringing along small bags of sun-dried tomatoes, olives, or freeze-dried mushrooms for some zing. Travel-size condiments like sriracha or flavored salts can add a welcome zip of flavor to the mix as well. “It’s a way less expensive way to eat,” says Carberry, “and you’re still ultimately just boiling a pot of water.”
Carberry advises��hikers putting in��light to moderate effort��to��add an extra 500 to 1,000 calories to their daily intake. Spreading out those calories with regular snacks is a great way to keep from bonking. Energy bars are easy, as is the omnipresent trail mix. And when it comes to hydration, Carberry says she tends to skip energy drinks or hydration powders in favor of water. “If you’re drinking the recommended daily amount”—at least 64 ounces, with more for cooking—“and eating adequately, hydration shouldn’t be a problem,”��she says.
Take Only Photographs,��Leave Only Footprints
We take to the trail because it is wild and often pristine. But it doesn’t take much to destroy that beauty altogether. That’s one reason why backpacking is defined by ��ethics,��and it’s essential you know how to follow it.��Hike only on designated paths. Whenever possible, camp only on designated sites. Light fires only in established fire rings (or even better, don’t light one at all). Clean up every campsite before you leave, even if the trash isn’t yours, and leave the rest of the ecosystem as��you found it.
The Nitty-Gritty
With few exceptions, any trail should always be considered carry in, carry out.��That includes obvious stuff like wrappers and empty canisters, but it also includes leftover food, water used for cleaning, toilet paper, and (let’s just get this out there) your own poop. If the landscape allows for it, you can opt to bury your organic waste in a cathole, so long as it is at least six��inches deep and 200 feet away from any water source. If that’s not an option, you’re going to need to invest in a —though��on more than one occasion, I’ve successfully used pet-store poo bags to surprisingly good ends. To avoid lugging excess stinky trash, many female hikers will use a dedicated pee rag (often a bandana kept in a Ziploc bag) and a menstrual cup. To further cut down on what you need to pack out, combine meal ingredients into single bags and favor bulk-food items, especially those that can be stashed in resealable pouches. Resealable freezer bags make for great garbage-disposal units on the trail.
If any of these rules feel confusing, stick to this basic mantra: the woods do not belong to me. If that doesn’t work, try this one: I will not be a jackass. Got it? Good. Now get outside.