

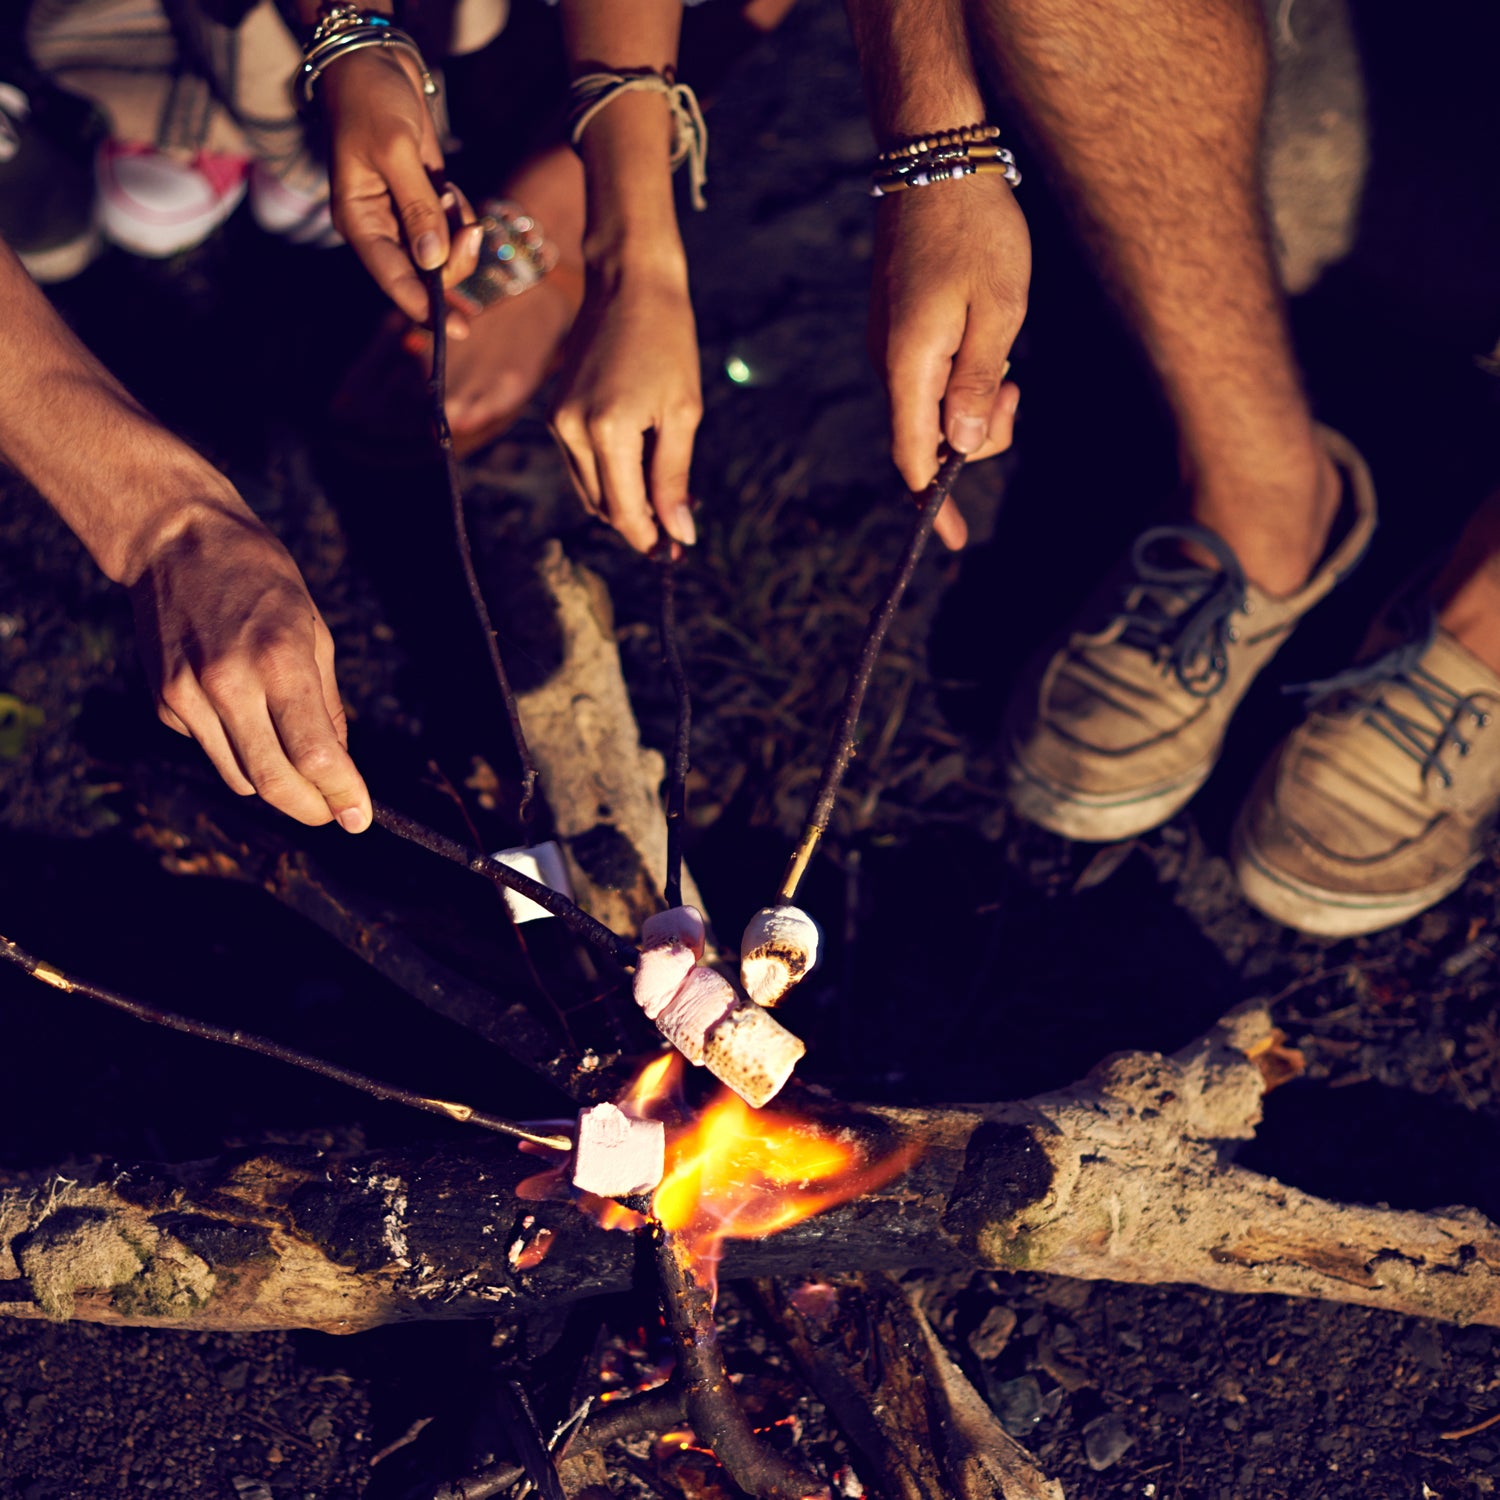
We’d pitched our tents on Assateague Island’s sandy shores, gawking at the wild ponies on the horizon and grilling hotdogs over an open flame. As night rolled in from across the Chesapeake Bay, we retired to our sleeping bags.
Suddenly I awoke in the middle of the night to shrieks from my friend in the adjacent tent: “The ponies! They’re eating everything!”
“Ponies don’t eat hotdogs,” I replied, groggy and reluctantly unzipping myself from my cozy cocoon.
But I was mistaken. Ponies do eat hotdogs. And ketchup packets. And anything else they can get their oversized lips around. By the time we’d chased the carnivorous herd away, our supplies were all but gone. It was a painful way to learn what I consider to be the most important rule for eating in the great outdoors: Never trust any critter with your food—not even your camping companion.
But there are a few other important guidelines for enjoying a quality meal while on the trail. Eating real food, as opposed to freeze-dried kibbles—requires some foresight and planning, but it’s totally doable. For advice, we talked to Jen Smith, a pastry chef and avid backpacker and bicycle traveler, who breaks eating on the trail down into four simple steps:
Step One: Plan, Plan, Plan
First, figure out what type of trip you’re taking, how many miles per day you plan to cover, and how much weight you want to carry. The tips here are geared toward two-to-three-day backpacking trips, so we’re going to advise you against bringing your favorite 15-pound skillet. For more on packing light, check out Step Two.
Next, figure out how many calories you’ll need. According to the book , if you’re planning a “very active day” (think more than three hours of hiking with a pack on), take your body weight and multiply it by 25 to 30 calories. That should give you a good general estimate of what you’ll need—then plan to have an extra 500 calories on hand just in case you end up going longer or farther than planned.
Finally, figure out your “bonk” food. Sure, almonds and beef jerky may be what sound good while you’re packing in your living room, but have something you’ll want to scarf at the ready just in case. (Personally, I always have a snack-sized bag of Flamin’ Hot Cheetos in the bottom of my pack.) Smith’s calorie-bomb go-to is a mixture of peanut butter, seeds, nuts, and honey in a plastic bag. “It doesn’t look pretty but it’s an amazing energy food ration.”
Step Two: Gather Your Gear
You can go overboard with camping cookware, especially if you’re car camping. But all you really need to enjoy a solid meal on the trail is a knife, a piece of cookware, a means of heating water, and a container to keep your food out of reach of animals.
For heating: The biggest questions here are what size stove you need and what kind of fuel you want to use. There’s a wide range, but the simplest system consists of an integrated canister stove, like JetBoil’s Group Cooking System ($119).
For eating: I thought I was so cool when I showed up on a trip in the Grand Canyon with a titanium spork. “It’s practically unbreakable!” I boasted to my dad. But when I reached in to stir my supper I realized the spork had a design flaw: metal gets very, very hot. Smith has a better idea: “I really like the old-school utensils that have wooden handles because you can stir without burning yourself.”
For cutting: A pocketknife is good for many things, but cutting carrots isn’t one of them. If you’re car camping, swing for the luxury of a real knife and a real cutting board. You’ll save yourself a ton of sawing and possibly even a finger. If you’re in the backcountry, use the knife on your multi-tool, but if at all possible go for a multi-tool that has a longer-than-average blade. The longer the blade the better leverage you’ll have when chopping things.
For storing: If there’s not a bear box nearby, you need to at the very least bring rope to hang your bags out of harm’s way when it’s time to hit the sack.
Step Three: Spice It Up
Last year, Smith and her husband biked around Newfoundland. There were stores along the way, but the pair arrived with a tube of curry paste and a few packets of dried coconut milk stashed in their bags. With a bit of water and the addition of a protein, the pair was able to make a bold coconut curry.
Likewise, spices don’t weigh much and can add a ton of interest to otherwise humdrum food. Consider bring a small packet of granulated garlic, smoked paprika, or cumin.
Step Four: Don’t Forget Breakfast
Cramming a granola bar while breaking down camp is efficient. But if you’ve got extra time before your summit attempt, a hot breakfast will get you farther before you need to refuel. Smith likes cream of wheat mixed with an egg (or egg substitute), a bit of brown sugar, and roasted, salted sunflower seeds. “It’s the perfect sweet and salty mix,” she says. Oatmeal is great too—but make sure you add some sort of protein or fat to it (like peanut butter) to keep you going for more than an hour.
As far as caffeine goes, Starbucks’ Via instant coffee packets are surprisingly acceptable—especially after a few days in the backcountry. If you need the real stuff though, a lightweight pour-over coffee filter is your best bet. Just remember to pack out your grounds.