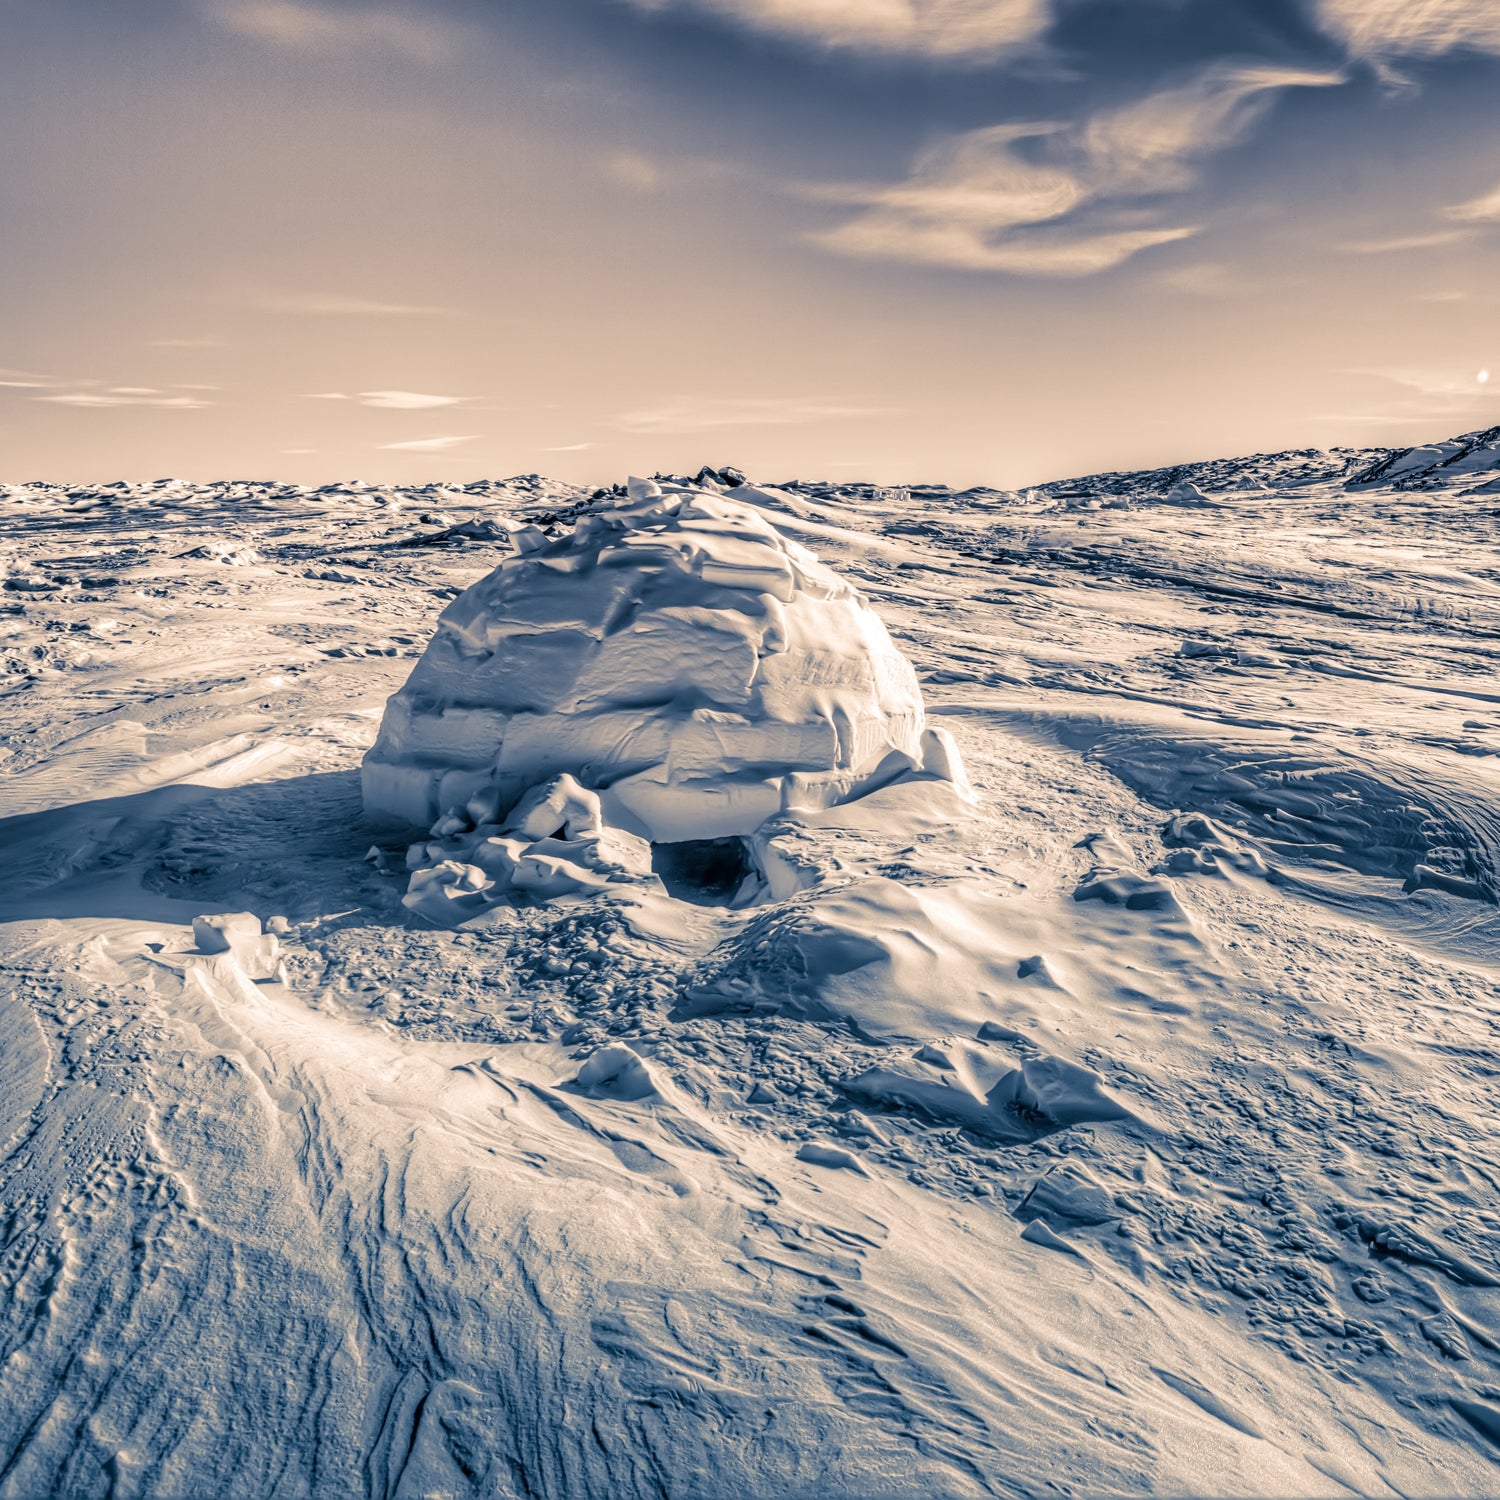
Whether you��re looking for a snowy Saturday-afternoon diversion with the kids or aiming to step up your winter-camping skills, the answer is the same: igloo! It��s roomier and more civilized than a snow cave, requires less of the white stuff to build, and is much warmer than a four-season tent.
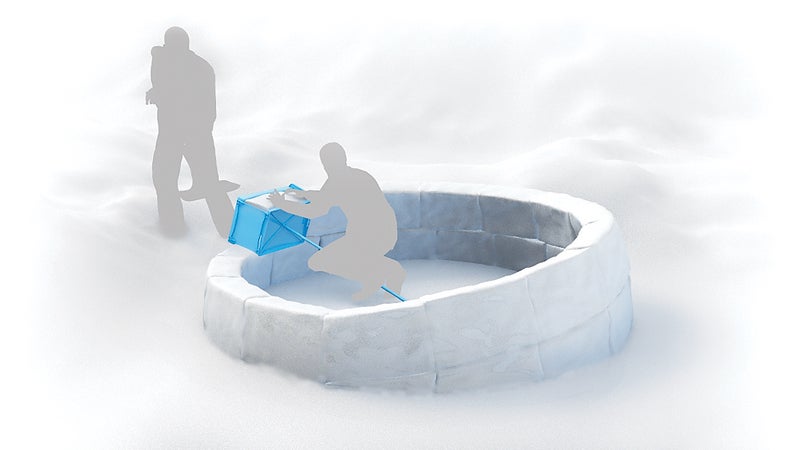
The only downside? Creating one requires a bit of know-how. That��s why we love the ($180), a simple but ingenious invention by Colorado-based Ed Huesers, a.k.a. . Essentially a plastic mold attached to a telescoping pole, the sub-five-pound Icebox makes it easier to form perfect blocks and erect a dome that sleeps five and is tall enough to stand up in. Huesers��s instructions read like a flight manual, but here��s the basic idea.
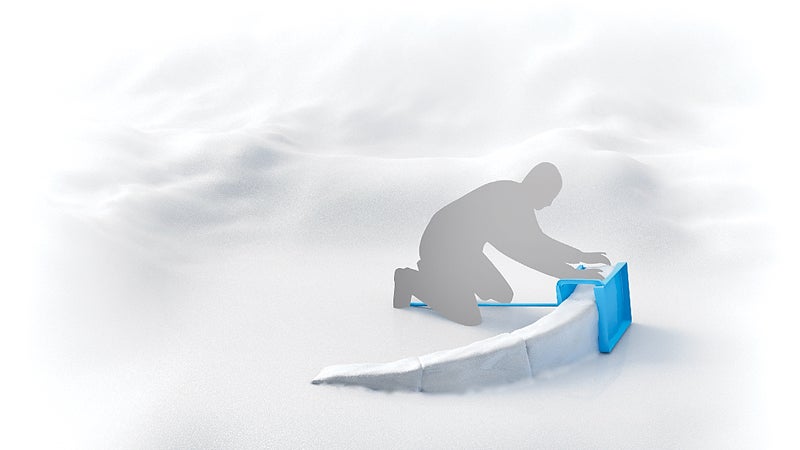
- Start by staking the pivoting base of the Icebox pole in the center of your planned igloo, extending it to the maximum length, and clipping it to the mold. To create a block, dump snow into the mold and pack it down. For each new block, lift and pivot the mold. Shape the first three blocks into a ramp, so they��ll remain intact as you add more.
- At the start of each new level, shorten the pole one setting. Scrape away any excess snow that falls onto the floor ?of the igloo so it stays level.
- After five levels, carve a tunnel-like entrance, with the top edge just above floor level. (This will help keep the igloo warm, too.)
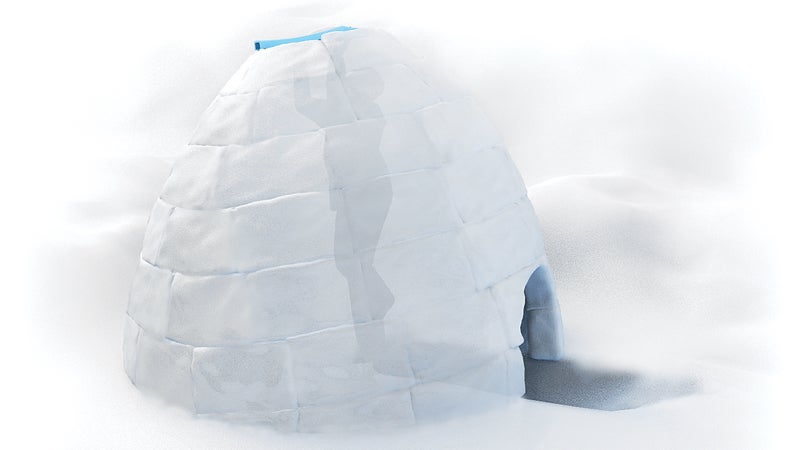
- Near the top, remove the outside panel and pile snow onto the open mold. To make the roof, remove the side of the mold so it becomes a flat tray, then pile and pack snow on top. The walls are already free-standing��they freeze themselves in place.