Getting dialed on a mountain bike requires a combination of fitness and bike-handling skills. Unlike road riding, where most of a ride is spent in the aerobic zone, mountain biking requires frequent bursts into the red. “Most mountain-bike trails are on varied terrain,” says , USA Cycling’s��performance director for mountain biking. “You have steep climbs or technical features that require you to put power into the pedals.” It’s also a discipline where strong technical skills can save a ton of energy. The strongest rider is not necessarily the fittest��but the one who combines a solid endurance base with the technical skills that translate to more efficient riding.
We asked Gullickson and , skills coach for the USA Cycling and Olympic mountain-bike teams, to share some tips for beginners that will make you a strong, fast rider.
Build a Base��
Before working on speed or intensity, it’s important to develop��a basic level of fitness and endurance. “It builds the body up and allows you to handle higher-intensity workouts,” says Gullickson. If you’re coming off the couch, aim to spend four to six weeks in base-building mode—frequent, consistent, low-intensity effort—before adding speed and intensity. Ride three or four times a week for one to two hours at a time. The key here is restraint: “If you feel good, get longer rides in, but don’t go so hard that you can’t repeat the effort in a couple of days,” he says. Make sure you’re fueling your rides with high-quality food: fresh veggies and fruits, whole grains, and minimally processed foods. “It’s also important to hydrate with an electrolyte drink during the ride,” Gullickson says. “If the ride is longer than an hour, bring a gel,��Bloks, or energy bar to supplement the hydration.”
Add Intervals��
After about four weeks of base building (followed by one dialed-back recovery week), incorporate intervals on one or two rides a week. During the first two weeks, intervals might look like this: ride for 30 minutes to warm up, then add five-second intervals of intense effort followed by 10 or 20 seconds of rest. Do five reps followed by a longer break. In later weeks, work up to : 20 seconds of all-out effort followed by ten��seconds of rest. Shoot for eight reps. In lieu of timed intervals, you can borrow the runner’s concept of ,��using power lines, trees, or other landmarks as visual goals for short, intense efforts. After two or three weeks, swap one short-interval workout for longer : five-to-ten-minute efforts at a pace that you can hold for up to 20 minutes.��“Not so hard that you can’t maintain the pace,”��Gullickson says.
Burn Through Turns

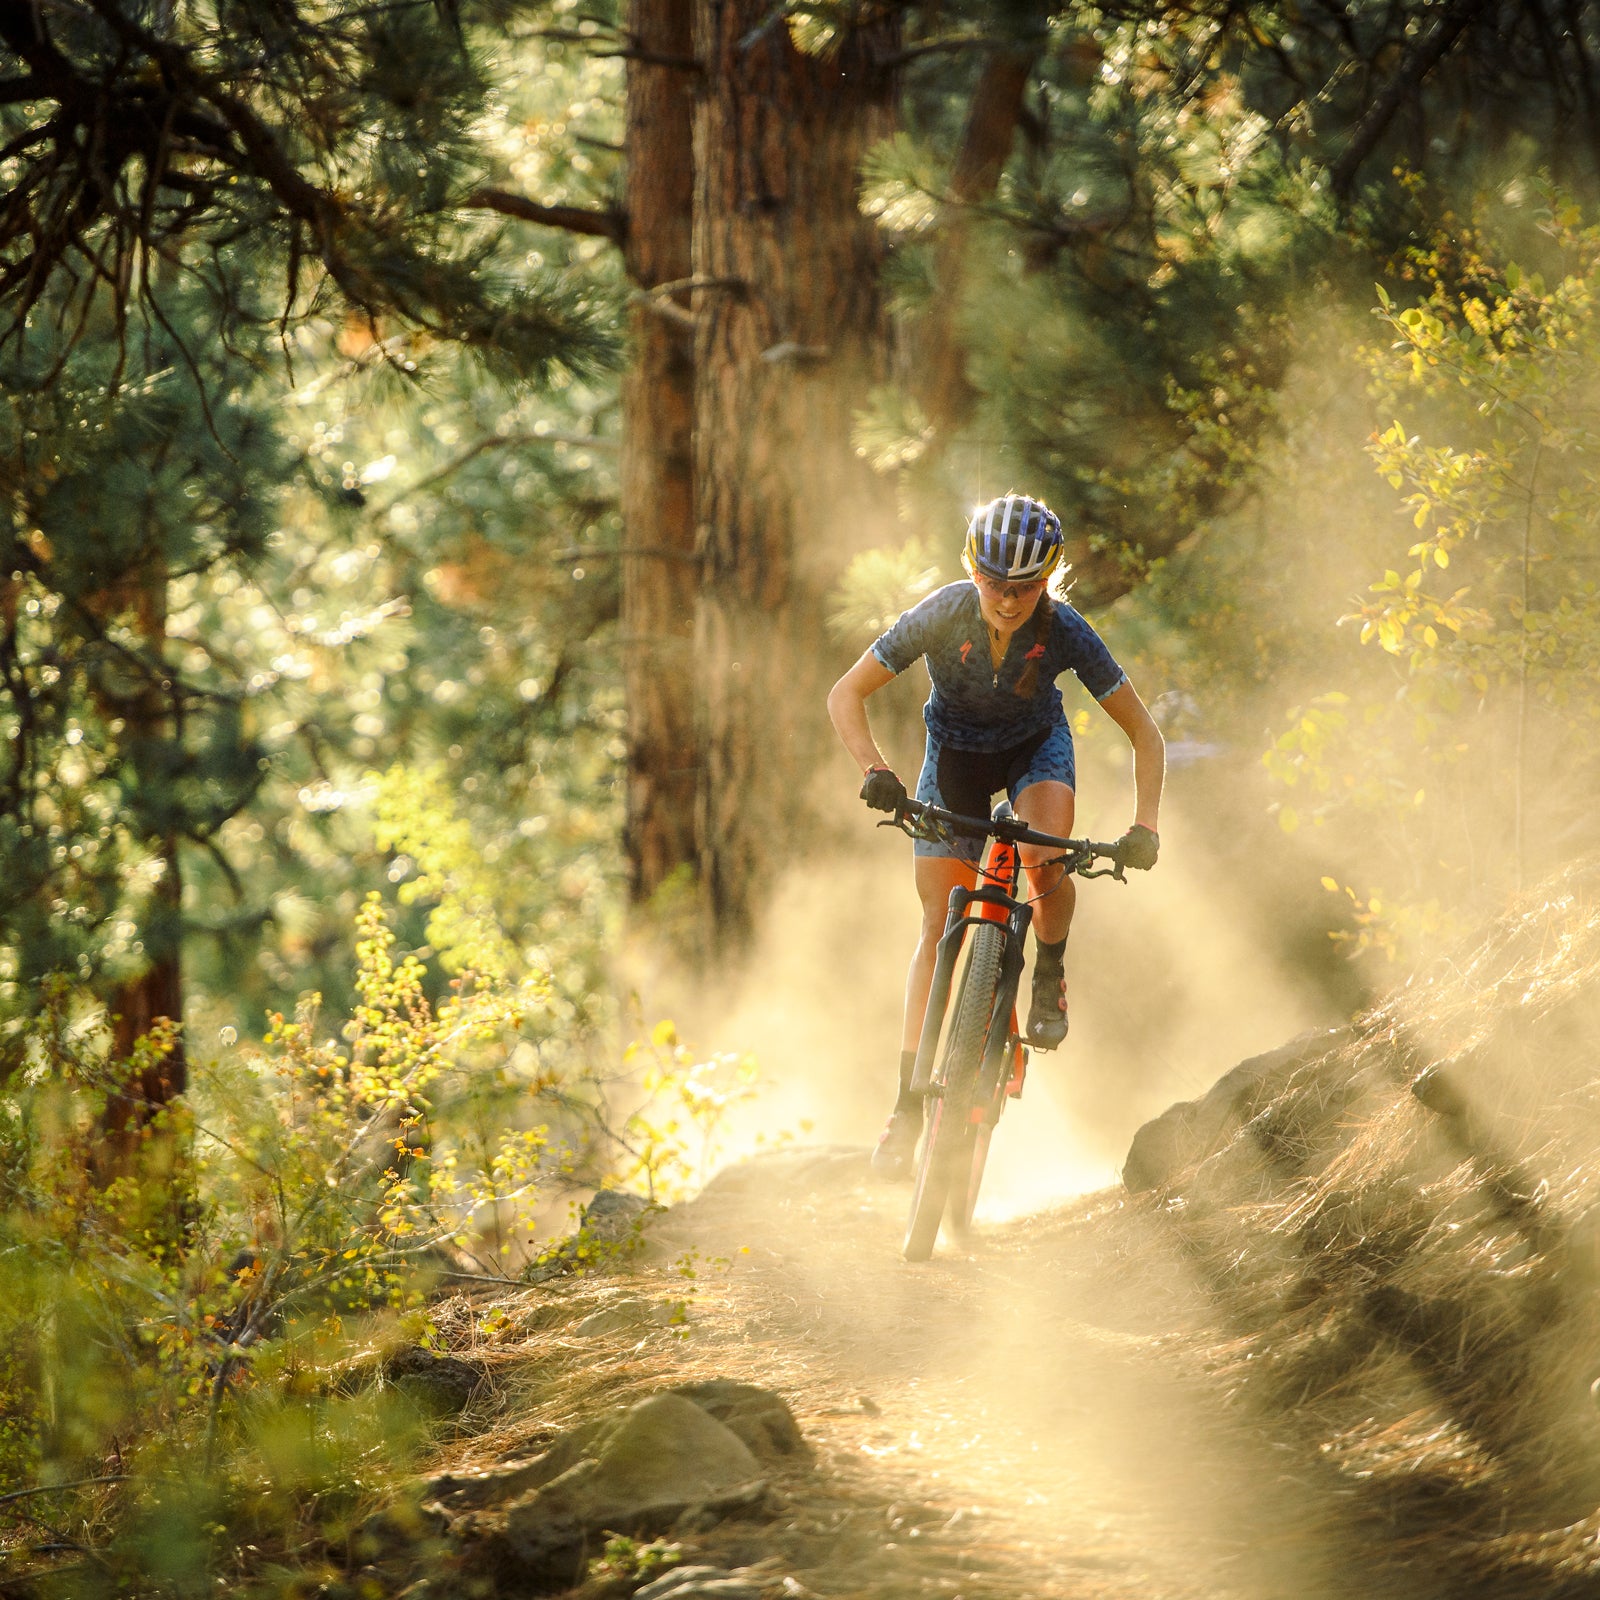
No matter what level of rider you are, cornering is a skill you can never stop improving. “It’s the number-one��place where riders kill their speed,” says March. “You can use less energy by holding your momentum through the turns.” Set up early, in a wide, crouched stance on equally weighted pedals, opening the knees so the bike can lean beneath you. Important: make sure to lean the bike, not your body. “When you lean the bike, you’re able to get those side knobs on your tires to grab traction and hold the edge,” March says. “It’s like carving on skis.” Braking in the turn can cause skidding, so try to brake before the turn, easing off the brakes as you carve. Make sure you’re looking through to the exit, turning your body. “Imagine your belly button is a laser, and point it toward the exit,” he says.
Float Over Rocks and Roots
Many obstacles in the trail—roots, rocks, and bumps—are small enough to ride over with good form and a little momentum. Standing on equally weighted pedals, with elbows out and a nice bend in your knees and ankles, approach the obstacle at jogging speed. Keep your eyes focused as far down the trail as possible (don’t look down), using your peripheral vision to hold your line. Avoid leaning on the handlebars, which weights your front wheel and could cause it to snag. “Heavy feet, light hands,” is a good mantra, March says. Think of your arms and legs as shock absorbers as you ride over the obstacle.
Master the Basic Front-Wheel Lift

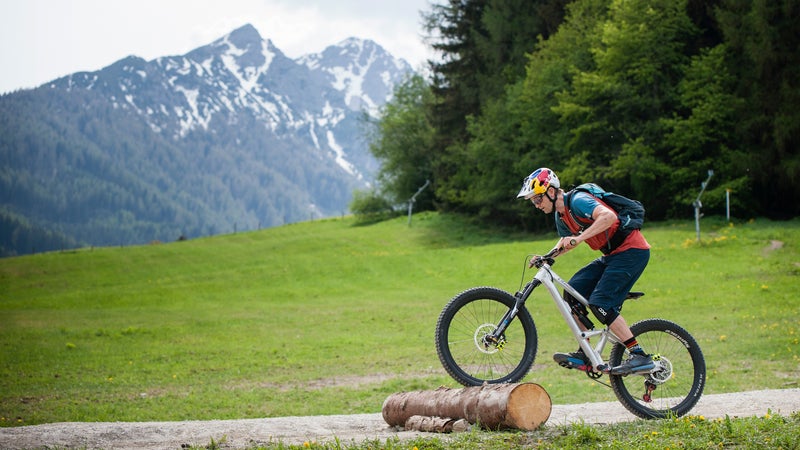
For midsize��obstacles (like a log, or anything hub height or lower) on level or downhill slopes, use the basic front-wheel lift. “It’s a three-part move,” March says. “Load. Explode. Lift.” Approach the obstacle in a “ready” position: standing on equally weighted pedals, looking ahead, elbows and knees actively bent.
Step 1: Load
Compress your front shock by loading��the handlebars with your upper body, aggressively bending your elbows.
Step 2: Explode
As the shock rebounds, straighten your arms explosively. (It should feel kind of like a clapping push-up.)
Step 3: Lift
As your front wheel leaves the ground, bend your arms and lift the handlebars, raising the wheel even higher. The timing of this move is essential and depends on the speed at which you’re approaching the obstacle. Once the front wheel is over, the rear wheel—unweighted—will follow. This a perfect move to practice on curbs in the parking lot while you’re waiting around for that riding buddy who’s always running late.
Crush Uphill Obstacles
Getting over uphill obstacles can be exhausting unless you use an energy-saving technique: the pedaling front-wheel lift. Use it when you’re seated and climbing and need to get over an uphill rock or root. “Start with your dominant foot at the top of the pedal stroke—one o’clock—and give the pedal a hard punch to six o’clock,” March says. At the same time, lean back with your shoulders, straightening your arms, and feel your front wheel rise. “You’re not pulling up on your hands so much,” March says. “The power from the pedals is what’s bringing the bike up.” As soon as your front wheel clears the obstacle and lands, stand on the pedals in a crouched position, with bent arms. Give the handlebars a forceful shove, lunging the rear wheel over the obstacle. This method works best in an easy-to-moderate gear.
Rest Hard
Recovery is just as important as training—it’s when your body rebuilds itself.��This starts the second you get off the bike: “Make sure to take in a recovery drink mix or healthy snack within 20 minutes of completing the ride, to jump-start recovery,” Gullickson says. “A lot of our riders use protein mix with almond milk, but any mix of protein and carbohydrate is fine.” Incorporate easy, unstructured rides between longer rides and shorter, higher-intensity rides. “It flushes blood through fatigued muscles and can speed up recovery,” Gullickson says. “Psychologically, it’s nice to get on your bike and know you’re not going out to suffer.” He recommends one or two days completely off the bike per week. “Maybe one of those days is a cross-training day, just to mix it up.”


