


In our last��post about implementing tests with Puppeteer, we did a high-level overview of some of the decisions we made to switch from Casper to Puppeteer. In this post, we are going to go over the code that makes our tests work.
Goals
At the end of this tutorial, we will have a fully working test that implements , , and for ���ϳԹ��� Online.
Initialization
-
Let’s first start with creating a new folder in the directory of your choosing.
-
Inside this folder, run
npm init– feel free to name it however you like and fill in any values you prefer, there is nothing special in this step -
Next, we need to install 4 modules. Two of them are
devDependenciesand two are regular dependencies
npm install --save lodash puppeteer
npm install --save-dev mocha chai
I did not mention lodash in the previous post, but it is a utility library that we will use minimally.
-
After installation completes, create an empty
bootstrap.jsfile to bootstrap our tests in the base directory. -
Lastly for initialization, we need to modify
package.jsonto run mocha correctly:
...
"scripts": {
	"test": "mocha bootstrap.js";
}
...
-
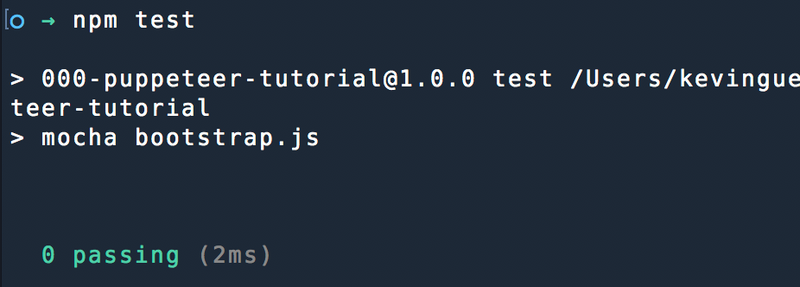
In your terminal, if you run
npm testyou should get an output saying0 passing. This is exactly what we want – it signals everything is correctly installed and mocha is running.
Bootstrapping the Tests
The next thing we need to do is bootstrap all of our tests with puppeteer.
-
Head back to your text editor and open up the
bootstrap.jsfile. -
We now need to import the libraries we installed:
const puppeteer = require('puppeteer');
const { expect } = require('chai');
const _ = require('lodash');
-
One of the benefits of using
mochais that we can definebeforeandafterfunctions that will run before our test suite and then after. This is ideal for setup and cleanup after our tests run. -
We are going to create a
beforefunction to setuppuppeteer
before (async function () {
	global.expect = expect;
	global.browser = await puppeteer.launch({headless: true});
});
The before function does 2 things – it setups expect as a global variable to use in all of our tests and it also creates a puppeteer browser instance that we can reuse. We do this so we are not creating a new browser for each test, just using a single one.
-
Inside of
launch()forpuppeteerwe are passing in the option ofheadless: true. This flag is what determines how Chrome will launch – a physical browser or not. For now, we are setting it to beheadlessbut, if you wanted to see an actual Chrome browser open up and run you would set it to false. -
Now for our
afterfunction, we are just going to do a little cleanup:
after (function () {
	browser.close();
});
All that is doing is closing down the puppeteer browser instance we created.
Creating Your First Test
-
With all the setup work now complete, we can create our first test! For this test, we are going to keep it really simple and make sure that ���ϳԹ���'s homepage has the correct title.
-
Before we get started, check out the for some examples and documentation of how to write tests.
-
Next, go ahead and create a directory within your project called
test -
Inside the
testdirectory, create a new file calledhomepage.spec.js– this will be the file where we write our homepage tests. -
To start our test inside
homepage.spec.jswe have todescribe it–
describe('Homepage Test', function() {
});
-
In the previous section we set up the base bootstrap for all tests. Now, we need to set up a before function that handles what should happen
beforethe tests are run. In this scenario it needs to:-
Open a new tab
-
Go to a specific URL
-
-
Within the
describefunction, let's create thebeforeinitialization:
before (async () => {
	page = await browser.newPage();
	await page.goto('', { waitUntil: 'networkidle2' });
});
-
With the
beforesuccessfully created, we can now write our test right below thebeforefunction!
it("should have the title", async () => {
expect(await page.title()).to.eql("���ϳԹ��� Online")
});
The above test should read almost like a sentence – we “expect” the page title to equal ���ϳԹ��� Online. Pretty simple, right?
Finalizing Our Test
-
With our test complete, we just need to do one more thing – update our
package.jsonscript.
...
"scripts": {
	"test": "mocha bootstrap.js --recursive test/ --timeout 30000"
}
...
��
-
We added two more parameters to the test script:
-
The
--recursive test/parameter tellsmochato look into thetest/folder and recursively run all tests that it finds. For us it is only 1, but you can imagine a folder full or subfolder and subtests that all need to be run. -
The
--timeout 30000is setting themochatimeout to be 30 seconds instead of 2000ms. This is important as it takes some time forpuppeteerto launch and, if we didn't have that, the tests would fail to launch!
-
-
With that now complete, we can run our tests with a simple
npm test -
We should now see that the test has run correctly and the ���ϳԹ��� homepage has the title “���ϳԹ��� Online”.

-
If you want to double check to make sure it is working, go back to homepage.spec.jsand change the title to expect something else like “Welcome to ���ϳԹ���!”
it("should have the title", async () => {
expect(await page.title()).to.eql("Welcome to ���ϳԹ���")
});
-
If we do that, and rerun the tests, we should see that it has failed. Congratulations you are up and running!
If you’ve run into any errors or problems, visit the gist to compare your code. Be sure to check out Part 3 of this series of how to pass custom parameters to your tests and generate screenshots for failing tests!