��

Photos by Chris Werner
In early June, beer lovers gathered at on California’s Gaviota Coast for a two-day workshop on building a home brewery and making beer. Orella Ranch, a family ranch in operation since 1866, is also home to the Orella Stewardship Institute, which put on the workshop and plans to run more courses in sustainable building, land use, and other activities. I learned a ton while there and thought I’d share my five best tips in case you want to brew your own. Why? I guess I still subscribe to that whole “teach a man to fish” thing.
5. Pick Your Poisons
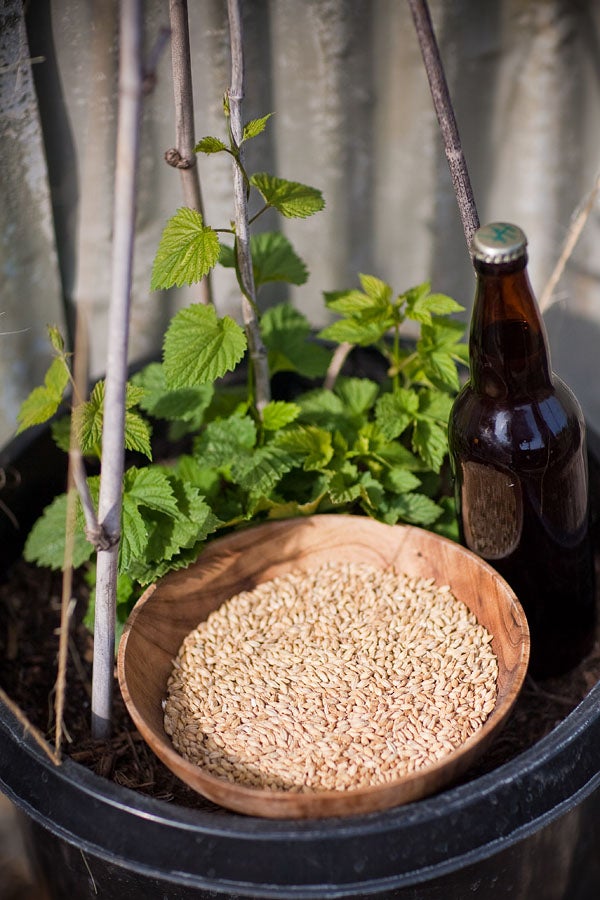
First, a brief primer for the water cooler. The basic ingredients used are grains (usually malted barley), water, hops, and yeast. The barley provides the sugars. The hops add bitterness, flavor, and/or aroma. The yeast “eats the sugar, pisses out alcohol, and farts CO2,” says , the long-time homebrewer who ran the workshop for OSI. Water is involved every step of the way, for mashing and rinsing grains, cleaning equipment, and even influencing the beer’s flavor.
There are several ways to make beer. This workshop focused on all-grain brewing, in which whole malted barley and other specialty malts are measured, crushed, and then steeped like tea to convert the starch in the grains to sugars, which the yeast can eat. (If you’ve got a small space or limited time, you can brew from that uses malt extract powders or syrups, which skips the mashing process).
4. You Can Save Money With Repurposed Equipment
You can buy brewing equipment to build your brewery at specialty outlets like But it’s much cheaper to make your own if you’ve got access to tools and a nearby hardware store—and you can repurpose and reuse a few materials along the way, too.��
At the workshop, Chatenever used a Coleman cooler as the mash tun—the place where crushed barley and malts meet water. Workshop participants fitted this with a drainage system made of copper pipe, so that, once mashing was over, the liquid could be strained from the spent grain.
A used, empty keg is the perfect size to serve as brewing kettle. Check with beer suppliers, or visit a college campus right around move-out day to find a freebie. We took the top of the keg off with a grinder, and made a few other modifications for drainage. The wort—the liquid result of mashing and then rinsing, or sparging, the grains—gets boiled in here.
The third contraption we built—a wort chiller—cools the wort after boiling. We wrapped copper tubing around a bucket to make coils, and built it to fit inside the kettle. (Learn more about this step and others from Craigslist is also a good source of used equipment and materials to make your own.)
When you’ve got everything built, make sure you have some sturdy tables to set your equipment on, as well as a stepladder for easier access to your system.
3. Let a Book Guide You
, by Charlie Papazian—his motto: “Relax, Don’t Worry, Have a Homebrew.”—includes detailed information about the brewing process, along with recipes, and works as a prime reference. Why is such a book important? As you brew, you’ll be measuring out grains, taking water temperatures, checking the amount of sugar in the beer, and sanitizing your brewing equipment before fermenting to prevent unexpected things (like wild yeast or bacteria) from getting a free ride. But unlike your high-school chemistry class, if you screw up one (or more) of the steps along the way, you won’t flunk: you’ll likely end up with something alcoholic, even drinkable. It’s just that it might not be what you were aiming for.
2. Sustainability Counts
The sustainability-focused folks at the are trying to reuse and repurpose materials ranch-wide—and that goes for brewing, too. Once the brewing process is underway, you’ll be using a lot of water, not just for brewing but for cooling the wort and cleaning equipment. At the workshop, water used to chill the wort was diverted into pots to be used for cleaning and gardening. And water’s not the only thing you can reuse–at the end of the brewing session, beer drinkers carried the spent grains to the farm’s organic garden, along with the food scraps from the weekend’s festivities, to create a new compost pile.
1. It’s the Journey, and the Destination
So, why go to all the trouble—a full day of building, another day of brewing, and potentially multiple trips to the hardware store–when you can get a cold six-pack at the store?�� If you’re a beer aficionado, brewing your own can be less expensive and more satisfying, as you can tailor your brews to your own tastes. Chatenever, a potter, likes the process of brewing—and the enjoyment that comes from drinking the results with others. “I don’t think I’d be a brewer if I didn’t have friends to share it with,” he says.
And home brewing provides another excuse to drink beer—make sure you’ve got one in hand while you’re making your first batch. Next time, the beer you’re drinking will be your own.
OUR BEER
It’s just like baking bread: a recipe helps. Here is ours (well, sort of—just as in the kitchen, we made last-minute substitutions based on available ingredients—but this is what we were hoping to make):
Orella Strong Stout (10 gallons)
20 lbs. 2 row pale malt
1.5 lb. chocolate malt
1.5 lb. roasted barley
1 lb. dark crystal malt
1 lb. crystal 40 malt
1 lb. amber malt
Heat 8 gallons of water to 176F/80C (strike temp)
Add water to mash tun, then add grains; mash at 152.6F/67C
Sparge with 9 gallons hot liquor at 172F/77.8C
Bring the wort to a boil, add bittering hops, and then boil for 40 minutes. Add flavor hops. Continue to boil for another 20 minutes.��
*From this point on, everything that the beer touches needs to be sanitized.*
Cool wort, about 40 minutes, and ferment.
Keg or bottle the beer. (Kegs mean fewer bottles to wash—and they’re fun.)
Find more recipes and other useful brewing stuff at