

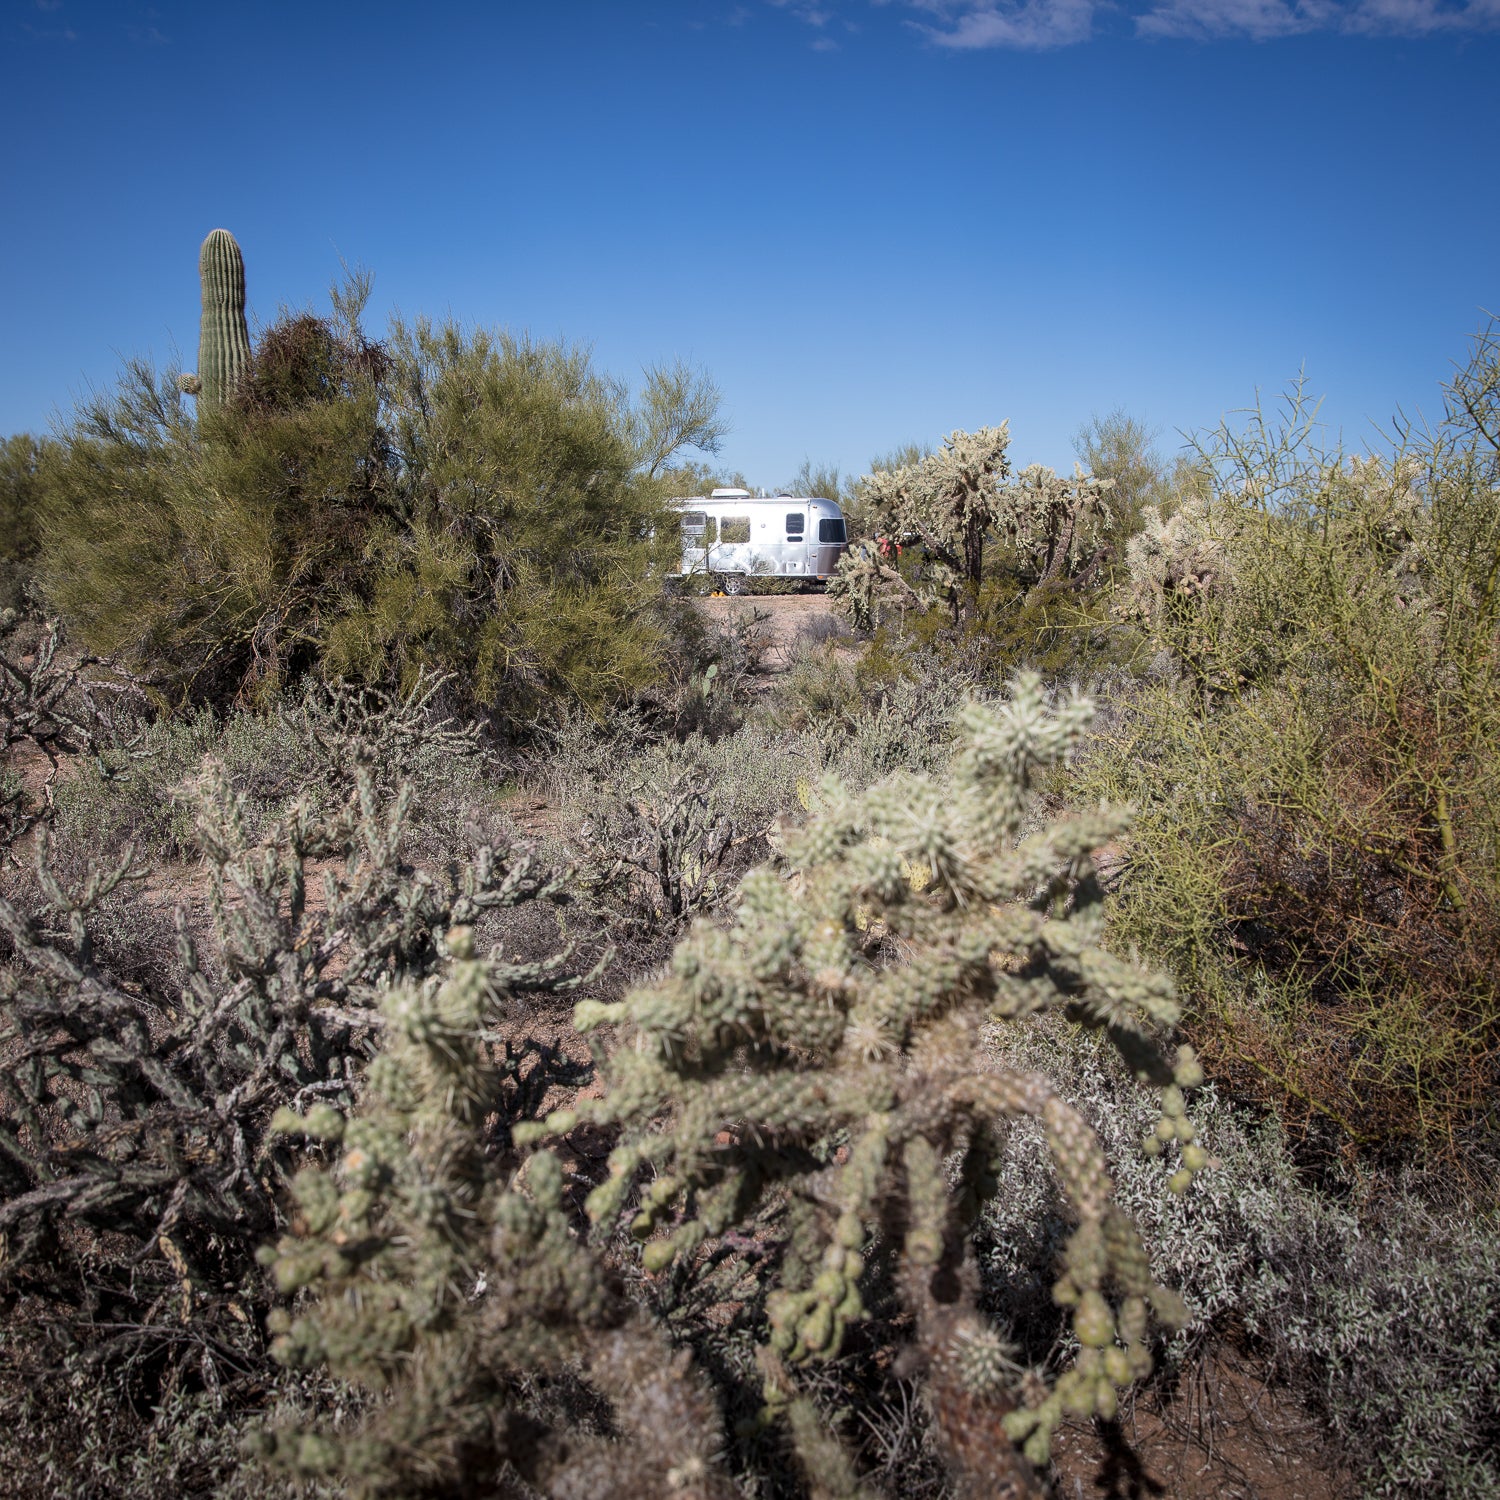
A few months after we bought Artemis the Airstream, we found ourselves searching for a campsite on Kenosha Pass, an hour west of Denver, Colorado. We scouted some good spots down a steep hill and deep in a cleft of trees, where the road became tighter and the shrubby understory pushed in on the track. We were totally new to trailering at that point and still getting proficient at maneuvering Artemis. While we were pretty sure we could squeeze her down that road, we were nervous about it.
Perhaps a little overly optimistic, we went for it, and Jen, my wife, pulled off an incredible thread job backing into a slot where there wasn’t half a foot of leeway between rocks on either side. We were bolstered by the accomplishment and pleased as pie at the killer site we’d scored. When we went to leave a week later, however, we learned our first important lesson about backcountry camping: Just because you can get in doesn’t mean you can get out.
We had backed into the site upon arrival, but now, trying to pull out nose first, the angles were different. A tree that hadn’t been in our way backing in blocked our turn back onto the road. After a good hour of maneuvering, I used a couple lengths of climbing rope to tie back some branches and leaned my full weight into the tree trunk as Jen eased Artemis forward and squeaked out with less than an inch between bark and trailer. We were relieved. But we also realized that if we wanted to venture into the backcountry going forward, we’d have to be warier and we would need some tools and tricks to make sure we didn’t get stuck.
In the two years since, we’ve never had as close a call, partly because we’ve developed some good systems for dealing with bad roads and tight terrain. Here’s some of our hard-earned know-how.
#1. Get a Lift
Airstreams aren’t exactly built for off-the-grid adventures, and the stock ground clearance on ours was less than seven inches from dirt to tanks. So one of the first things we did upon purchasing Artemis was to get her lifted, which was one of the best decisions we’ve ever made. , a shop in Phoenix that specializes in trucks and trailers, took the trailer off the axles, installed a custom five-inch-tall steel frame, and reattached the wheels underneath, which brought our clearance up to a foot. It’s not a lot, but since then, we haven’t had many issues with dragging, even on some pretty nasty back roads. A lift will change your towing capacities and setups, so expect to spend some time afterward dialing in your numbers again.
#2. Travel with Bikes
Even if you aren’t a cyclist, having a mountain bike that you can pedal down dirt roads to scout is imperative. Otherwise, you either run the risk of getting in over your head or, more likely, you’ll simply never venture very far for fear of getting stuck. (You should want to avoid getting stuck at all costs. A friend whose trailer recently slipped off a muddy back road paid north of $4,000 to have it extracted.) Whenever we reach roads that look even remotely tricky, we pull over in a spot where there’s still a pullout or space to turn the trailer around, take the bikes off the rack, and ride down until we’re certain we can get Artemis through. More often than not, it’s fine, but sometimes we realize the road is not going to work and are glad we left ourselves an out.
#3. Pack the Right Tools
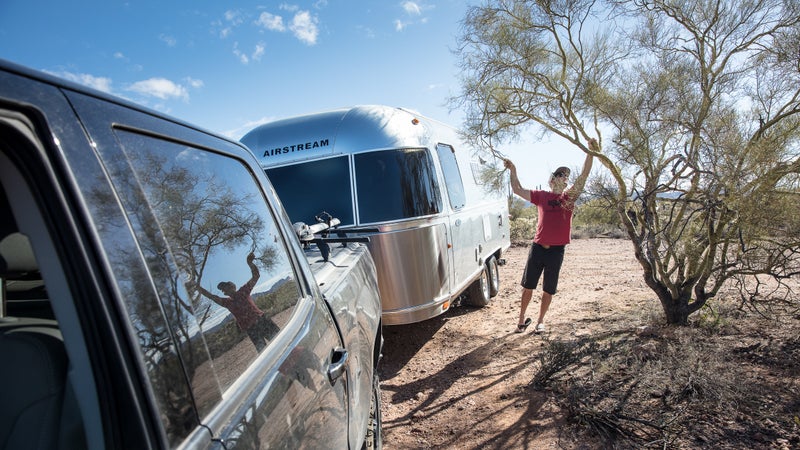
Overhanging and encroaching branches and shrubs can damage your trailer as you roll past or even completely stymie your progress. Often, on narrow roads, one of us has to get out and hold back the brush with our bare hands as the other pulls Artemis past. For more concerted challenges, we have also chopped one of our old climbing ropes to create a couple of 30-to-40-foot lengths that we use to tie back foliage. You can also use a broomstick or, in our case, our old climbing clip stick (basically a ) to position the rope in high spots and leverage out-of-reach branches. And though I’ve never had to use them for getting us in or out (and hope I never have to), it’s reassuring to have our foldable saw and , which we use around camp for firewood, tucked away just in case.
#4. Make Sure Both of You Can Drive the Trailer
The majority of couples we come across who camp seem as if they designate driving and trailer duties to just one person. This is a mistake. Jen is just as good at towing and maneuvering Artemis with the truck as I am—probably better—and that’s important, because getting in and out of tricky spots is a two-person job, and we both need to be able to participate equally. If we’re going through a tricky patch and I’m driving, I’ll often get out to manage trees or move rocks from the road, and Jen will take over driving. And if, god forbid, something ever happened to one of us in the backcountry, the other needs to be capable of hitching up Artemis and getting us out alone.
#5. Put Leveling Blocks to Double Use
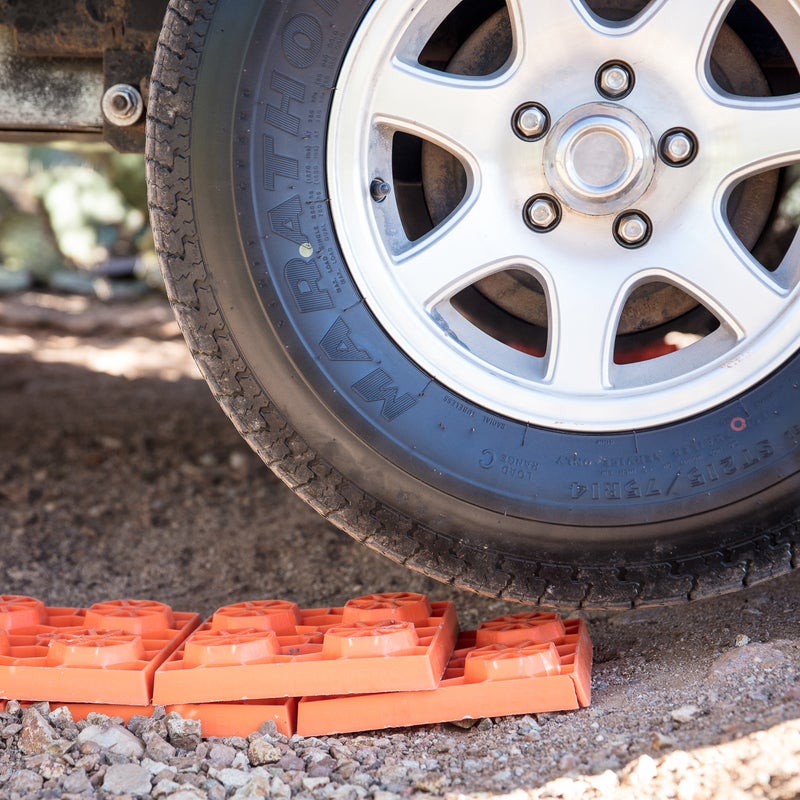
You will need a for smoothing out uneven camp sites, but we’ve found these little plastic blocks are also useful on the road. Even with the lift on Artemis, we sometimes come across drainages and arroyo crossings where, thanks to the long wheelbase from truck to back of trailer, we risk dragging the rear bumper or bike rack. By strategically stacking our levelers in these ruts, however, we can ease the drop-offs and transitions to keep the wheels high enough to avoid impacts. A collapsible shovel like the is also handy for digging out sand and gravel to fill holes and ditches.
#6. Buy Chains
Even if you don’t plan to ever drive in the snow, a good set of chains for your tow vehicle is worth the investment. We learned this the hard way while camping in the Four Corners area with some friends last year. A slow-moving storm system rumbled into the region and turned the caliche clay roads we’d arrived on snot slick and completely impassible. We were stuck in that site for five rainy days. Our friends, on the other hand, put on their chains and, though they were hauling a trailer far bigger and heavier than ours, drove out the 20-some miles of muddy roads without issue. We ordered the following week, and more than once since then, they’ve kept us mobile when otherwise we would have had to hunker down.
#7. Don’t Forget the Jackknife
Hopefully it won’t happen, but should you ever end up on a dirt road where you can’t go forward but there’s no place to turn around, there is one last Hail Mary. It might be possible to back up and jackknife the trailer so it’s perpendicular to the road, disconnect, then drive around to the other side and reconnect from the opposite direction. It will depend on road space, of course, as well as having enough open country to sneak the truck around. But if you’re out of options, it’s worth at least considering.