

I have two significant pieces of outdoor cooking hardware in my life: an expensive pellet grill that looks like , and a cheap electric water smoker that, thanks to years of soot- and grease-generating use, looks like something the Beverly Hillbillies would have left in the yard when they moved to California.
The water smoker cost around $80 when I bought it at Home Depot. It consists of a thin-walled metal cylinder (painted black), a domed lid with a temperature gauge built in, two round metal grills that are vertically spaced about a foot apart inside the cylinder, a water-holding pan that sits between the grills, and a circular heating element at the bottom. There’s a second, smaller metal pan that sits on that element; in theory, you put wood chunks in it, and they heat up, smolder, and burn—but this system is useless, because the pan doesn’t get hot enough. The temperature gauge is also a cruel illusion. It doesn’t give an accurate reading, which is unfortunately common.
“[S]moker companies often save money by using inferior thermometers,” Texas-based pitmaster declared in his 2015 masterpiece Franklin Barbecue: A Meat-Smoking Manifesto. And he’s right.
Guess what, though? My faulty smoker is one of the most cherished cooking tools I have, and both of these technical problems can be fixed with simple hacks. I’ve been using it more than ever during the coronavirus pandemic: I work at home by day, and every night—often using the smoker—I make dinner for my wife and her parents, who live near us in Santa Fe. (I’ve also smoked several chickens for friends and neighbors.) Unlike the Traeger, which is large and relies on an elaborate system that uses an auger to move wood pellets from a side hopper into a burning chamber, mine is small and only takes a few minutes to set up. Once it’s going, I can ignore it for long stretches of time. It’s the grilling equivalent of a slow cooker.
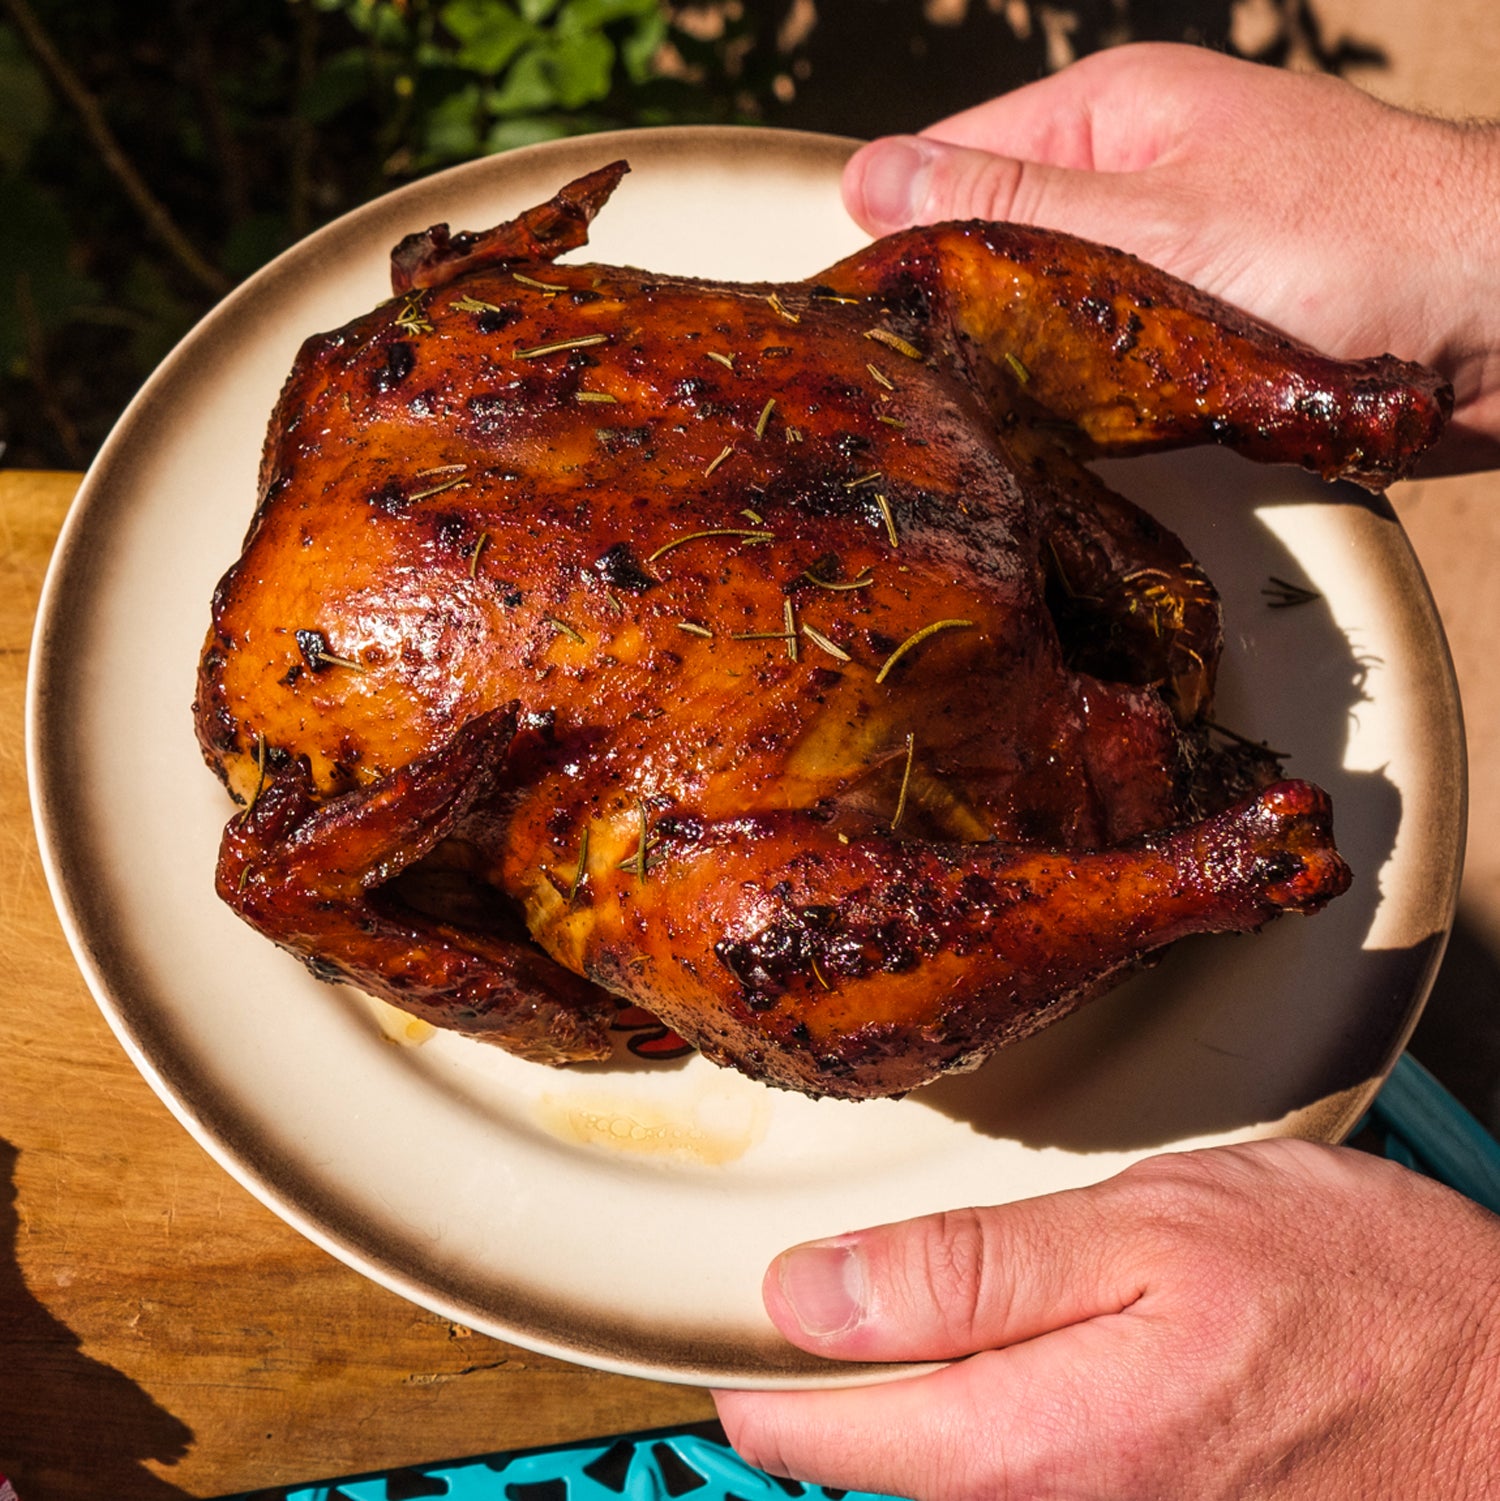
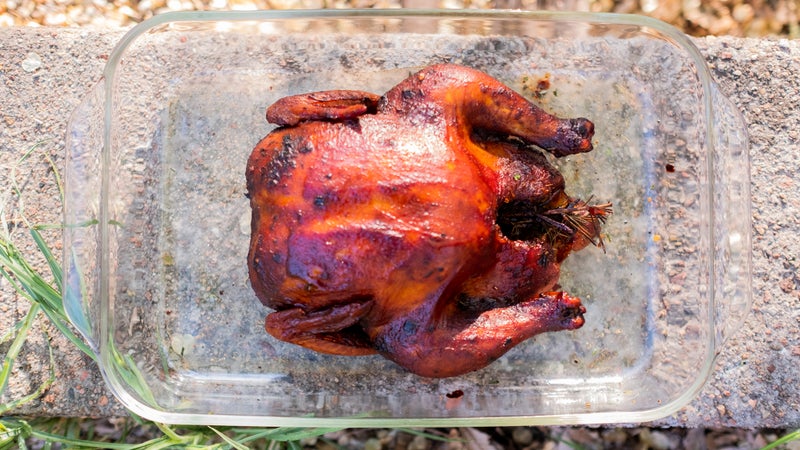
I’ve been a smoked-food believer since 1986, when a friend and I were on a road trip in Mississippi and bought a whole smoked chicken from a carry-out place. We devoured it while standing next to the car, and this feast was a mind-bending revelation compared to the charcoal-grilled chicken I’d known as a kid: it was deliciously smoky rather than carbony, and much juicier and pinker inside. On the outside, it had beautifully browned skin that looked like mahogany.
I wanted to learn how to make chicken like this myself, and in short order I did. You can, too: smoking is actually easier than learning to grill over charcoal. Here’s a guide to get you started.
1. Get the Gear
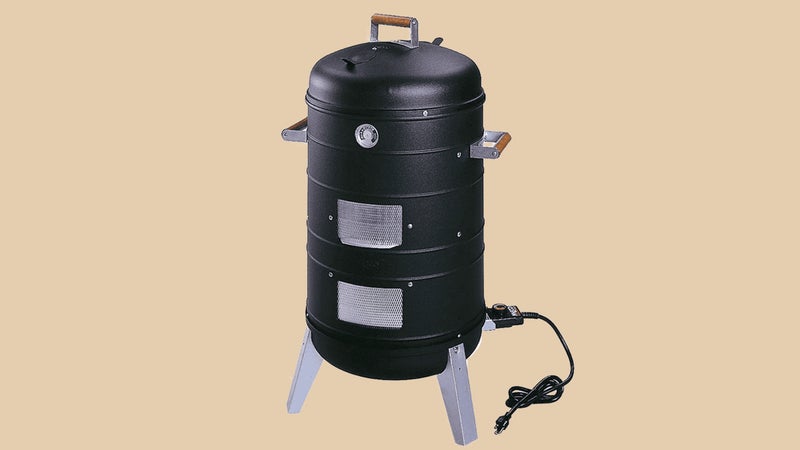
When buying a backyard smoker, I believe as a matter of principle in spending the least amount possible—preferably under $100—because with simple cooking challenges like chicken, there’s really no need to pay more.
Here’s a typical old-school, that’s currently available. You can spend even less if you get a smoker fueled by , but I owned one of those for years and ultimately decided to make the switch to electricity. Charcoal smokers require more setup time, and you have to come back every hour or so to tend the fire. In my experience, chickens cooked on both charcoal and electric smokers taste the same, because the charcoal smoke is mainly a grandiose form of air pollution that doesn’t add much. The flavor comes from the hardwood you’ll be burning along with the charcoal. On an electric smoker, hardwood is the only fuel you use. Which leads us to…
2. Buy Some Smoking Wood
Home Depot, Lowes, most hardware stores, and many grocery stores sell it in chunks or chips, packed in durable plastic bags. Popular choices include hickory, oak, and mesquite, but there are other options, as you’ll see in this guide to . My faves for all meats are hickory and pecan. Now and then, I’ll remove a limb from a backyard fruit tree and use that after it has dried, cutting the wood into small discs with a bow saw.
3. Set Things Up
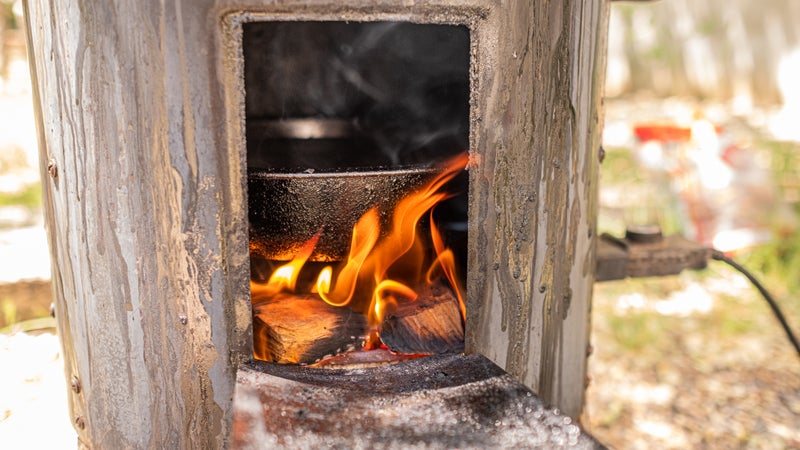
Your new smoker will come with instructions, but the process is so easy that you almost don’t need them. As you’ll see during assembly, the heating element at the bottom is accessible through a little door—this is where you’ll add wood before and during the cooking process. I put a chunk of it directly on the element.
The water pan sits on brackets over the heat. Fill it with cold water. You can throw in things like chopped onions and celery to “flavor” the H2O, but I’ve never been convinced that this makes much difference.
A frequently asked question: Why is water involved? It slows down the cooking process so that it takes several hours instead of several minutes. Once the water starts simmering, your chicken will be surrounded by an aromatic steam bath that keeps it amazingly moist.
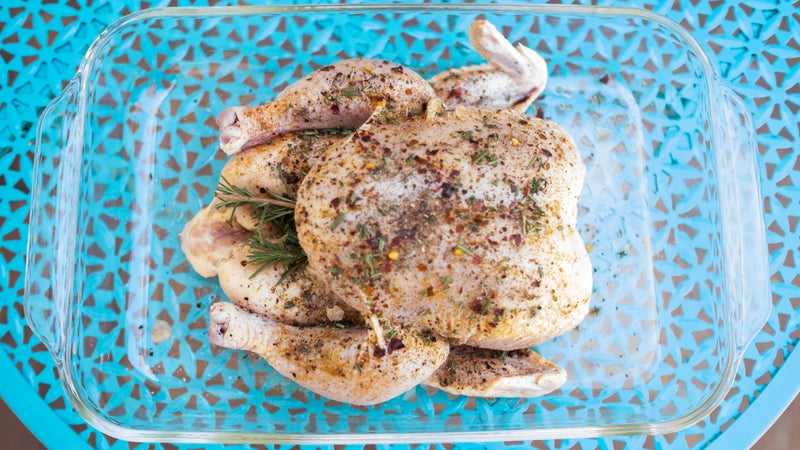
4. Prep the Chicken
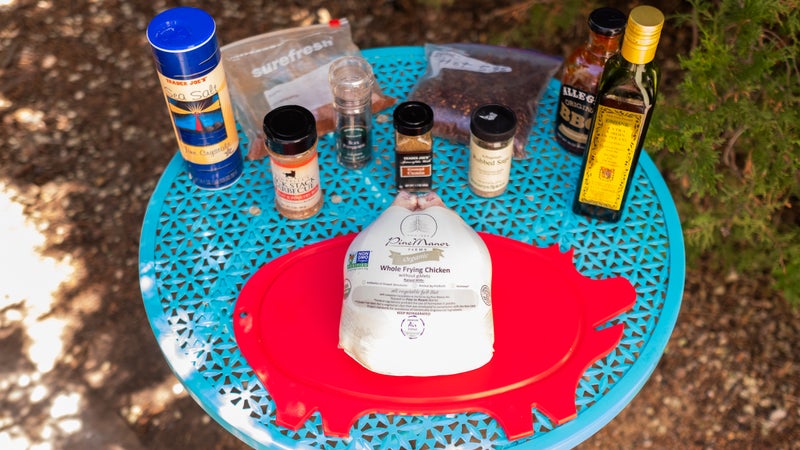
I use whole birds that weigh about five pounds. Don’t use a fryer, which weighs roughly three to four pounds—because of their smaller size, they’re more likely to dry out.
There are many different ways to get a chicken dressed up for the smoker, but here’s a formula I devised that works well: Clean out the cavity, and put two large sprigs of rosemary inside. Dry the exterior, and rub salt, pepper, onion powder, and cumin into the skin. Coat with olive oil. Sprinkle on red chile flakes, minced fresh rosemary, and minced fresh thyme.
5. Start Cooking
Preheat the smoker to get the wood smoking and the water steaming before you put the chicken on. Once you’re underway, check beneath the hood now and then—but not too often (taking the lid off releases precious heat and steam). At the two-hour mark, I paint on store-bought barbecue sauce, then I sprinkle the whole thing with a small amount of brown sugar. Add another wood chunk while you’re at it.
Cooking times vary. One typical formula says that, if your smoker is set at 250 degrees Fahrenheit, a five-pound chicken will take just under four hours. But such math seems iffy to me, especially since my temperature gauge is broken. I cut out the guesswork by sticking an instant-read digital thermometer into the breast at the four-hour mark. When the temperature is anywhere between 160 to 165 degrees, take it off.
6. Consume!
Four people will get at least two dinners out of a five-pound smoked chicken, and the meat is also great as a cold leftover on sandwiches. When you’ve winnowed yours down to the carcass stage, follow the example of and use it to make something else. I recently used the remains to make chicken, sausage, and shrimp gumbo. It must have turned out OK, because my mother-in-law said it was like having Christmas happen on her birthday.
7. Try Other Things
Because chicken isn’t the only game in town. Some of my favorites include salmon, ribs, duck, and cheese. (Cheese? Yes. Put ice in the tray instead of water, and smoke it briefly.) I occasionally do turkey, but I never attempt beef brisket. With that challenging cut of meat, the Little Smoker That Could just doesn’t have enough firepower to do the job.