

Lighting a campfire is one thing, but keeping it blazing so you can enjoy its warm glow for hours is another. Safely build one to be proud of using this guide.
Research and Prepare
Fire is, by its nature, volatile. Don’t take starting one lightly, since it could quickly get out of hand if left unattended. Be sure to check all regulations in your area—campfires are prohibited in some places due to weather or archaeological reasons. If they are allowed, then which is usually displayed at ranger stations or along roads into public lands. When the arrow is pointing to yellow (high), orange (very high), or red (extreme), don’t burn.
If your campsite has an existing fire pit, use it. Building a new one is unnecessary, and chances are the pit is where it is for a reason. If your site doesn’t have one and it’s within the rules to dig a new one, make sure you’re at least 15 feet from shrubs, trees, and tent walls—anything that could catch. If possible, choose a spot that’s protected from strong wind, and make sure your pit is at least one foot deep to avoid gusts kicking up embers. Circle rocks around the finished hole to provide a safety buffer against people potentially stumbling into it. And finally, always have something that will extinguish the fire—like a bucket of water or a shovel to scoop dirt—and keep it nearby in case of emergency.
Gather Wood
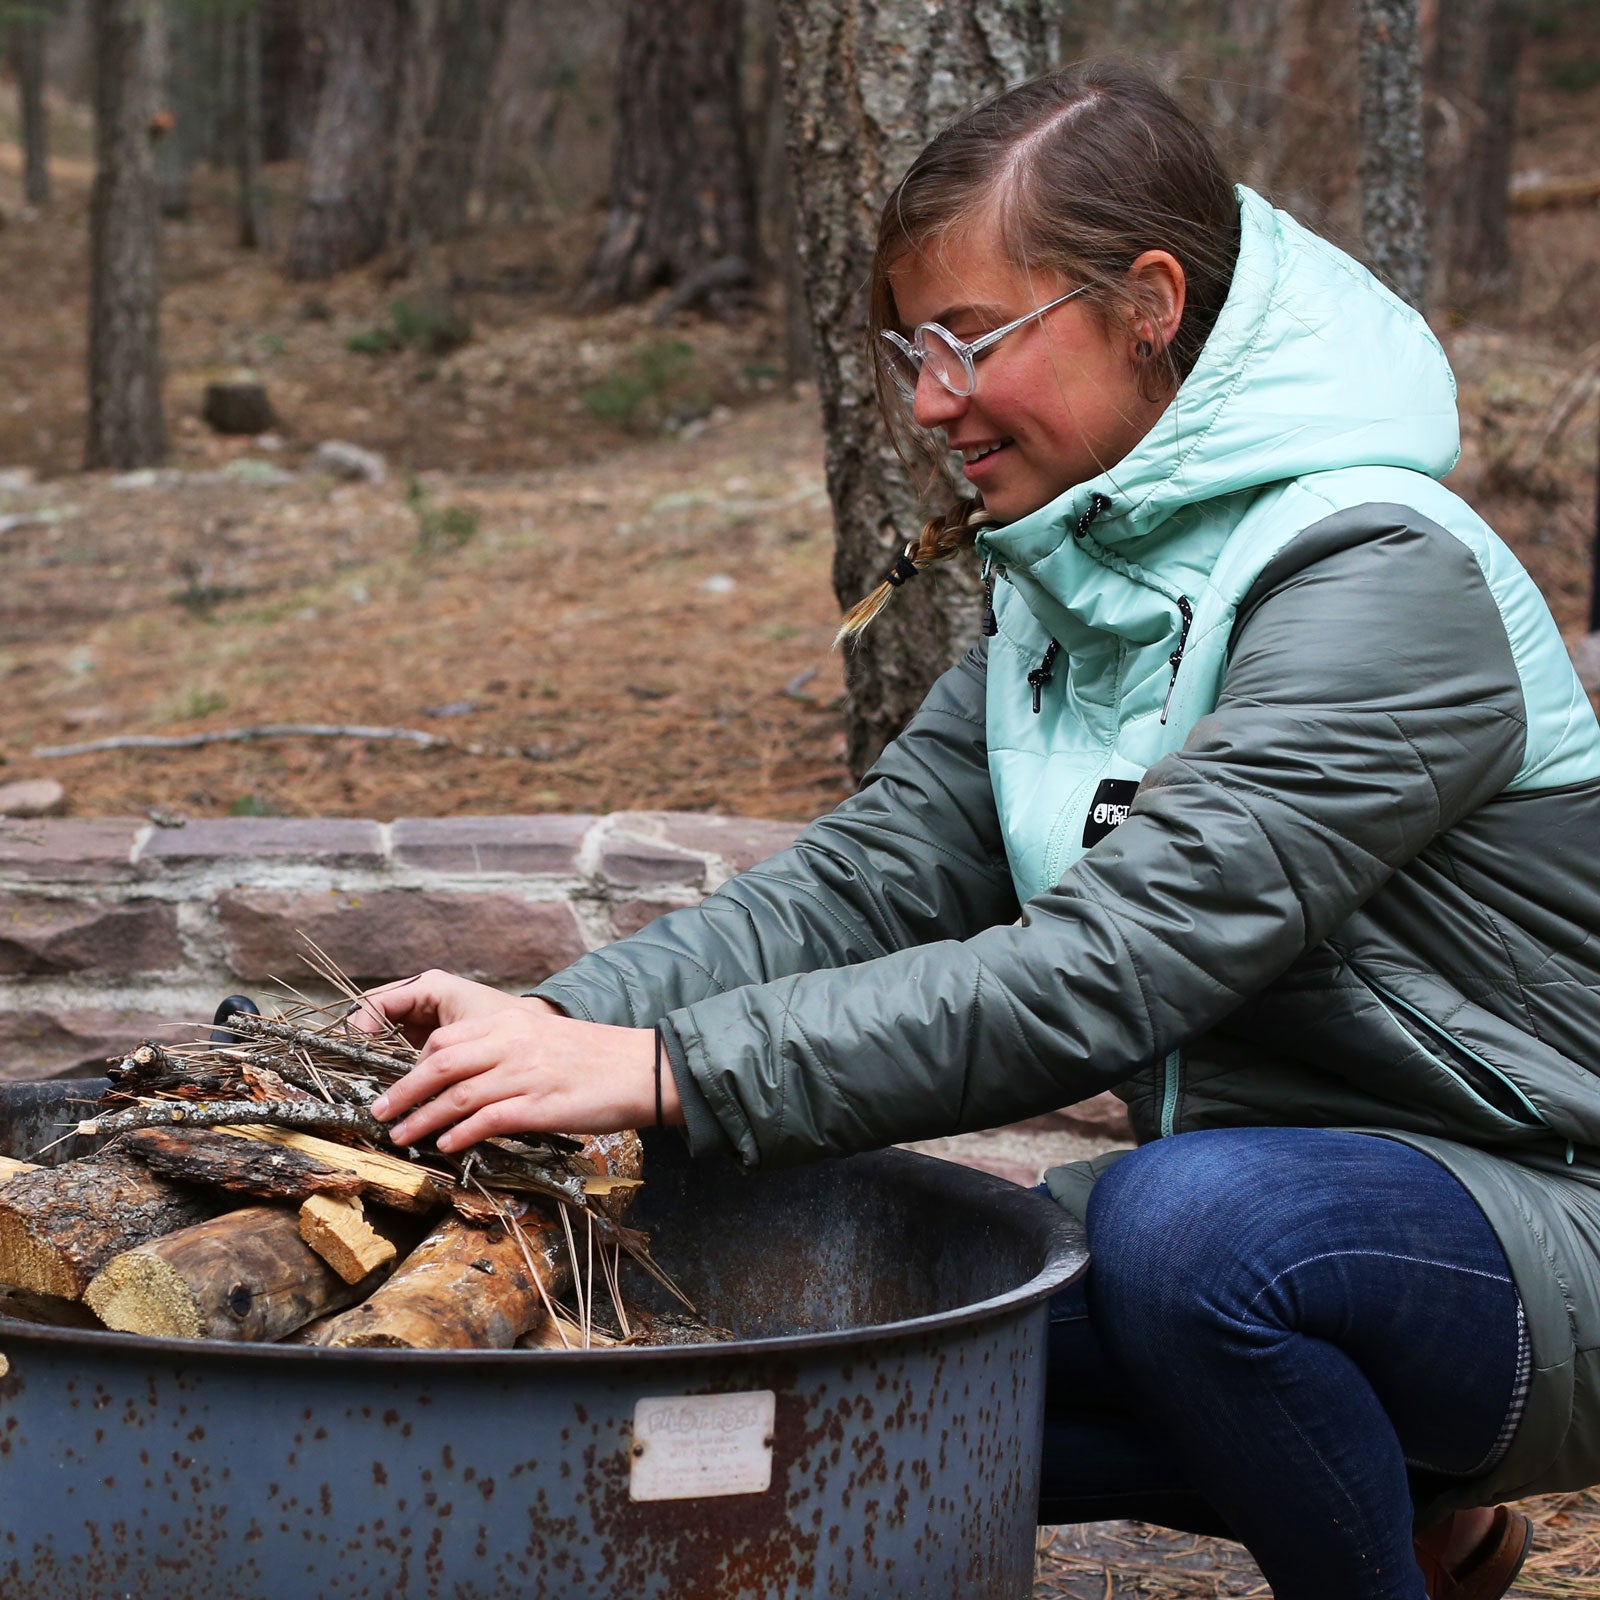
Before gathering wood, be sure to check whether that’s allowed, then only collect wood that’s already dead. (It’s poor form to cut down a live tree, plus it won’t catch fire well since it isn’t dried out like the dead stuff.) You’ll need to collect three types to provide a good base for a long-lasting blaze: tinder, kindling, and fuel wood.
Tinder is anything small and extremely flammable—think twigs, pine needles, or even lint that you bring from your dryer at home—that’ll catch sparks. Kindling is smaller sticks about one inch thick that will help grow the flame. And fuel logs are the typical bundles of wood you see for sale at gas stations or grocery stores, usually with pieces at least four inches in diameter. These will keep your fire going long into the night.
Campfire Building Techniques
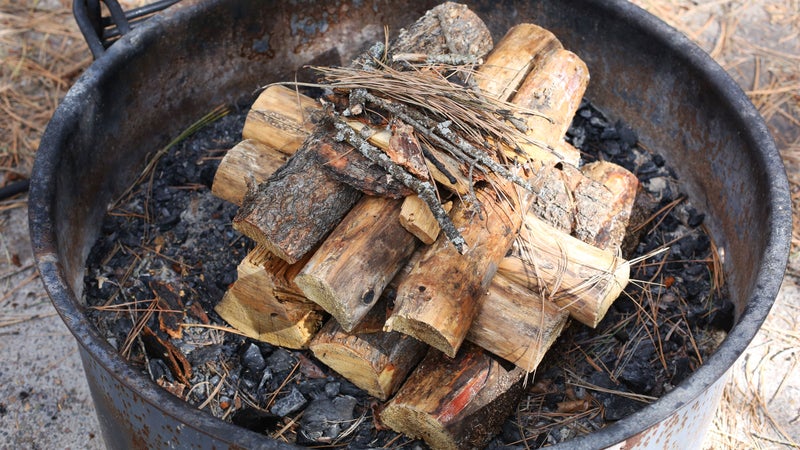
Make a small pile of tinder in the middle of your fire pit. Ignite it with a match or lighter, and gradually add more tinder as the fire grows larger, gently blowing on the base to give it extra oxygen. Once you have a sustained blaze, it’s time to add kindling and eventually fuel logs. How you arrange them depends on the type of fire you want and how long you’ll have to tend to it.
Tepee
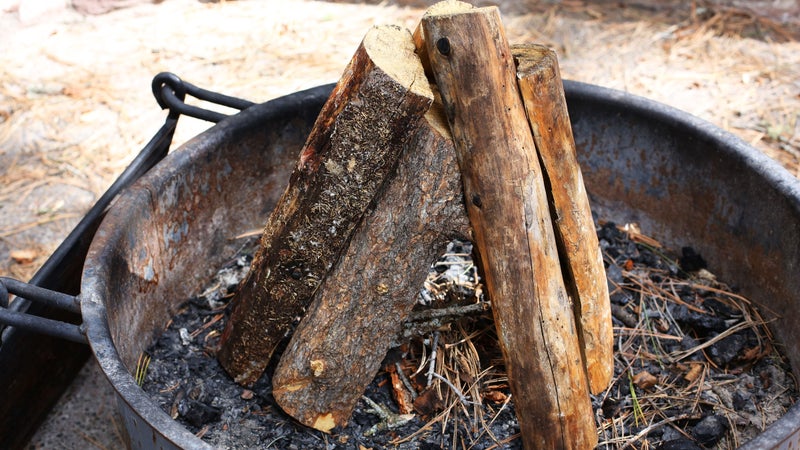
�ʰ��Dz�:��Easy to make and lights quickly
��DzԲ�:��Requires a lot of fuel and attention
Carefully arrange your kindling upright in a circle around the pile of lit tinder, leaning the tops of the sticks against each other in the middle to form the namesake tepee. Once you have a stable kindling base, stack your larger fuel logs in the same formation.
Log Cabin
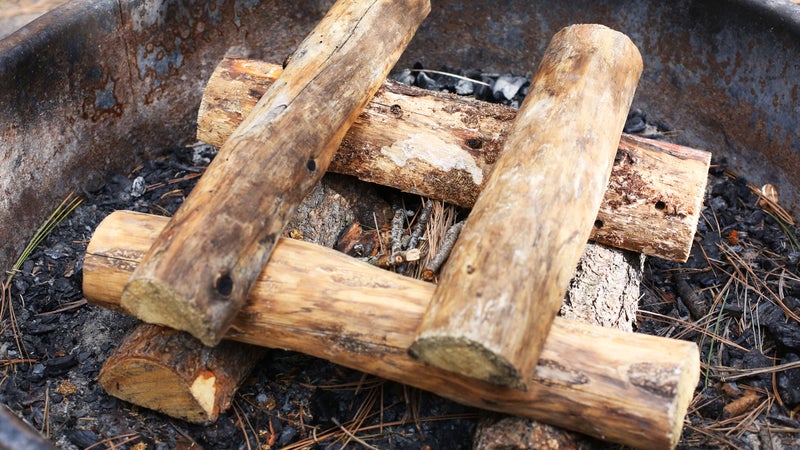
�ʰ��Dz�:��Doesn’t require much tending and produces hot coals
��DzԲ�:��Uses more wood and takes longer to build
With your lit tinder and some kindling in the middle of the pit, place two pieces of fuel logs on opposite sides so they run parallel to each other. Then place another two logs so that each end rests on top of an end of the two original logs, forming a square. Continue building perpendicular layers until your log cabin is stacked three to four high, then light the tinder and kindling.
Pyramid (Upside-Down Fire)
Pros: Long-lasting without much tending
��DzԲ�:��Uses more wood and makes a taller fire, increasing wildfire risks
A less common configuration, the pyramid is perfect for times when you want a fire that’ll last a long time without much babysitting. Start by laying your biggest fuel logs in a row, then add another layer of slightly smaller fuel logs on top, running perpendicular to the first layer. Continue adding rows of progressively smaller logs until you have three or so layers. If you want the fire to last longer, you can continue stacking layers of logs, just be sure it doesn’t get too high and possibly close to overhanging branches. On top, make a small tepee-style fire of tinder and kindling. Ignite that, and it’ll continue down to light your pyramid.
Maintain, Then Extinguish Your Fire
Once you have a warm fire, maintain it by periodically adding fuel logs, being careful not to smother your configuration by restricting space for oxygen to access the flame. To reduce wildfire risk, keep your fire as small as possible while still getting the warmth you want from it.
When you’re ready to put the fire out and call it a night, allow the logs to burn completely to ash. If you don’t have time to wait this long, pour water on the fire (making sure to get all the embers, not just the glowing red ones). This will produce a hissing sound. Once that stops, you’ll know everything’s successfully out. If you’re short on water, shoveling sand and dirt onto the hot embers can work as well. A good rule of thumb is that if it’s too hot to touch, it’s too hot to leave.