

A few months back, I did a four-day, 500-mile, self-supported bike trip across New Mexico. The most common question people asked of me afterward: How did you carry everything?
On the face of it, bikepacking is the essence of simplicity: Grab your camping gear, strap it on your bike, and head off wherever the trail and whim take you. What could be easier? But the reality can be trickier. For one, it’s far too easy to bring too much stuff. And even with only the essentials, it’s not easy to fit everything into a tiny pack setup. Once, when I was just starting out bikepacking a decade ago, I spent half a Saturday trying to pull it all together and, overwhelmed, eventually gave up.
The good news? There are a lot more gear options these days, and much of it has become quite refined. There are also great resources, including and , by Kurt Refsnider and Kaitlyn Boyle.
Every trip takes a slightly different system, and everyone does it a little differently. Here’s my primer based on a half-dozen trips this summer and a decade of honing my systems.
How to Pack Your Bike
Loading up all your gear is personal, but the two primary considerations are compartmentalizing things based on what you’ll need at the same time (sleep gear, food, clothing, etc.) and keeping as much weight as low on the bike as possible for best handling.
Handlebar Bag
The handlebar bag is a great place to put things you can do without all day since it’s arguably the most fiddly piece to open and close. I stow my entire sleep kit up front, including , sleeping bag, pad, and , or whatever combination of these items my trip necessitates. If I’m going very light—meaning no tent or sleeping bag—the handlebar bag is the first thing I ditch, since weight up front definitely changes a bike’s handling.
Seat Bag
Saddle packs aren’t hard to get into, but they’re not the easiest. Pack accordingly. In the far-back depths, I stow clothes I won’t need for the day: long underwear, spare socks, . In front of that, I place cookware, , dinner and other food I won’t eat during the day, and coffee. Then comes the food I may or may not want during the day. On top, I typically strap a waterproof shell for quick access in case it rains, plus a Spot tracker if I’m running one.
Frame Bag
That leaves the frame for heavy items, including a bladder of water, spare tube, tools, and a water filter. Sometimes I rig the hose from the bladder to the bars with straps so I can drink as a I ride. If it’s an especially dry course and water is scarce, I might mount a water bottle to each fork stanchion, again keeping the mass low for better handling. Sometimes, on bikes that will accommodate two cages, I forgo the frame bag and just carry two standard bottles. A lot depends on water availability on the planned course.
Feed Bags
I almost always run two of these. The gas tank–style front top-tube bag is reserved for food I eat on the go, like bars, nuts, and fruit, as well as a tube of Nuun and my electronics. The rear one, which attaches to the seatpost, gets all my personal sundries: sunblock, eye drops, lip balm, Wet Wipes, Advil, toothbrush, etc.
Phone Mount
Last but not least, I’ve grown quite fond of the ($60), which makes it possible to safely mount your smartphone on the bars. This helps with navigation and allows quick access to music, podcasts, and a camera.
Gear
To start out, I recommend using whatever bike you have and as much of your existing kit as possible. Once you’ve decided you like bikepacking, upgrade accordingly. The only hard-and-fast rule: Choose the lightest bike and most packable equipment you have available.
Packs
There is no shortage of good packs on the market. But I always return to Revelate Designs, a small manufacturer out of Alaska committed to making all its products in the United States. On the handlebars, the ($110) pairs a tube-style drybag with an easy-mount harness system that lets you work around brakes and shifters and quickly drop your gear at the end of a day. Salsa’s ($170) is another graceful solution, if heavy. Also, it’s pretty easy to rig up your own handlebar pack with a drybag and two straps, though cable management can be an issue.
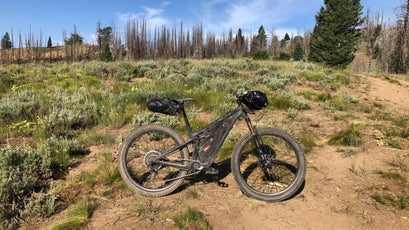
Behind the saddle, use something like the Revelate ($159), a ten-liter drybag pack (this one is not compatible with dropper posts).
Choosing a frame pack is a question of finding a fit for your bike. Revelate has a , and a number smaller manufacturers (, ) sew custom bags if you can’t find a good fit. Beyond these basics, top-tube bags, especially the front-mount magnetic closure ($59) and seatpost-attaching ($49), make getting at food and sundries easy.
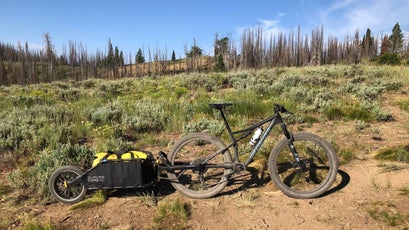
Trailer
Launched this summer, the ($419) is the modern-day version of the single-wheeled trailer I’ve been waiting for. With a yoke that can accommodate any wheel size from 700c skinnies to 26-inch fat bike, a quick-release handle that makes hooking up and unhooking as simple as the squeeze of a lever, a built-in kickstand to balance the bike and trailer, and an optional plus-size tire, the Coho makes trailering a snap. The massive cargo space (24x15x11.5 inches) with capacity for up to 70 pounds allowed me to carry gear for two people for a long weekend. And since the front profile is narrower than a bike with pedals, you can even haul it on singletrack. The Coho XC was surprisingly deft on the tight trails outside Ketchum, Idaho, but for technical and very steep terrain, you’d be best served by bike packs. I won’t use this as my primary bikepacking setup, but I will use it on trips when I want to carry lots of gear.
Tips
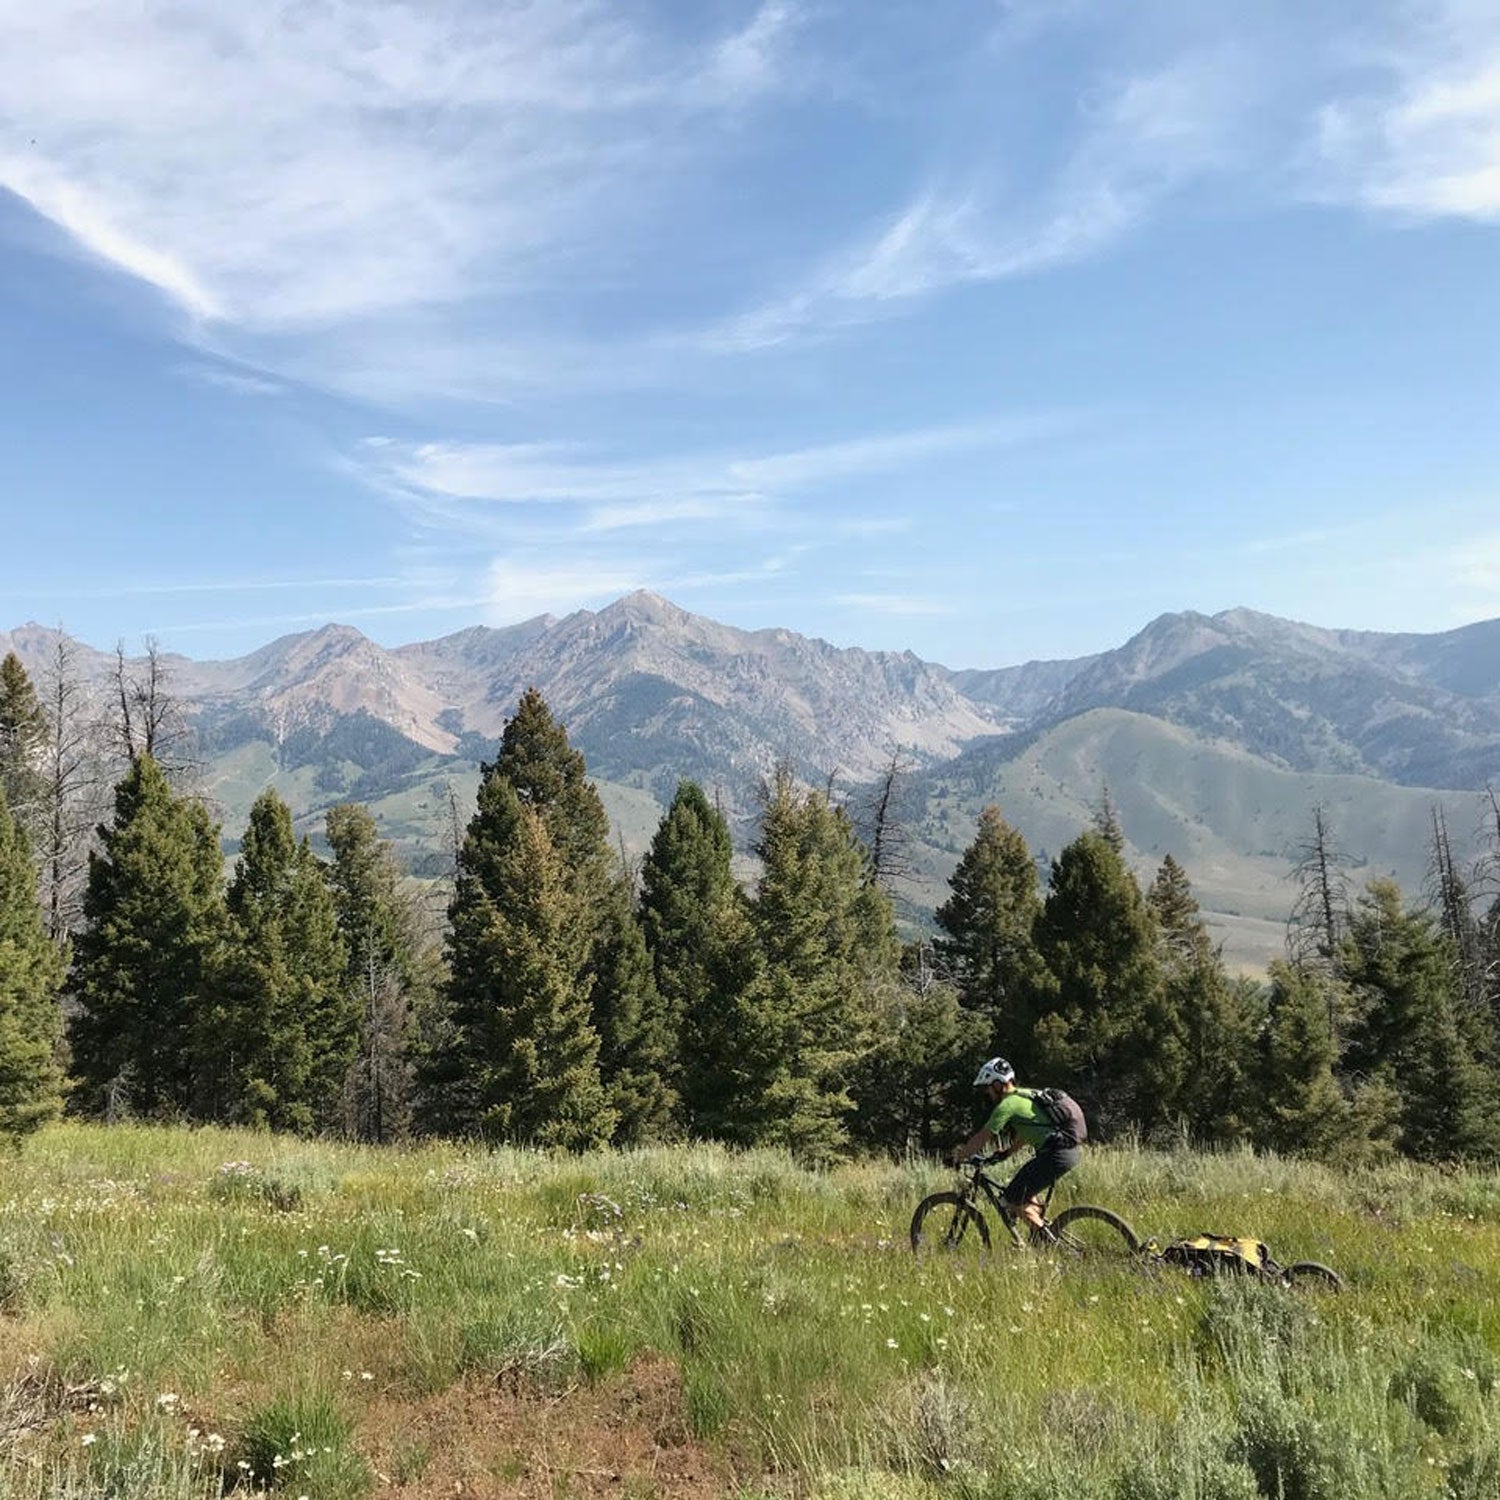
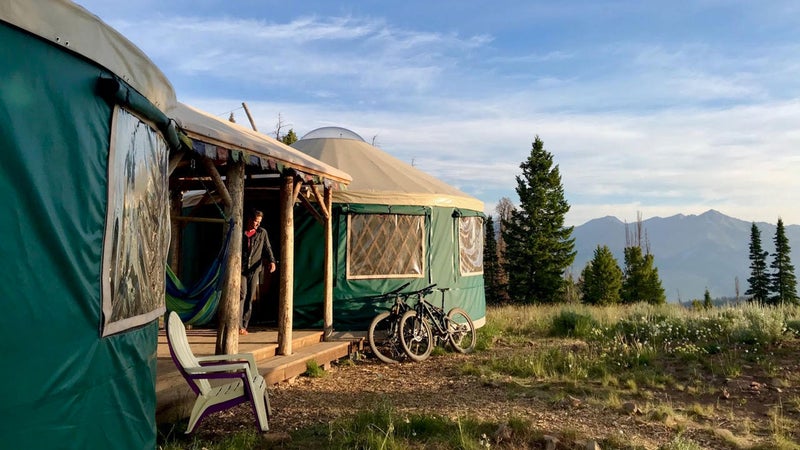
Start small. Overnight trips are a great way to get comfortable and hone your systems. Keep mileage short—say, 25 to 30 miles a day max—to help you acclimatize to hauling. Also, consider easy destinations. We did a two-night trip to , outside Ketchum, which made things simple since many supplies (stove, cookware, sleeping pads) were provided.
Get a lower gear. Bike shops can be snooty if you ask for a smaller chainring. Ignore them and insist. When you’re loaded with weight, a 28-tooth front ring on a 1x setup is not too small. I’ve even gone down to 26t or 24t in mountainous terrain. A smaller gear is often the difference between riding and hike-a-bike.
Double the time you think it will take to pack. Loading your bike, both before you leave and each morning, always takes longer than you expect.
Keep a multitool accessible. There’s nothing worse than having to dig through your carefully curated bike packs for a minor adjustment. I carry mine in either the side pocket of a hydration pack or a shorts pocket alongside a small bottle of lube, micro rag, and plug kit.
Skip the backpack if possible. Hydration packs are great because they make you drink frequently and give you extra storage for packing. But weight on the back can wreak havoc on your neck, shoulders, and rear end. I try to forgo a backpack and put all gear on the bike.
Don’t forget… Earplugs, single-serve , and Wet Wipes. A nightly towel bath will make you sleep better.
Pack only a single riding kit. That means just one chamois. A single pair of shorts has lasted me ten days on the trail. The key is making good use of those Wet Wipes on sensitive bits at night and reapplying Chamois Butt’r often.
For food, think lightweight and high calorie. Nuts, bacon, boiled eggs, and nut butters are great on-the-bike options. At night, I favor whole-food dehydrated meals and prepacks, both of which require no cleanup.
Bring compact flip-flops. The foldable are trimmer than a cellphone, and your tired feet will thank you for the splurge.
Throw in a tube of . You’ll need the electrolytes, and you’ll appreciate drinking something besides plain water at night. I also often stash a can of root beer or ginger ale at my last resupply before an evening stop. After a long day, a beverage option is a major pick-me-up.