


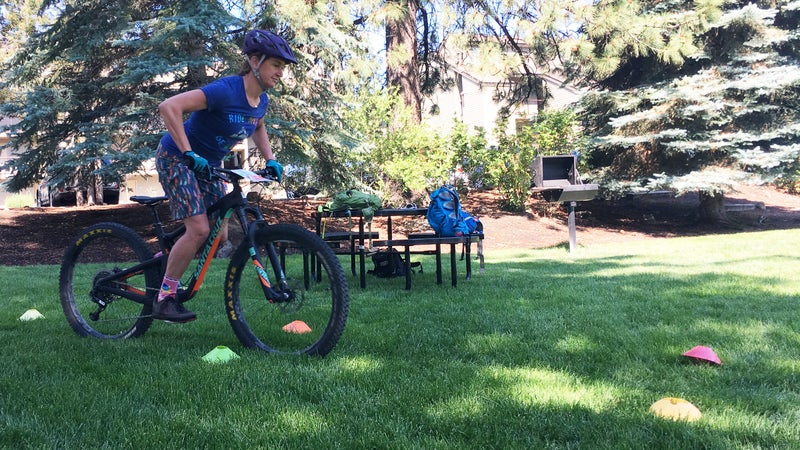
Good mountain bike riding requires “aggressive finesse,” says , founder of bike camps. The mental game matters, sure, but its foundation is firmly rooted in technique. What follows are nine skills to practice on your local trails that will help solidify your riding base. After all, as Richter and her team of coaches preach: Ride bikes, be happy.
#1. Get Your Boobs over the Bars
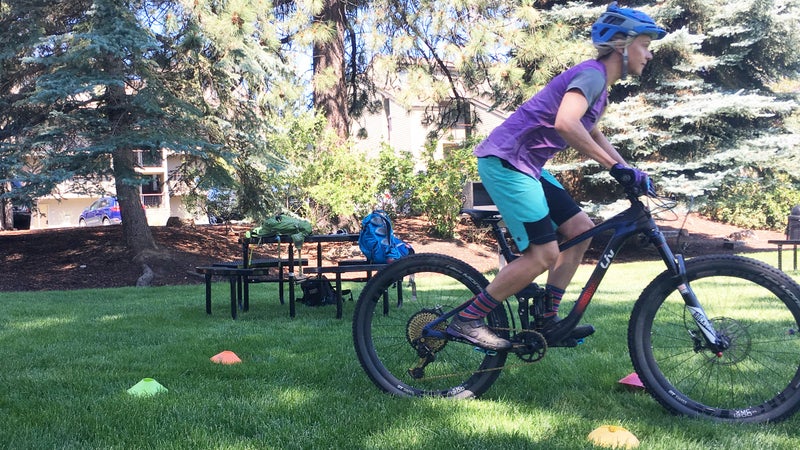
On steep climbs, aggressively slide your hips forward to move your center of balance up and off the back wheel. It’s amazing what you can climb with this forward-leaning body position.
If you’re dropping off something, you also want to get your chest over the handlebars. “Peek and push,” is how Lindsey describes it: Peek over the bars as you come up to a drop or jump, then push the bike forward so you place the front wheel with deliberation and control, rather than just let it take you for a ride.
#2. You Ride the Bike—Don’t Let It Ride You
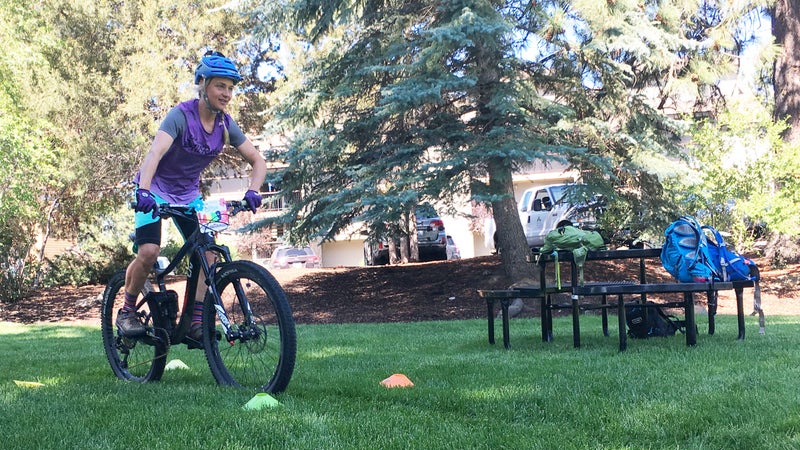
Bikes don’t have brains. We need to tell them what to do. Practice wiggling your bike under you when you’re on the trail and in an aggressive riding position (see above) to convince yourself that this machine is not heavy. You are in control of it.
#3. Brake with Just One Finger
The index finger, to be specific. This gives you more control of the bike—more palm on the bars—and plenty of braking power. (Try standing your bike up on its rear wheel and holding the right brake if you don’t believe me—the bike isn’t going anywhere.)
While we’re on the topic of braking, remember that you never want to hit your threshold—you don’t want to squeeze the brakes all the way. This absolutely destroys your traction (braking at all always reduces traction, slamming the brakes all but eliminates it), making your wheels freeze up like locked knees on an ice rink. Lindsey compares the knobbies on your tire to soccer cleats: you need them to dig into the ground to change direction at speed. One way to push those lugs into the sand is by braking with a rolling wheel—using both your brakes in tandem. Another way: Pump your feet in the apex of the corner.
#4. Think About Rocks as Momentum Blockers
Hit a rock, and it will slow you down. If you want to get over the rock, you’ll need speed or finesse (that is, wheelie over it) or both. One good rule of thumb: When you’re approaching a big momentum blocker, let off your front brake and help the front wheel through. Pretty simple.
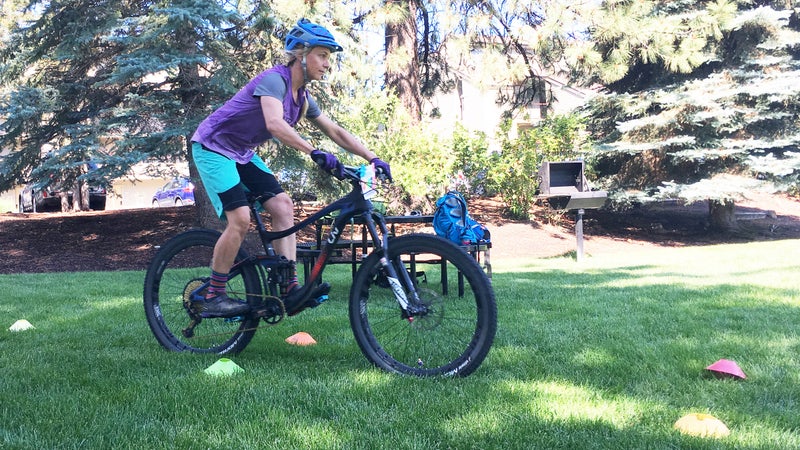
#5. Practice Proper Body Position
There should be a straight line between your wrist and your forearm—the bones should be stacked, without a crick in the wrist. Your elbows should be bent out to the side, like you’re in the middle of a push-up. This gives you more control of the bike and prevents arm fatigue.
#6. Your Feet Matter, Too
Whenever you’re descending, your pedals should be level and parallel to the ground, with your center of balance low and centered over the bike. Now’s the time to put the dropper post down, if you have one. If you don’t, consider buying one—it’s a simple upgrade that makes a bike much more capable on descents. Drop your heels and pump your feet to retain balance and traction in corners or on especially steep stuff.
#7. Know Your Level Lift from Your Bunny Hop
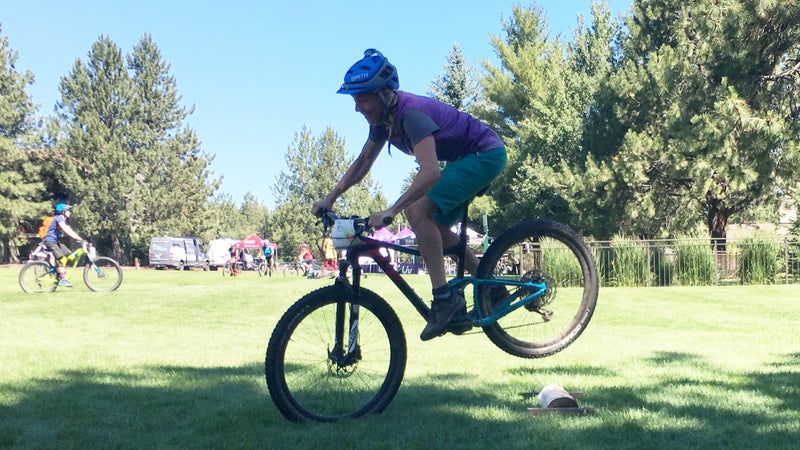
A level lift is where you preload the bike by stomping your feet, then jump straight up into the air with both wheels leaving the ground at once.
A bunny hop, on the other hand, is where you get the bike to arc in the air—like a jumping horse—first with the front wheel and then the rear wheel leaving the ground. It’s a complicated move that involves stringing together a front-wheel manual with a rear-wheel lift. Unless you are an exceptional athlete, you’re not going to master the bunny hop by reading 50 words online—go to one of Lindsey’s clinics and she’ll break it down for you.
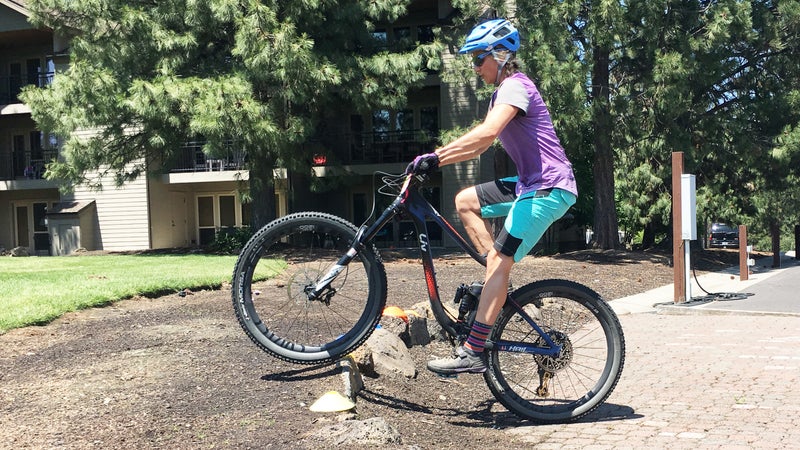
#8. Drop Centered
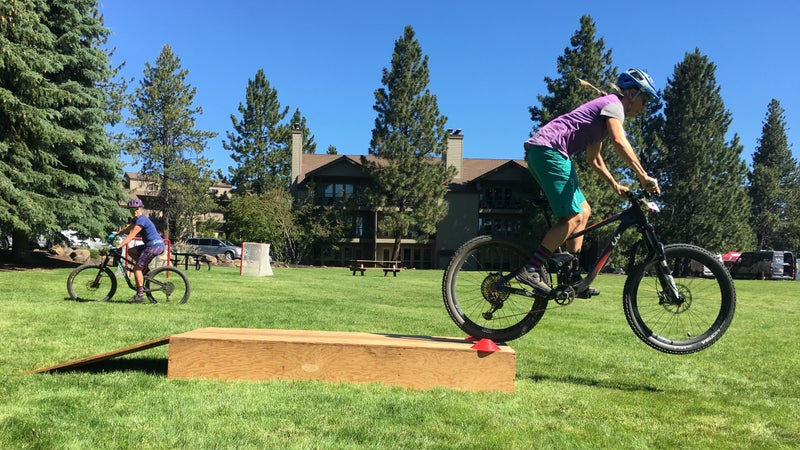
When you’re going over a drop, you want to land centered. The key to this is in the takeoff: When you get to the drop, preload the bike by stomping your feet and jumping—performing a level lift—off the ledge. You’ll land in an aggressive riding position with your feet level.
#9. Banish the Negative Thoughts
In mountain biking, as in life, we’re susceptible to self-doubt—that nagging voice in your head that’s a master of worrying at your weaknesses. In mountain biking, that voice is the single biggest thing holding most of us back. (“I couldn’t possibly get over that big step-up!”) It’s also the easiest thing to control: Quiet the voice, believe in yourself, and get over the momentum blocker. Get comfortable with failure, too, and relish your tangible victories.