

Ah, summer. A great time to retreat to the garage (or bathtub) and give DIY beer a try. Pore over all the technical books, blogs, and instruction manuals, and if all goes well you’ll show up to the barbecue with an impressive six-pack (of homemade beer).��
We went an extra step for you and went straight to��some master brewers for their home brewing secrets.��Jonathan Porter of in Los Angeles and Bert Boyce of in New Mexico gave us intel that will have��your friends begging��you to bring a keg or two next time.
If You’re Just Starting Out:
Read Up Before You Start
Consider this the start of your summer reading list:
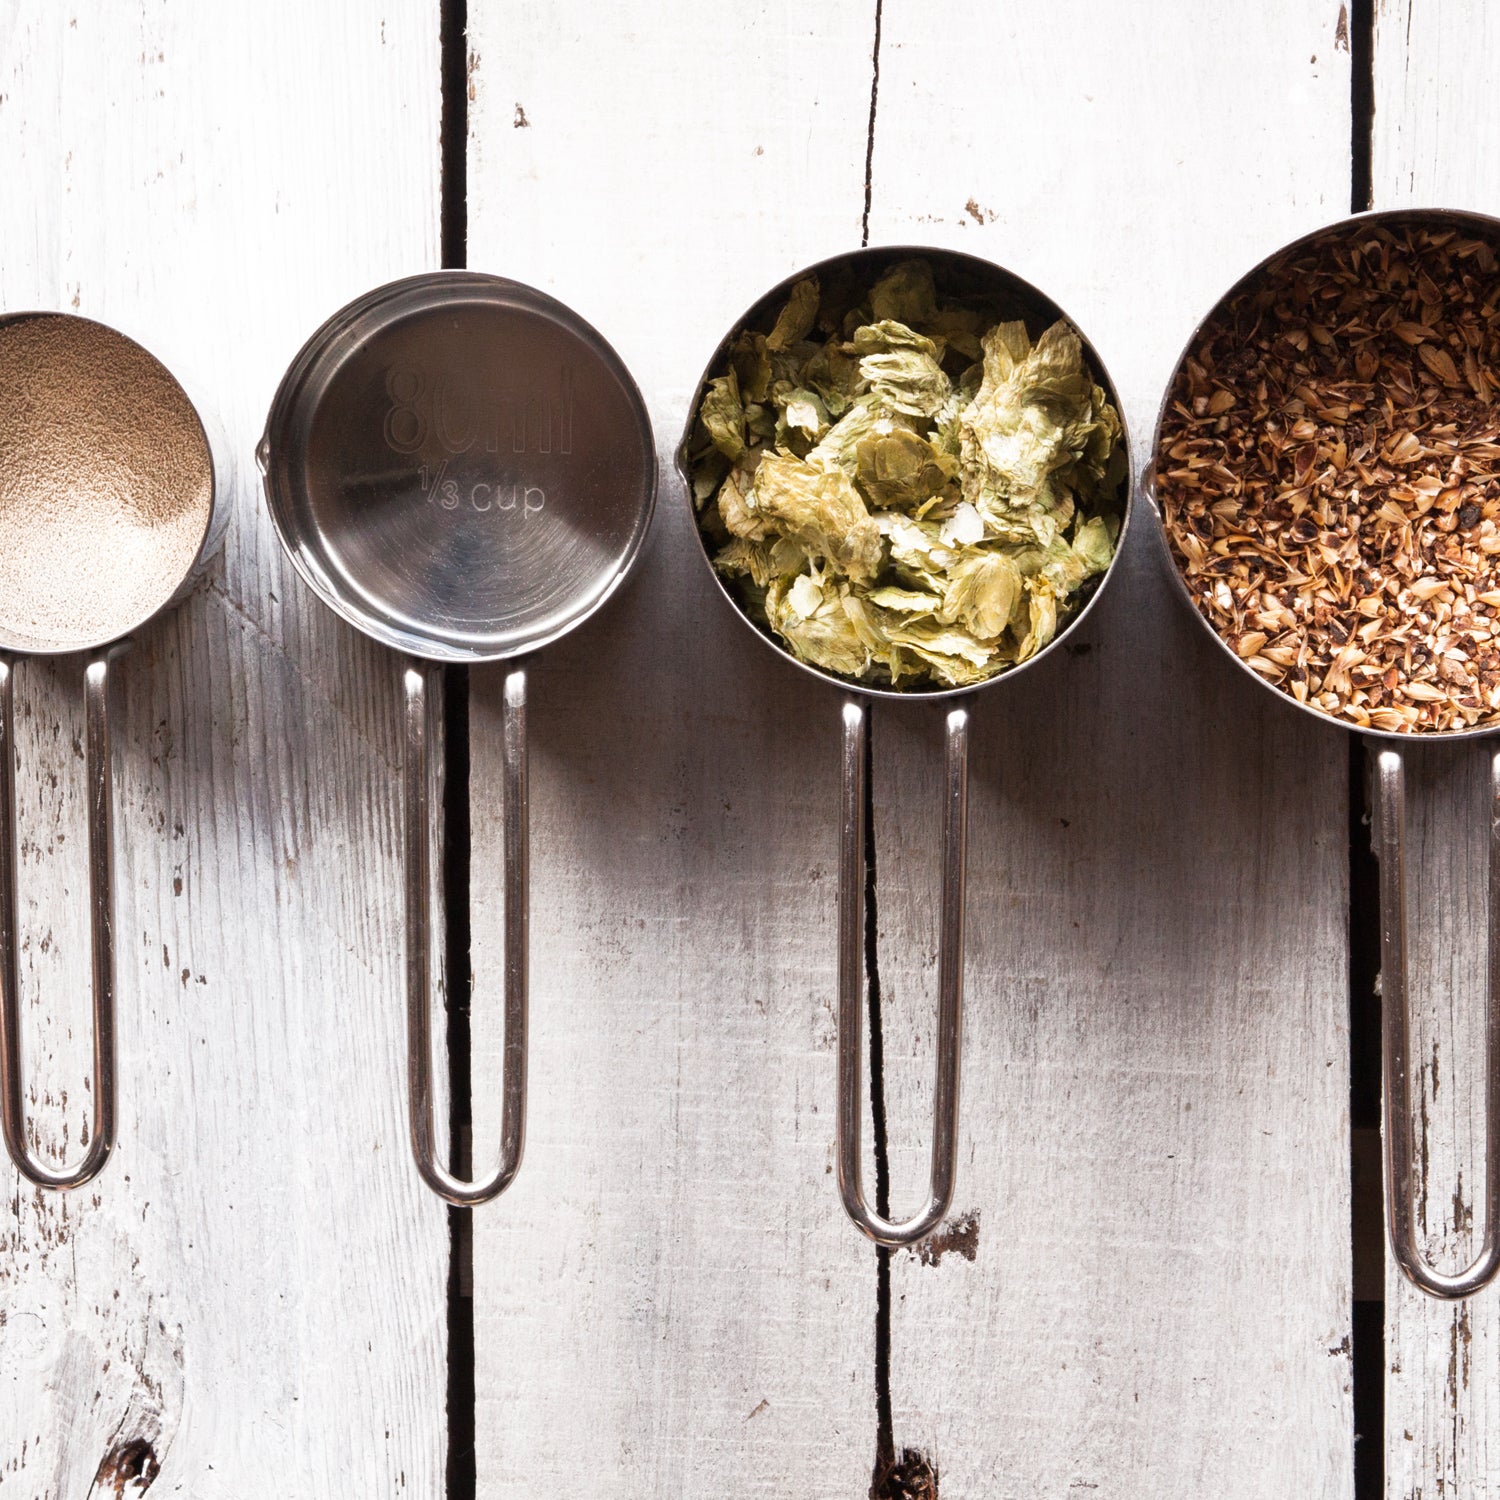
- John Palmer’s , a back-to-basics book that’s available to read in its entirety online, or , which provides 80 recipes
- Jamil Zainesheff’s ��on the choosing and care of, you guessed it, yeast
- Ray Daniels’s to build the foundation for creating your own beer recipes
- Michael Jackson’s to go deep on beer culture—from those who make it to every flavor nuance—and reconfirm your brewing enthusiasm
Keep. It. Clean.��
One of the most common pitfalls among home brewers surround sanitation issues during the cooling process. Reduce the risk of contamination by purchasing a coiled immersion chiller, which is easy to clean, to cool your wort. Boyce always uses a copper immersion chiller and packs the sink with bags of ice.��
Prep Your Yeast Right
Two big rules of thumb for healthy yeast: Don’t let it sit in the fridge for months, and make sure you’re giving it the right nutrients and amount of oxygen to get the job done. When investing in tools and equipment, find fermenters that are easy to clean and inspect. Also, invest in oxygenation,��whether in-line or a wand/stone. You will see a dramatic difference in fermentation performance with pure oxygen versus aerating by hand. When the yeast are happier, they'll reward you with better tasting beer.
Save Your Money on Yeast Starters
You should strongly consider making your own yeast starter. It’s the best way to ensure your fermentation cycle starts off right with an active fermentation, it lowers your chance for contamination, and unless you’re making a super low-gravity ale (basically, lower sugar-to-alcohol ratio), you’ll have to spend a lot of money on multiple premade packets of the stuff. Craft Beer and Brewing . Either way you choose, you’ll need to plan ahead—if you’re DIY-ing your yeast starter, you’ll want to give it 24 hours to keep reproducing after the initial half-hour fermentation. If you’re using the premade stuff, “wake those pitchable packs up and get them ready for your wort” a few hours before you need to add them, says Porter.��
Stay Away from the Stovetop
Boiling over is a disaster to clean in the kitchen, but it's not unlikely that it'll happen during the process. If you have a propane burner and patio, garage, or driveway space, heat your concoction there. Brewers should have a hose or a spray bottle at the ready when bringing the kettle to a boil or adding hops. And at any point after the boil, use lids to cover any open surfaces��and supplement with paper towels moistened with alcohol or sanitizer to keep any bacteria from falling in.
Go With Glass
Sure, plastic fermenters are much higher quality than they used to be—they don't weigh as much and don't shatter if you drop them—but Boyce says glass is still the superior way to go. It lasts longer, won't leak, and it's much easier to clean for guaranteed sanitation.��There's no good reason to skimp.
Find the Goldilocks Alcohol Level
Keep the alcohol level light, but not too light.��You get more flavor in stronger, more alcoholic beers, but it makes it��trickier to manage higher gravity fermentations if you're just starting out. Going too light, though,��leaves less room for error as there's nowhere to hide any flaws. Stick within��a range of 5 to 7 percent��ABV if you're a first-timer.
If You’re More Experienced and Looking to Step It Up:
Get Fancy, But Intelligently
Learn the difference between the various malt types and hop varieties before worrying about what chocolate-covered bananas taste like in a beer. You’re better off taking on a more challenging style beer like a clean Pilsner or a sour.
Give Barrel-Aging a Try��
“Wood aging is all about surface-to-volume ratio. The smaller the barrel volume, the larger the surface area, and the faster it ages,” says Boyce. So start with a small barrel and work your way up. “I had a 12-gallon oak barrel that I aged about 20 beers in before I ever got my hands on a [53-gallon] bourbon barrel,” Porter says. Don’t expect to age it as long as your local brewery would, either. Taste regularly and decide for yourself when it’s ready, but it could be on the order of just a couple weeks.
Enter a Competition
Home brew competitions are held across all major craft brew cities. They’re great places to get help and get feedback from more experienced brewers. Check out����for upcoming contests.