

Building a fire is one of the most important camping skills you can learn. It’s also one of the most difficult to master.
So we turned to John Gookin, who’s been an instructor with the National Outdoor Leadership School (NOLS) since 1981. He’s also worked as a search and rescue commander for Freemont County (think Wind River Range) for a decade.
“Starting a fire is not a survival skill until you get good enough to do it in tough circumstances,” Gookin says. Read: First, you have to practice—a lot—before you can rely on your fire skills to save your life.
Here are five tips to build a better fire in the backcountry (conditions permitting) for the novice pyromaniac.
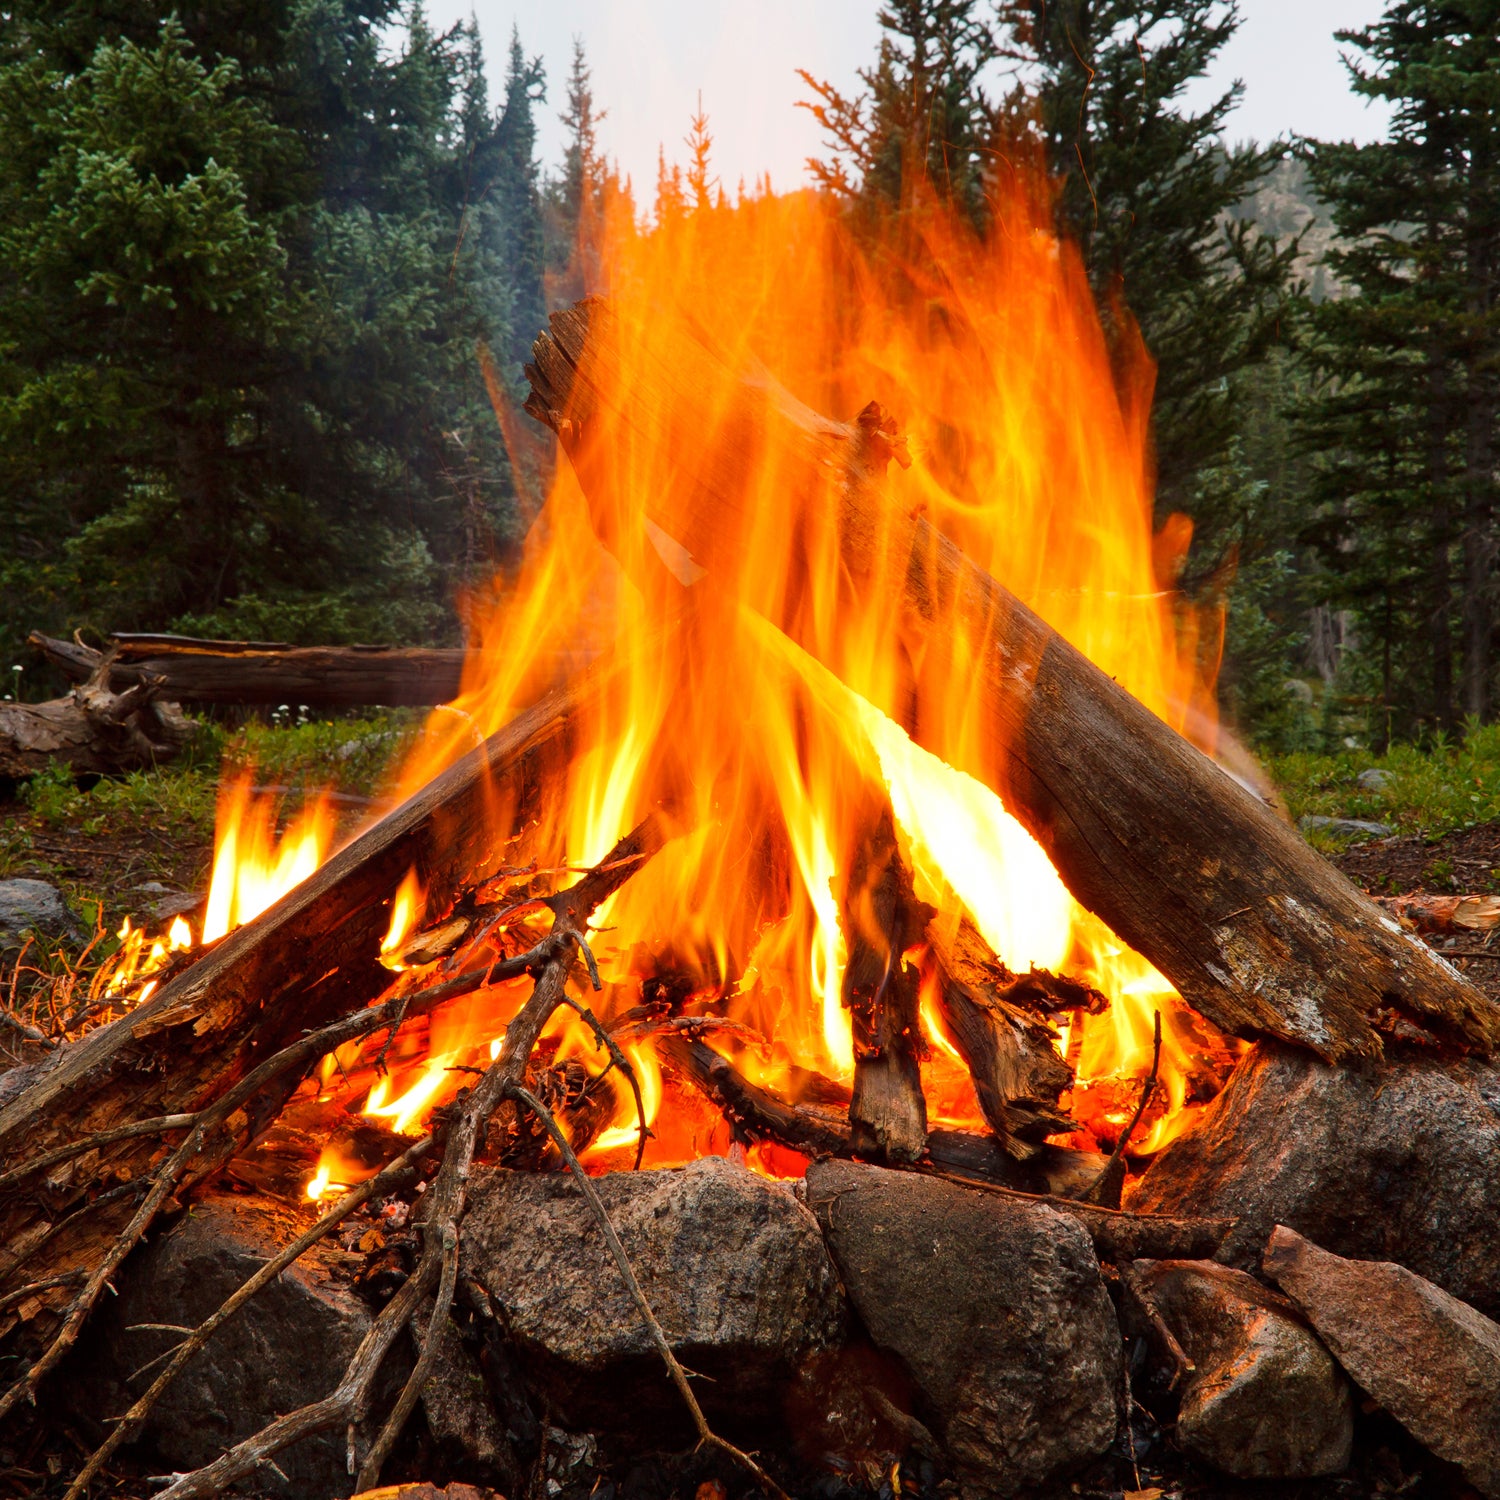
Pick the Right Spot
First, do your research about where you’re going to be camping and follow local fire laws. If you’re camping on BLM or Forest Service land, you should be able to get this information from a website or with a phone call. Once at camp, look for established fire rings to limit your impact on the forest. If you’re backpacking, follow when building a fire.
Buy the Right Lighter
The fanciest fire-lighting gizmo on the market probably isn’t as good as a simple lighter, Gookin says. Go with a piezoelectric lighter (the one you click rather than roll under your thumb) because it uses electric current from crystals to make the spark and thus works when wet. You can buy a piezoelectric lighter for about a dollar at most supermarkets. Take note: while you can get a fire started with a match, magnifying glass, or even a bow-drill, it’s easiest to start with the lighter.
Collect the Right Kindling
Start with small kindling (think shaved cedar bark) and work your way up toward that log you’ve always wanted to burn. Place the small, flammable stuff in a teepee or log-cabin shape. Only once that bundle is on fire (or reaches 451 degrees Fahrenheit, if you really want to geek out) should you begin to add larger sticks.
Pro tip: Gather more piles of small wood than you think you’ll need—organized by size—and have them ready to go before you light the kindling. Scour the forest floor for dead wood that’s neither green nor decomposing. It should be easy to break into small pieces, and won’t have much moisture inside.
Give It Air
You’ve lit your kindling and have started to add small sticks. Now, you have to give the fire some air. Gookin suggests putting an old tent pole underneath the kindling and blowing into it to stoke the fiames. If you don’t have a tent pole, fan the fire with a wide-surface camp tool, such as a spatula.
Keep It Safe
One of the best ways to keep your fire under control is to limit your stick size to thumb-width or thinner. And always think about weather. If you’re trying to build a fire in high winds, the chance of sparks flying beyond your fire pit is high. (It’s also much more difficult to light up.) You probably shouldn’t have a fire that day.
If you do manage to light a fire, make sure it’s completely out before you pack up for the night. Pour water on it until the ash has a soupy consistency. Never assume your fire is out—there can be hot coals underneath the ash that can start a forest fire days after you’ve left the area.